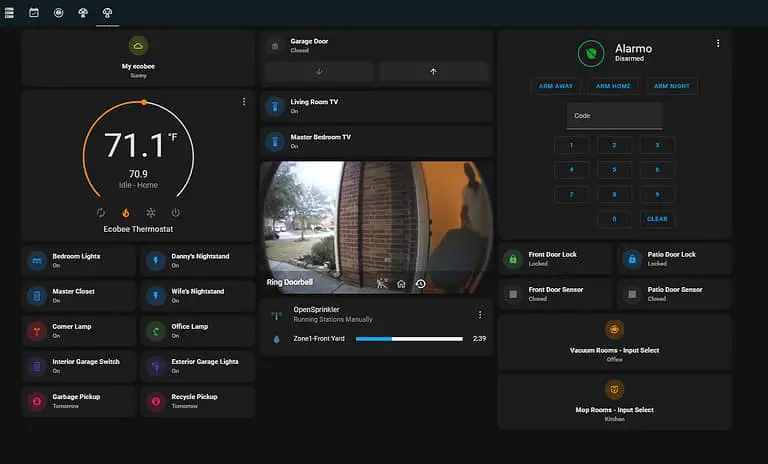
In this guide, I’m going to show you a really cool HACS addon called Alarmo. Alarmo is a simple, easy to use home alarm system that lets you set up your own alarm system within Home Assistant – all from a browser! No hardwiring or running wires needed, you can use it with all of your existing motion, door and window sensors.
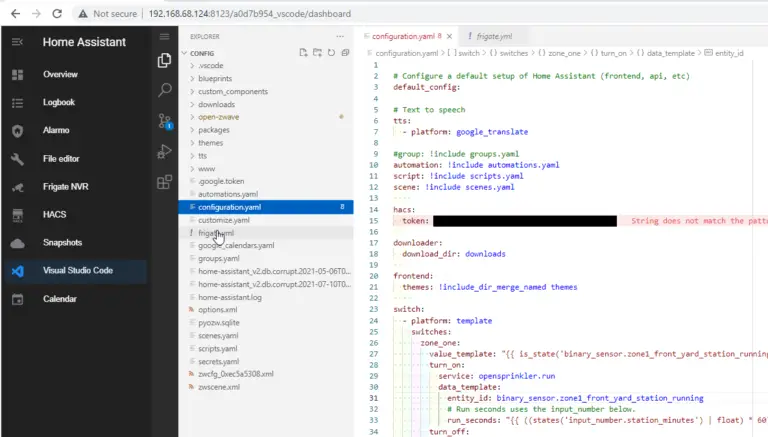
Alarmo is incredibly powerful, which usually means it can be tricky to set up. Luckily, Alarmo has some of the best documentation I’ve seen for a Home Assistant integration and was super easy to setup. I had mine up and running in about 15-20 minutes. Everything is configured from the UI as well, which means you don’t need to edit any YAML to get this working.
You can configure different home/away/night modes, create alarm pin codes for different users, send actionable push notifications, schedule automatic arming/disarming, and then add a beautiful Lovelace Alarmo-card to manage it.
This is going to be a fairly basic guide, where I add 3 sensors: two door sensors (located on my front and back patio doors), and a motion sensor inside my garage.
So, are you wondering how to setup Alarmo in Home Assistant in 2021 with a step-by-step guide? Then let’s get started!
Other Alarmo Guides
Here’s a few other guides I’ve created for the Alarmo integration:
- How to arm/disarm Alarmo Alarm on a schedule from Lovelace
- How to Disable Alarmo Alarm with an Actionable Notification
Install HACS
The first step is to install HACS, the Home Assistant Community Store, if you haven’t already. This allows you search for and install Alarmo in one-click.
Just click HACS in your sidebar and search for “Alarmo”. Then click Install This Repository in HACS. After installing, navigate to Configuration > Server Controls > Check that your configuration is valid > and then restart Home Assistant.
This will install all the necessary files and folders into Home Assistant.

Add Alarmo Integration via Configuration
Next, click Configuration from your sidebar. On the Integrations tab, choose Add Integration and search for Alarmo again. This will install Alarmo now that the correct files have been added.

You should then see a message that states that Home Assistant found Alarmo. I chose to designate Alarmo to my Office, but feel free to put it wherever makes the most sense for you.

After that, you should now see an Alarmo sidebar icon. Click into this begin managing your home assistant alarm system.

Adding Alarmo Sensors
After clicking the Alarmo sidebar icon, you’ll be in the General tab. You can come back to configure this later once you’ve added your various sensors.
To add a sensor, simply click the Sensors tab.

By default, it will list all of the available sensors you can use. For the initial setup, I recommend starting with just a couple sensors. You can always add more later. You don’t want you or your family to accidentally trigger the alarm during testing!
Once you’ve checked a few sensors, scroll to the bottom of the list and choose Add To Alarm.

Add an Alarm Code
Now that you’ve added a few sensors, switch over to the Codes tab. This is what you’ll need to enter to arm/disarm the alarm system. While this is optional, I recommend setting up an arm code so you or someone in your family doesn’t accidentally turn it on/off without your knowledge.
Toggle on Use Alarm Code and Use Disarm Code. Then, select either a pincode or password. I’m choosing a pincode. Click Save in that section once complete.
Under the User Management section, you can create different alarm codes for different users, if you’d like. For example – if you have a maid, you can give them a different alarm code than what you use.

Create yourself as the first user and make yourself an Administrator.

Create Your 1st Alarmo “Action”
Alarmo actions are really cool. They are basically automations you can create from within the Alarmo integration so you don’t need to create them from within the Home Assistant automations tab. Actions could be things like a simple phone notification or an automation such as turning on all the lights if the alarm gets triggered.
These are optional, but I’ll show you the options available should you choose to configure your own notifications or actions.
Notifications
You can configure notifications for when the alarm is armed, disarmed, triggered, failed to arm and more. A feature I thought that was particularly cool is that if you choose the “failed to arm” event, it will actually show you via notification which door or window was left open.


Actions
Instead of (or in addition to) to notifications, you can also create an action to trigger a device based on an event. For example, if the alarm is triggered, it can turn on your lights, run a script or start a different automation (such as voice commands to your Google Home or Alex devices).

Create an Alarm Lovelace card
After installing Alarmo, it automatically adds the alarmo-card to Lovelace.
Choose a dashboard and Add Card. Search for alarmo-card. You can from 4 options: Arm Home, Arm Away, Arm Night, and Custom Bypass.

Note: If you add Arm Night, you may have to go into General > Areas > choose your sensor and enable the “night” mode for each sensor if it didn’t automatically do that for you.

Optional: Adding New Areas
During initial setup, you assigned Alarmo to 1 room (in my case, the office). This is probably adequate for most users.
However, I did want to point that you can optionally divide your alarm system into “zones” called areas, each with a specific set of devices and entities. For example, let’s say you have a 2 story house. You can create a 2nd Alarmo panel for the upstairs and add only the upstairs sensors to that. Or, if you a guest house or detached garage, you can create a separate Area for that.
Why would you do that? Adding different areas lets you customize the arm/disarm times and lets you create different automations around those
Here’s an example: Let’s say you have young kids that go to sleep at 8pm. You may not want to arm the entire house right at 8pm if you stay up until 1am, but you want to “arm” the upstairs windows where they are sleeping.
To do this, go to the General tab and scroll to the bottom, and add a new Area.
Note: if you configure multiple areas, an “Alarm Master” option (under General) will appear that will let you let you arm/disarm all zones at the same time.
Wrapping Up
All in all, this was a really fun integration to setup. I remember looking at Alarmo a few months ago and seeing the sheer number of options available on the github page, and thought this was would be a much more daunting and time-consuming project.
Honestly, from start to finish, you could have a very basic home assistant alarm system setup in about 15 minutes. It’s super easy and all configured in the UI – you won’t need to edit the yaml at all for this. I highly recommending giving this integration a shot!
Once you gotten the basics setup, I recommend looking at the github page to see if there’s anything else you might to include!
My Favorite Home Assistant Devices
Below are some of the Home Assistant-compatible devices I personally use in my home. I highly recommend each of them.
- Zwave/Zigbee hub: Nortek GoControl HUSBZB-1
- Smart Plugs: Sonoff S31 Lite Zigbee
- Motion Sensors: Hue Indoor Motion
- Outdoor Camera: Amcrest IP5M Turret
- Robot Vacuum: Roborock S7
The full list of all Home Assistant compatible & recommended devices I use can be found on my Equipment List page.


Great guide! (I’ve followed several of yours – they are all incredibly easy to follow). Can’t wait to set this up next.
Thank you! This was definitely a fun one.
This looks really cool, thanks for the writeup
Of course happy to help.
Absolutely!
Test
Hello
Hi Danny – I’d really like to use Alarmo and want to be able to call a script to do things such as flash my lights red and play TTS but I can’t figure this out.
I can create the relevant scenes seperately – such as set some lights red and a scene to turn them off, and create a script to loop between the two, including checking if the alarm has become disarmed to allow for the loop to be stopped – but I can’t figure out how to actually instigate the script in the first place from Alarmo… can you advise at all please?
Hi Chris,
The built-in Alarmo “Actions” tab is very basic. You’ll definitely want to use an Home Assistant Automation for those. I would think you could create an automation that says “If Alarmo state is disarmed, then call script XYZ”.
I have a couple example automations in these posts you can reference. Hopefully they help you out:
* https://smarthomepursuits.com/disarm-alarmo-alarm-in-home-assistant-using-actionable-notifications/
* https://smarthomepursuits.com/how-to-arm-disarm-alarm-on-a-schedule-from-lovelace
but it could be much better, if it allowed to use also the scripts
You can use standard HA Automations, since it creates a bunch of entities you can use.
Even if you create a normal automation, It doesn’t work with the script.
Very helpful and easy to follow! BTW, I do most of my automations in Node-Red. It was very easy to get Alarmo to trigger.