Disarm Alarmo Alarm in Home Assistant Using Actionable Notifications
In this guide, I'm going to show you how to Arm, Disarm, or open your Alarmo control panel from an "Actionable Notification" on your phone. Rather than simply getting a notification that one of your door or window sensors has been opened, you can actually run an action to arm or disarm it directly from your phone's notification! Note that this works with both Android and IOS devices.
If you already have Alarmo installed, then this is super simple to do.
Prerequisites
This guide assumes you've already installed HACS and added the Alarmo integration to Home Assistant. If you don't have that installed yet, click the link above to set it up. Alarmo uses all of your existing door and window sensors and can be setup in about 15 minutes.
You can also follow my How To Arm Alarmo Alarm on a schedule from Lovelace guide.
Open Alarmo Control
In your Home Assistant sidebar, choose Alarmo.
Click the Actions tab, then choose New Notification. If you already have a notification setup, then you can simply edit that one.
Create (or edit) Alarmo Notification
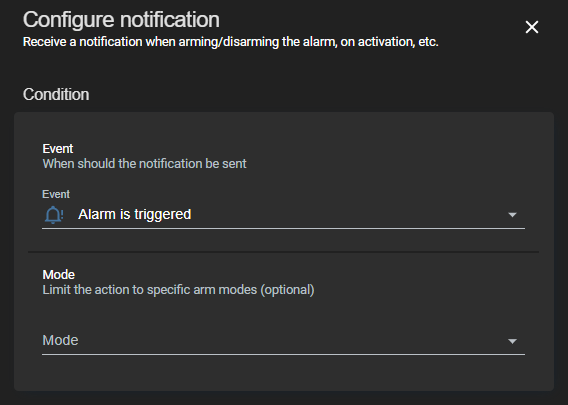
For this example, we want to receive an actionable notification to my Android phone if the alarm gets triggered.
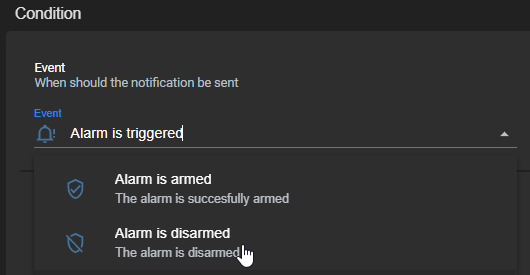
Under Event, choose Alarm is Triggered.
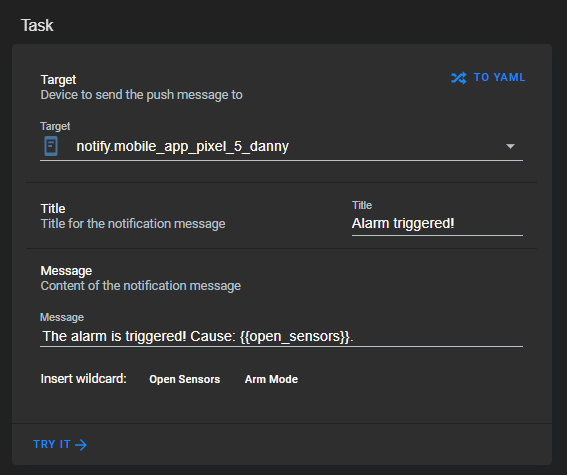
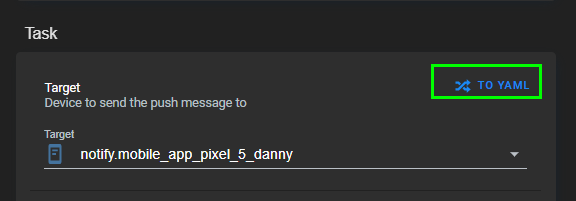
Under Target, choose the device. You can edit the title and message if you'd like.
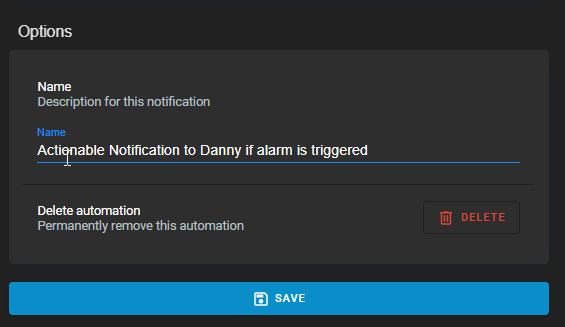
Under options, give your Alarmo automation a name.
At this point, your basic notification should work. Scroll up to the Tasks section and click Try It to test the notification.
Edit Action Yaml
Next, while you are still in the "Configure Notification" page, click the To Yaml button under the Tasks section.
"Disarm the alarm" Notification
Under Message, add the following code:
data: actions: - action: ALARMO_DISARM title: DisarmTo verify it works, click the Try It button again.
"Open Alarmo Control Panel" Notification
What if you simply want to have a notification that takes you to your Alarmo control panel, or maybe be even your "security" Lovelace view where you keep all of your cameras and sensors?
First, you need to grab the URL you wish to open to. Browse to the view and grab everything after your Home Assistant port number. In my case, the view I want to open to is /lovelace/0
data: actions: - action: URI title: Open Alarm Panel uri: /lovelace/0"Arm the alarm" Notification
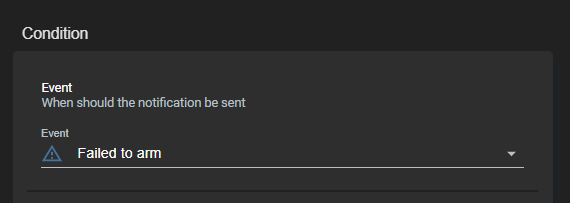
Now, what if you want to simply get an actionable notification to arm your alarm? Note, you wouldn't use this for an "Alarm Triggered" event. You need to use the "Failed to Alarm" condition, otherwise it won't arm correctly.
data: actions: - action: ALARMO_FORCE_ALARM title: ArmMultiple Actions
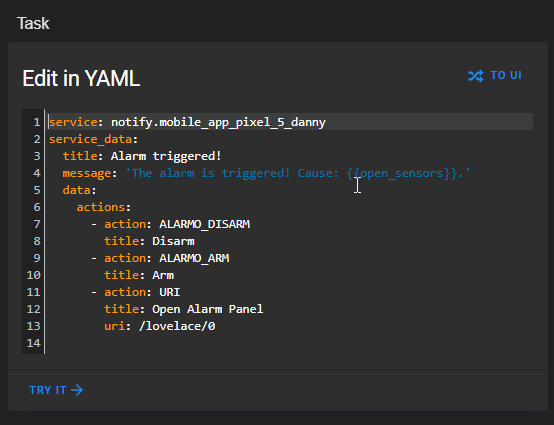
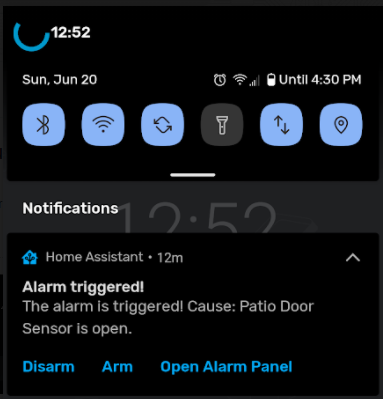
If you want the ability to choose either Arm, Disarm, or go to a URL, you can do that too. The code below will display 3 buttons when the event is triggered.
The YAML you would use for that is this:
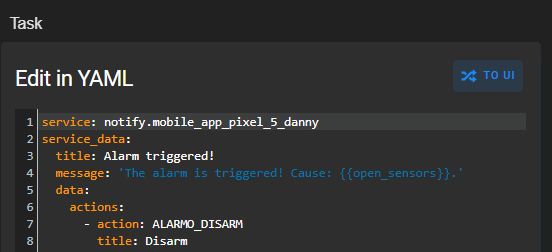
data: actions: - action: ALARMO_DISARM title: Disarm - action: ALARMO_ARM title: Arm - action: URI title: Open Alarm Panel uri: /lovelace/0And here's what the notification would look like:
Wrapping Up
All in all, this is a super simple way to perform an action based on the state of your alarm system. I really like that these can be configured directly from within Alarmo, instead of needing to go into the Home Assistant automations section.
Two things to note:
1. When you disarm or arm the alarm from the notification, if you have a pin or passcode set, it doesn't prompt you to enter the code. If that is a concern for you, then I recommend creating an action to simply navigate to the Lovelace view where your Alarm Card is located.
2. It doesn't seem to stack notifications. For example, if you have 1 action to send a notification when the alarm is triggered and you disable it from your phone's notifications, but also have a 2nd action configured to notify you when the alarm has been disabled, you won't receive a 2nd notification prompting you to to re-arm it.
As a final test, go ahead and arm your alarm system. Then, open a door or window. You should now receive the notification - at which point you can disarm it. Once you confirm it works, you are good to go!