How to Pair IKEA Remote Control in Home Assistant
In this guide, I'm going to show you how to pair and configure an Ikea Tradfri 5 button remote control with Home Assistant. You may see on the Amazon listing that this button requires the Ikea hub, but that's not true. As long as you have a zigbee dongle (like the Nortek GoControl I'm using), it pairs perfectly fine without the Ikea branded hub.
I have smart buttons all over my house. So far, I've only used SmartThings buttons since I had them leftover from my SmartThings to Home Assistant migration. While those buttons work pretty well, you are limited to only 3 commands: single press, double press, and button hold. With this Ikea button, you configure up to 10 commands from this single device!
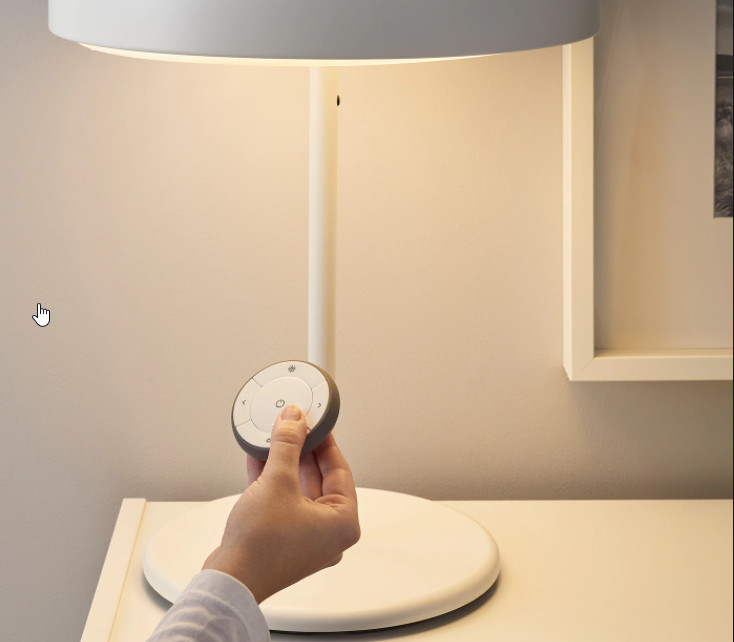
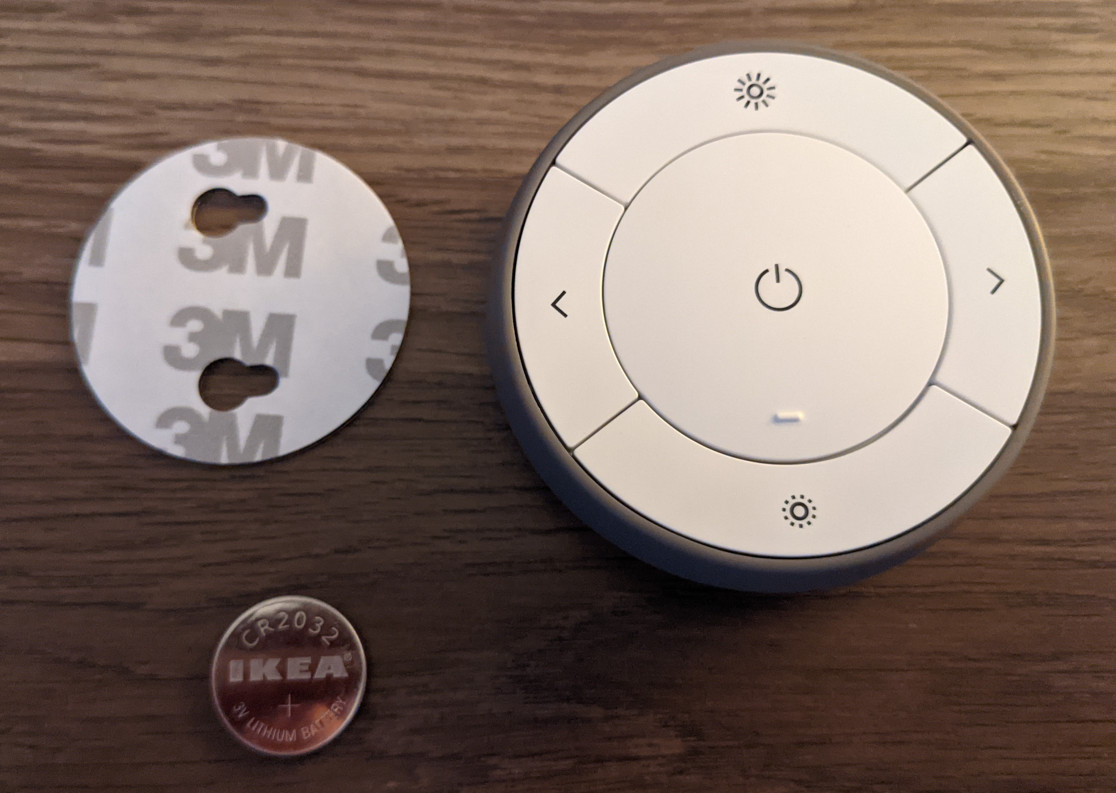
For reference, here's what it looks like:
This setup guide is using ZHA. It does not include instructions for zigbee2mqtt, Deconz, MQTT, or nodered.
What's in the box?
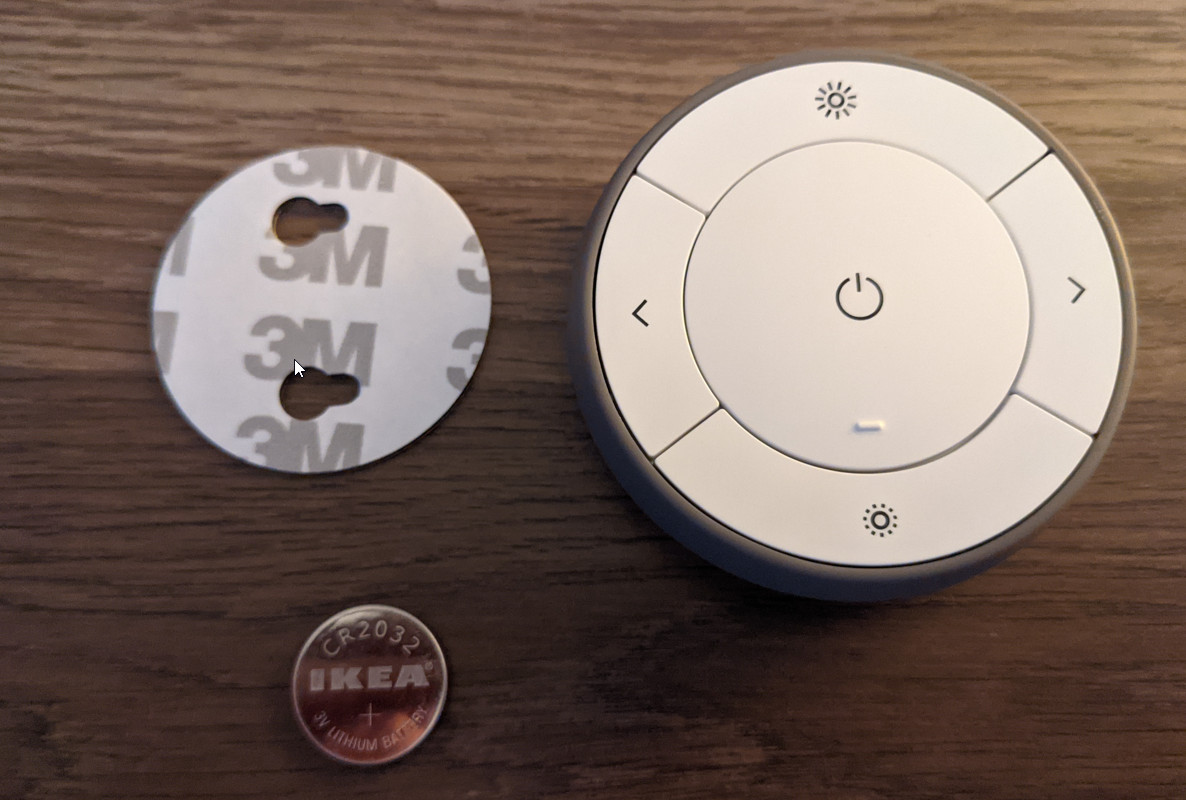
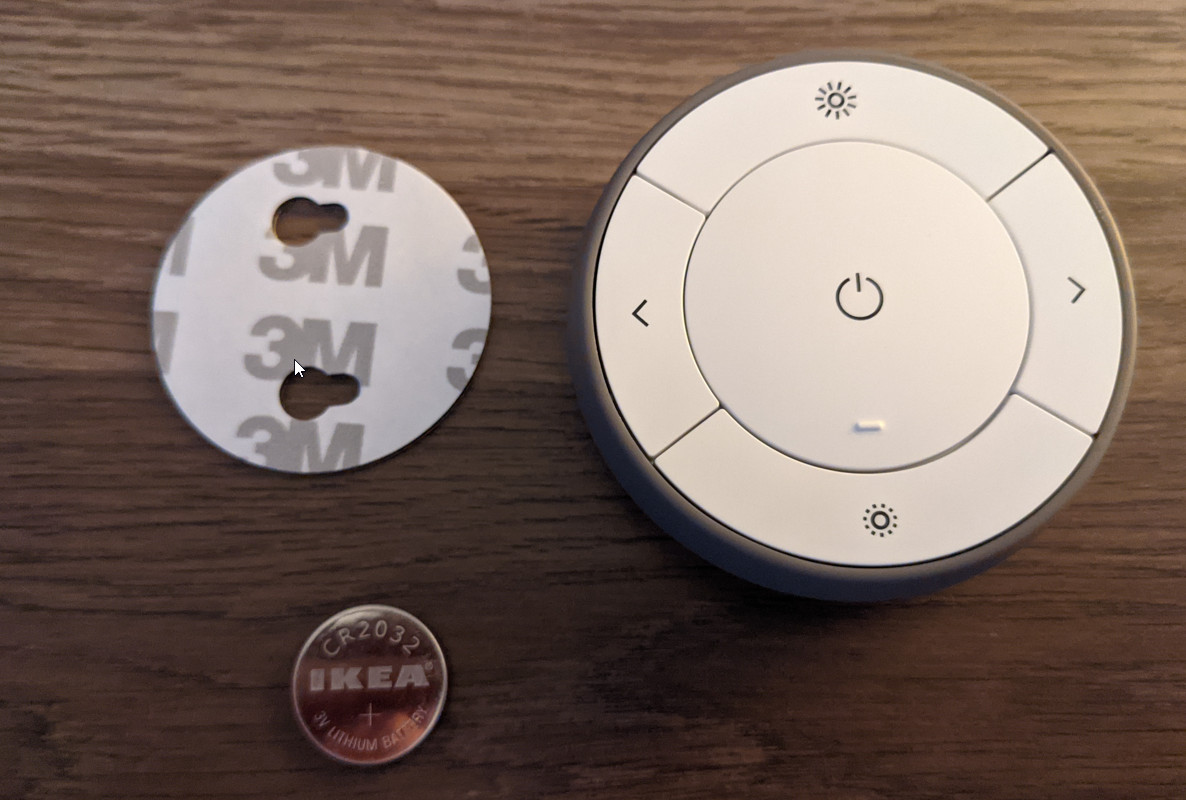
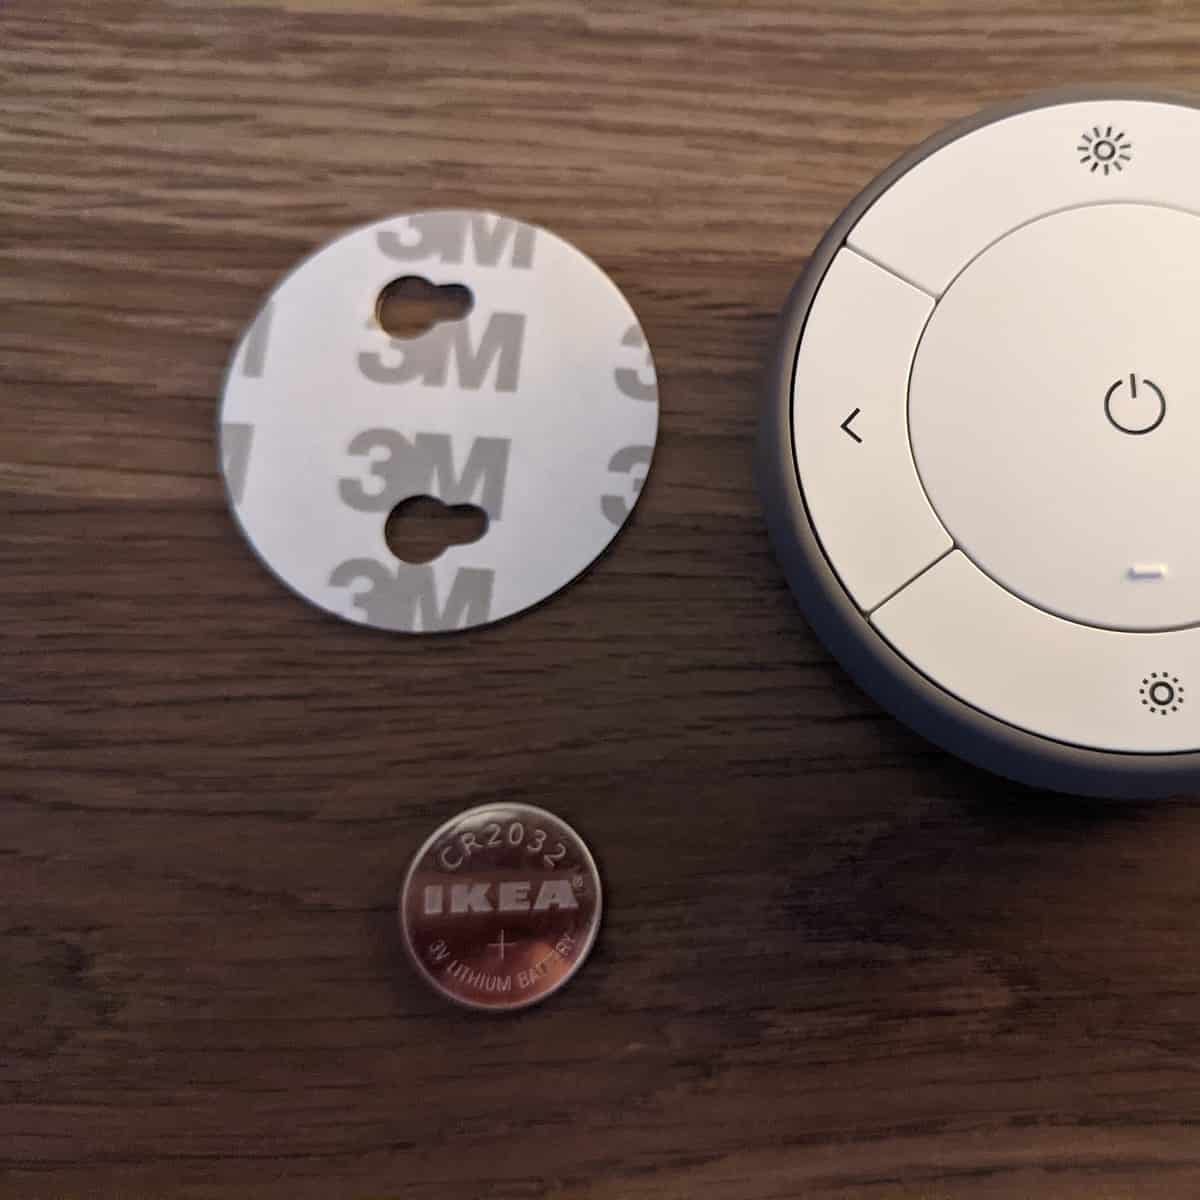
The IKEA 203.033.17 Remote Control comes with the remote control itself, instruction manual, a CR2032 battery, and a double-sided 3M adhesive ring.
Another neat feature is that the button is magnetic so you can mount it on your fridge or anywhere else you'd like to hang it.
Pair IKEA Remote Control Button to Home Assistant
Assuming you already have Zigbee Home Assistant(ZHA) setup in HA, setup of this is very simple.
First, insert the battery by removing the magnetic bottom plate.
Next, on your left sidebar, go to Configuration > Integrations > ZHA.
Click Configure, and then Add Device in the bottom right corner.
Near the battery you'll find the Ikea Remote pairing button. Click that a few times. On the front of the button you'll start to see it flash red indicating that the button is now in "pairing mode".
Once paired, you'll see the ZHA interview complete successfully. Go ahead and rename it and add it to a room.
View Ikea 5-button Remote Entities
After pairing, if you go to Configuration > Devices and search for Ikea. You'll notice that it only shows the battery level entity. This is normal. During the next step, we'll map each of the buttons to a certain function.
Configure Ikea Remote Buttons
There are a lot of different ways to configure each of the 5 buttons. You could either do this manually by viewing it in Developer Tools, but a much simpler method is by importing a community-created Blueprint, which is what I'm going to show how to do below.
Import Blueprint to map Custom Buttons
Navigate here: https://community.home-assistant.io/t/zha-ikea-tradfri-5-button-remote-custom-actions/284720 Click the blue IMPORT BLUEPRINT button.
It will prompt you to open the page in Home Assistant.
Click Open Link, and then click Preview. On the next popup, choose Import.
Congratulations! The blueprint is now imported. This will give you the following options to play around with:
| Button | Action |
|---|---|
| Power (short) | User defined action |
| Dim-Up (short) | User defined action |
| Dim-Down (short) | User defined action |
| Right (short) | User defined action |
| Left (short) | User defined action |
| Power (long) | User defined action |
| Dim-Up (long) | User defined action |
| Dim-Down (long) | User defined action |
| Right (long) | User defined action |
| Left (long) | User defined action |
Once imported, you'll be able to create an automation directly from the Blueprints page by clicking Create Automation:
Create an Ikea Remote Automation
I'm not going to show you how to configure each option, since each of us have different needs and devices. But, for this example, I'm going to show you how to toggle a smartplug by short pressing the center power button.
This is pretty self-explanatory, but first you need to choose the device (your Ikea remote). Then, add an action by choosing the device you want to manage and then setting the option.
Wrapping Up
Overall, I'm very happy with my new Ikea Remote Control buttons. Like I said, I've only used SmartThings buttons in the past which have been pretty rock-solid. However, I noticed the response time of these Ikea buttons are MUCH quicker. I definitely plan on adding a few more buttons.
These remote controls are super customizable. Not only can you toggle lights on and off, but you can also use them to do anything you want - such as brighten or dim lights, close your garage door, and each of the buttons can be configured to use both short and long press, giving you a total of 10 configurable buttons to use!


