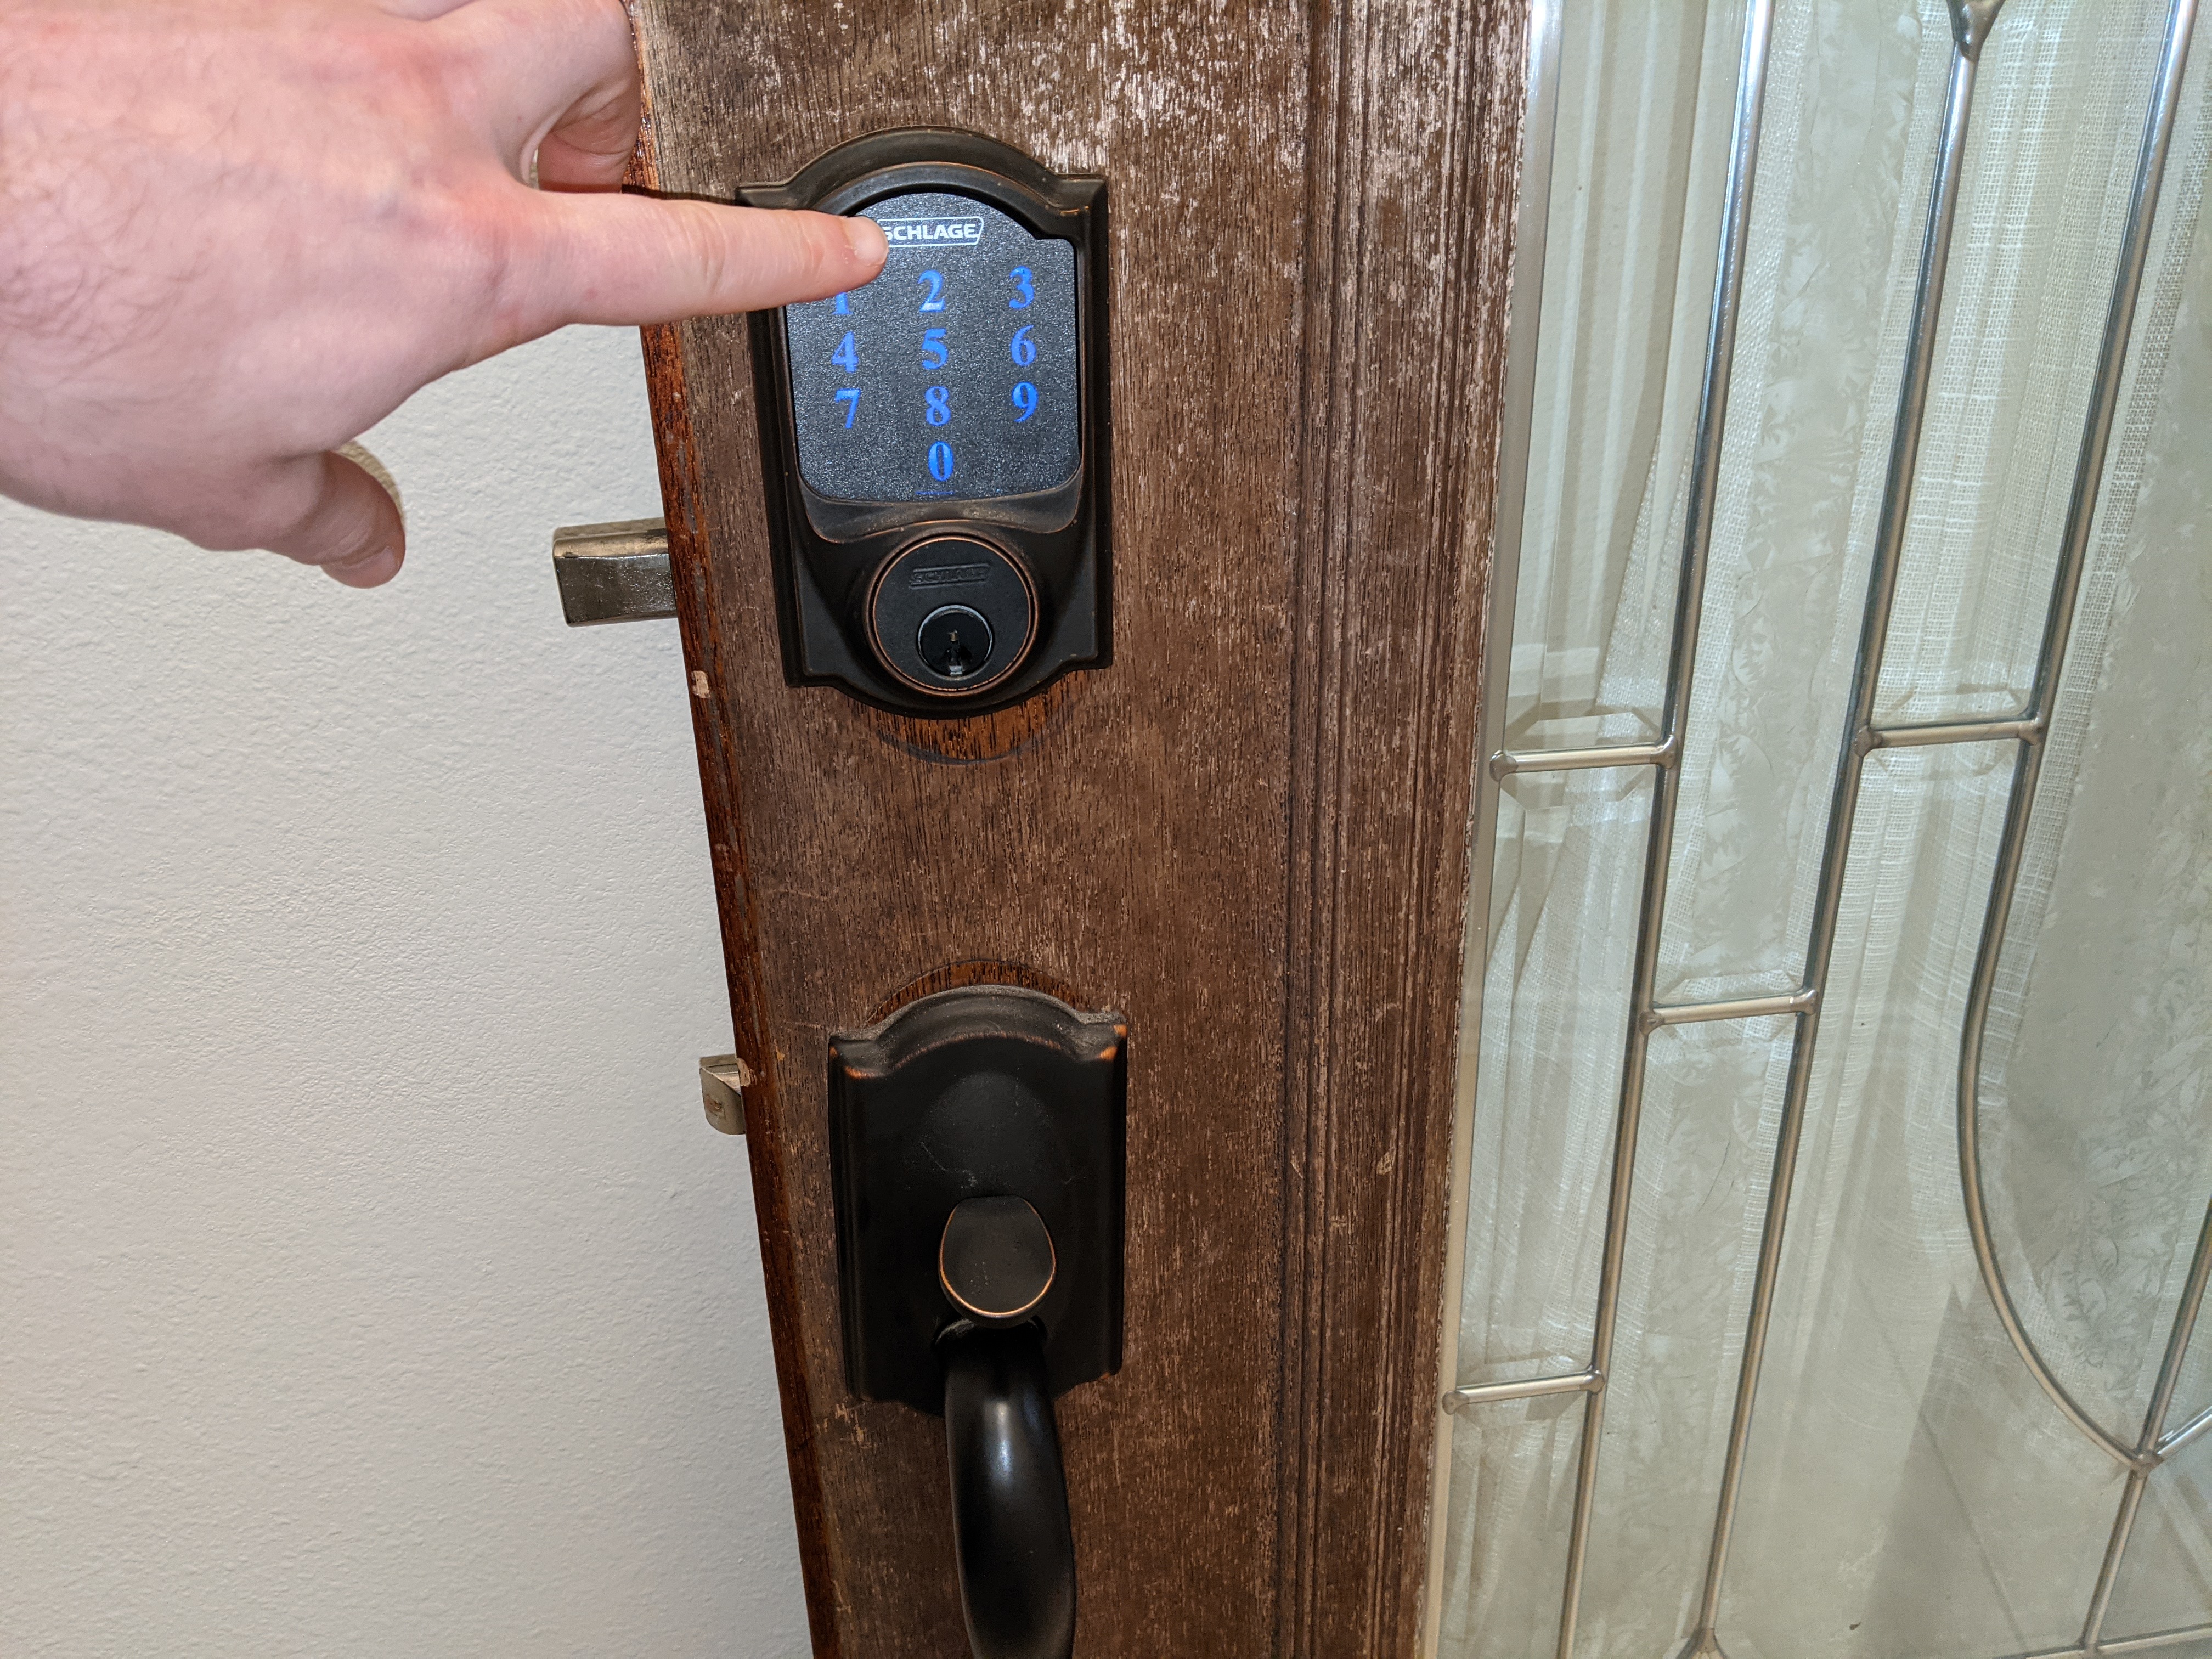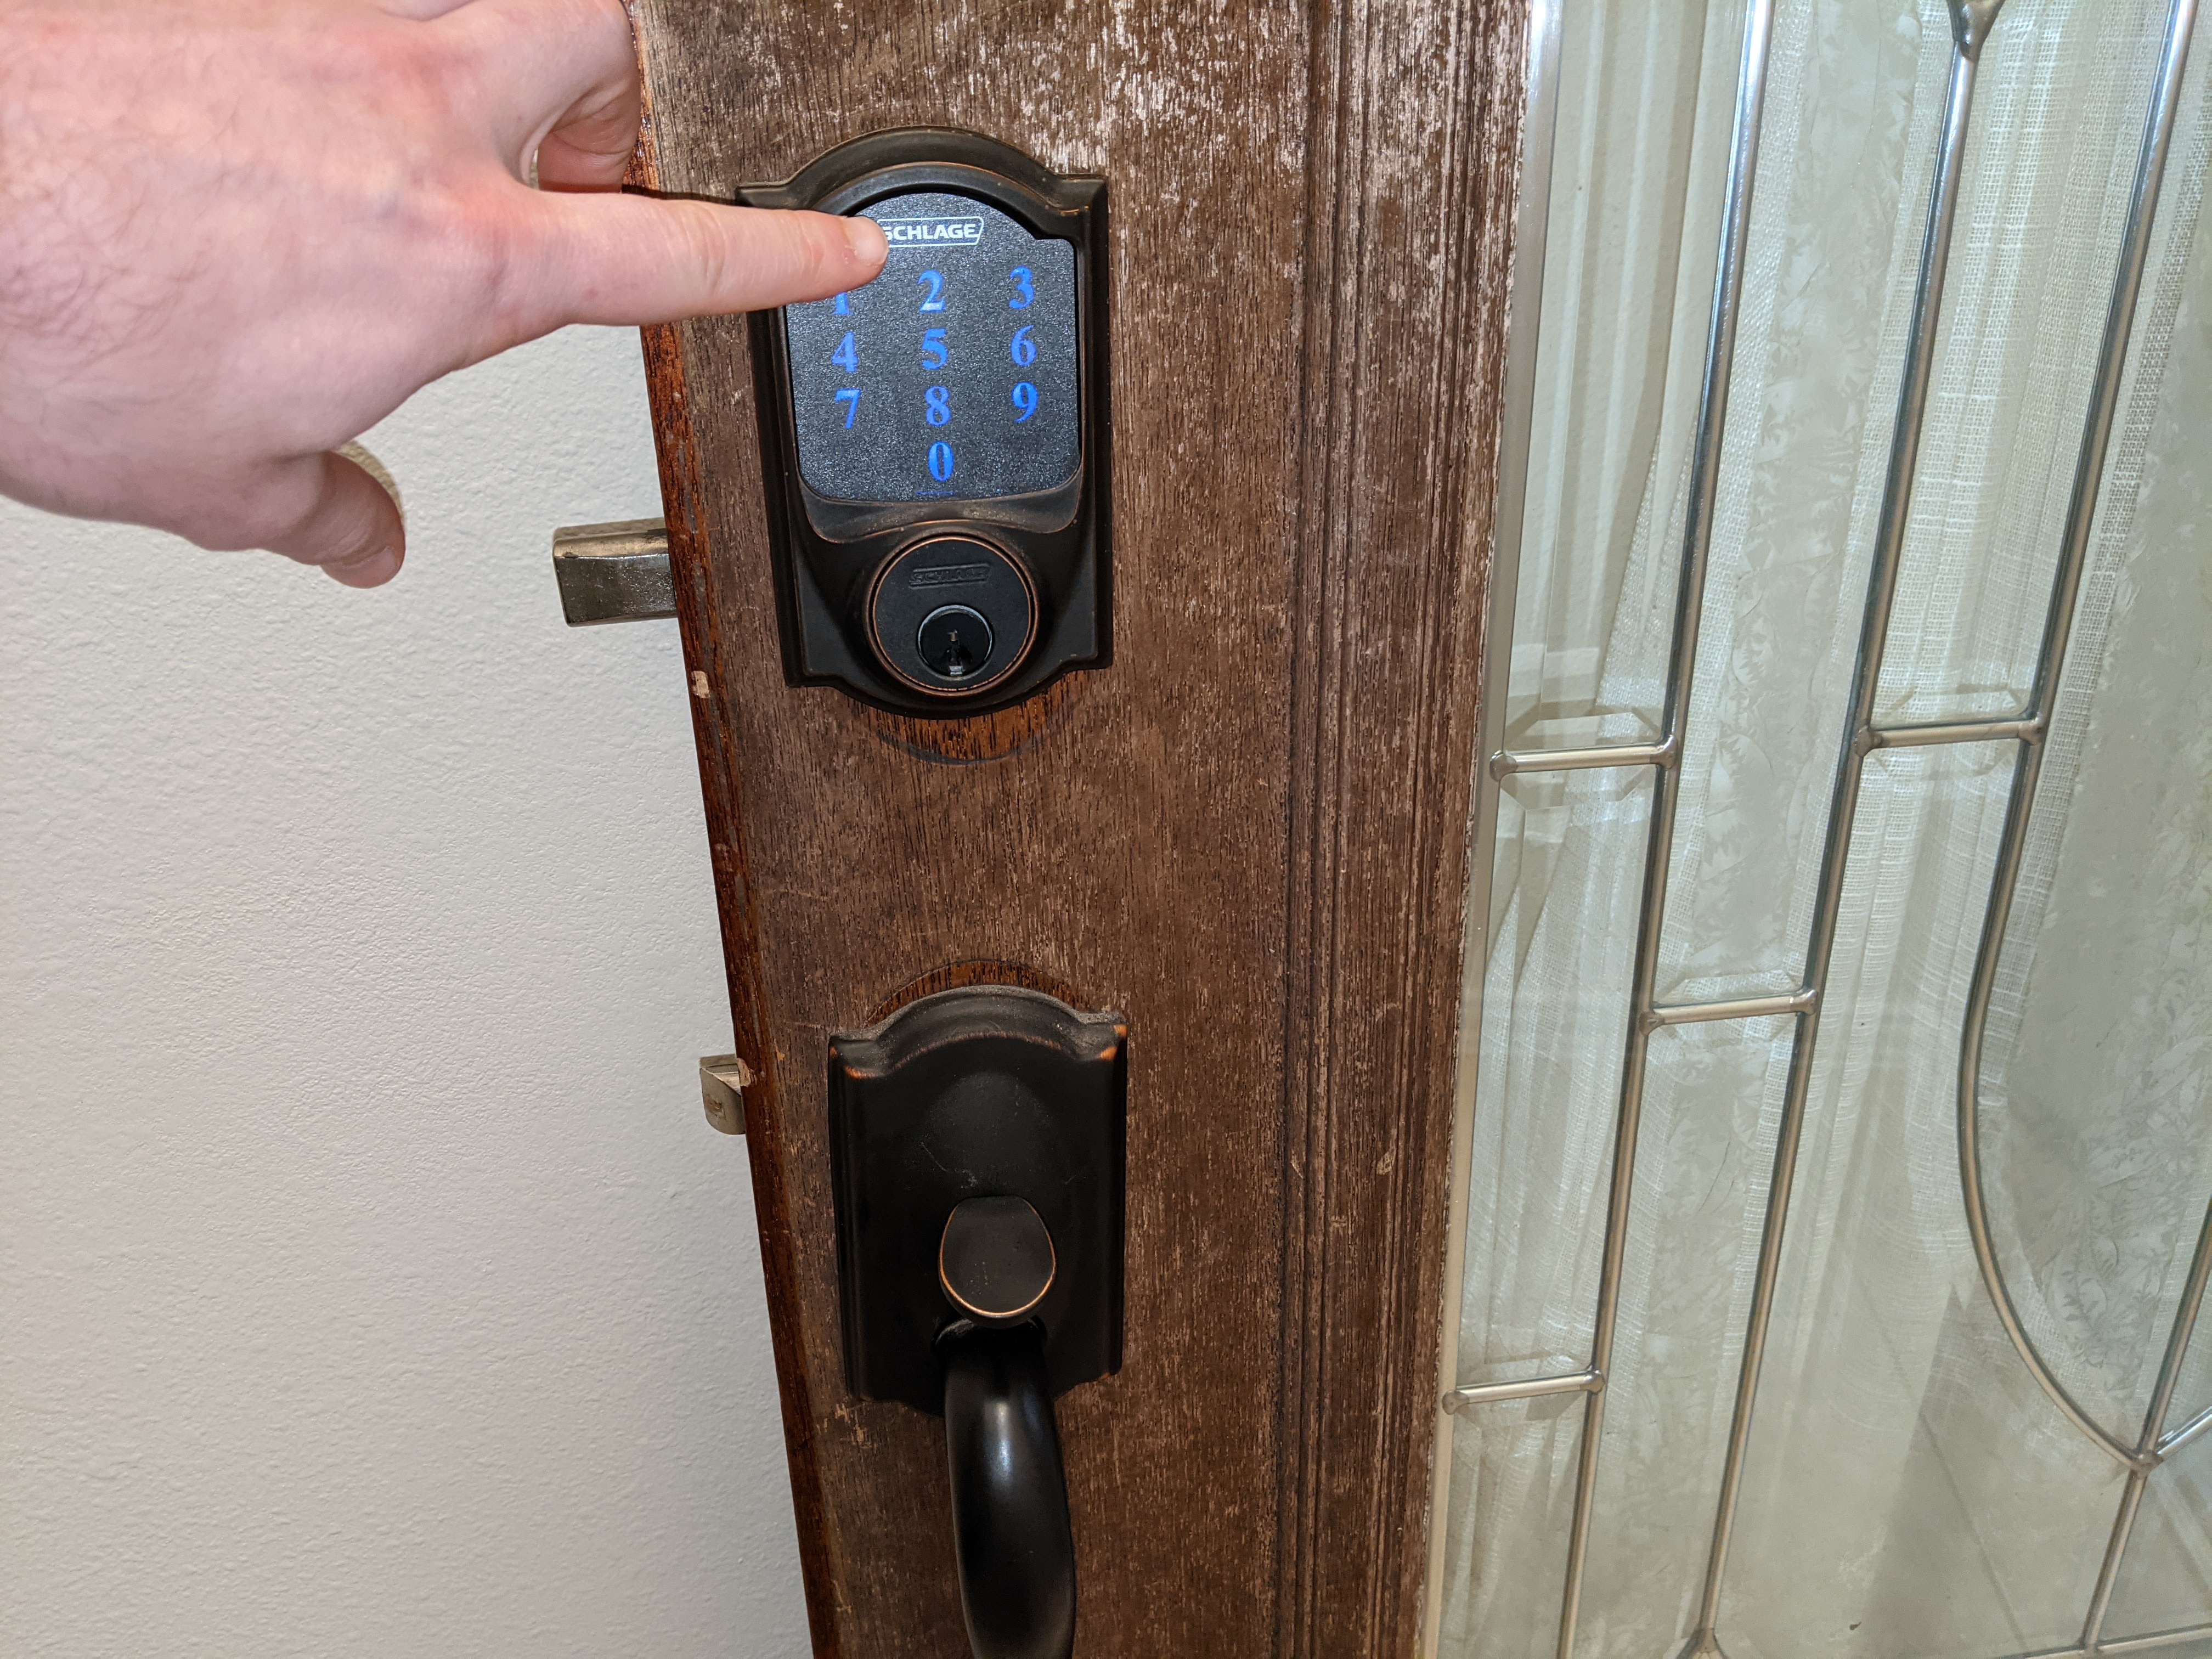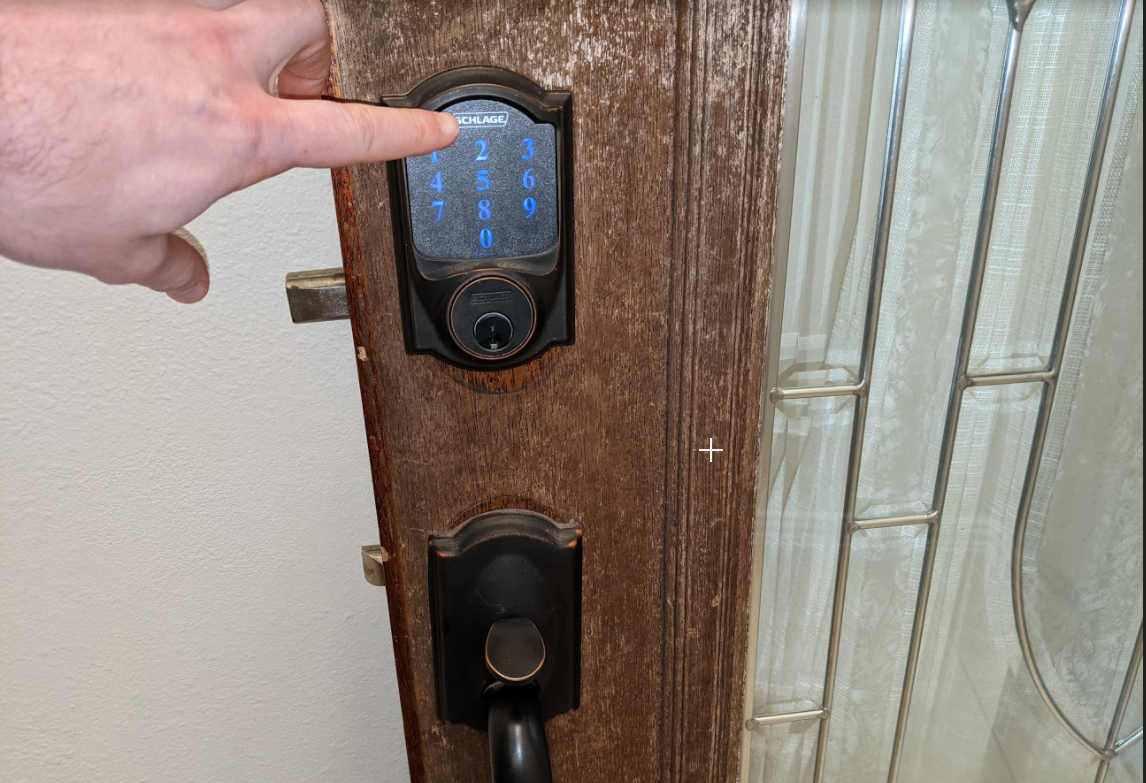
After many hours, and reading through tons of forums posts – I was finally able to add my Schlage Camelot BE469 to Home Assistant. For reference, here’s what the lock looks like:

To save you the hassle of reading through everything like I had to, I’ve consolidated everything into one how-to guide.

My Schlage lock was initially paired to SmartThings. Since I migrated from SmartThings to Home Assistant, I first had to exclude the lock from SmartThings.

If you’re Schlage Z-wave lock wasn’t added to SmartThings, you can skip Step 1.

Also, if you’re a fan of setting up security devices in Home Assistant, I recommend checking my Home Assistant Alarmo guide, which will walk you through setting up a home alarm system in Home Assistant without needing to touch a single line of yaml.

You might also find my Home Assistant Keymaster guide useful, where you can create and manage pin codes directly from Home Assistant after you set up this guide.


Step 1: Exclude Lock From SmartThings

To exclude your lock, you will need to first remove it from SmartThings. You will also need your 6-digit pairing code.

The default pairing code is located in your Schlage instruction manual, but you can also find it on a sticker inside located on the “inside” section of your lock.

  1. Move your SmartThings hub as close as possible to your Schlage Z-Wave lock. (Mine was about 6 feet away.)
  2. Open your door. Put your lock into the “locked” position, with the lock fully extended.
  3. Press the SCHLAGE button on the outside of your door.
  4. Enter your 6-digit Programming Code, then press 0.
  5. From the SmartThings app, select your hub > 3 dots > Z-Wave Utilities > Z-Wave exclusion. After a few seconds, you should see a “1 device has been excluded” message.

If it doesn’t exclude it right away, you may have to try excluding it a few times.


How to Factory Reset Schlage Camelot BE469 Lock

For my scenario, I had to factory reset my Schlage lock before I could pair it to Home Assistant.

To factory reset your lock:

  1. Unplug the battery.
  2. Hold the Schlage outside button down, plug the battery back in, and then enter the programming code.
  3. Then, follow the steps above to exclude it.

Step 2: Create a Network Key

To generate a network key, download the Home Sssistant integration called ‘Terminal & SSH“. (Supervisor > Add-on store > Terminal & SSH).

Add this to your Sidebar afterwards.

Open the Terminal and paste this code to generate a network key in hex:

cat /dev/urandom | tr -dc '0-9A-F' | fold -w 32 | head -n 1 | sed -e 's/\(..\)/0x\1, /g' -e 's/, $//'

This will create a random string of numbers like 0x9a, 0x57, etc

Unfortunately you aren’t able to simply copy & paste this from a terminal, so open Notepad and manually type it out. Then, copy to clipboard.

ZWAVE JS NOTE: If you are using Zwave JS, not OpenZWave or the old deprecated z-wave integration, remove all 0x’s, spaces, and comma’s.

It would look something like ’87DF515BAD31DB54972cAE1c11BAA1′


Step 3: Add Network Key to Configuration.yaml

This section is only for openwave or the old zwave integration.

ZWaveJS users do not need to add anything to the configuration.yaml file.

Next, open File Editor. If you don’t have the File Editor integration installed yet, you’ll need to install that too. (Supervisor > Add-on store > File Editor).

Click the folder icon in the top left corner and then choose configuration.yaml.

Under your zwave configuration, add your network key like I’ve done and then Save.

Reboot Home Assistant. (Supervisor > System > Host System > Reboot)


Step 4: Secure Join node to Home Assistant

Schlage locks must be added as “secure join” devices. If you accidentally added it as a regular node, see step 5 to remove it.

Click Configuration > Integrations > Z-Wave (or JWave JS) > Configure. Then click Add Node Secure. After a few moments, you’ll see a new Schlage lock node show up.


Optional Step 5: Remove Regular Schlage node

IMPORTANT: You only need to follow this step if you clicked “Add Node” instead of “Add Node Secure”.

From the same page, click Remove Node and then select your Schlage lock. Enter the programming code. I believe you’ll see a red checkmark on the outside of your lock if this done correctly.

Then, reboot Home Assistant and run through Step 4 one more time, this time choosing Add Node Secure.


Step 6: Test Your Lock

To test, go to Configuration > Integrations > Z-Wave > select the devices:

Then select your lock.

Under Entities, you should see a Lock or Unlock status. Go ahead and toggle it a few times.

For some reason, the status wasn’t reporting correctly initially for me. But after toggling it a couple times, the status seemed to report correctly.


Step 7: Adding New Lock Code

At this stage, you should be able to lock and unlock your door with the default lock codes (located in your instructions or on the inside of your lock where you found the programming code).

From here, you have two options: Add a Lock Code Manually, or using the Keymaster integration. The Keymaster integration, which gets installed through HACS, will allow to create pin codes from within Home Assistant. You can follow this guide for step by step instructions: https://smarthomepursuits.com/how-to-install-keymaster-to-manage-z-wave-lock-pins-in-home-assistant/

To add a new code, follow the steps in the instruction manual:

Enter 6-digit programming code > number 1 > enter 4-digit pin > Enter 4 digit pin again. You’ll then see two checkmarks. Hit the Schlage button on the outside of the door and test the code.

Now you should be able to open your door with a brand new User Code!


My Favorite Home Assistant Devices

Below are some of the Home Assistant-compatible devices I personally use in my home. I highly recommend each of them.

The full list of all Home Assistant compatible & recommended devices I use can be found on my Equipment List page.

Similar Posts

18 Comments

  1. Christopher T Pham says:

    Thanks for posting this. I found a website long time ago that showed me how to pair my deadlock but it was difficult to find and follow. At that time… I did not know I had to unpair it from my hub and use a network key.

    I’m in the process of moving my home assistant from my rpi to my unraid server so I have to do all the unpairing and paring for all my zwave devices. This page is a nice guide to review.

    This site

    1. That’s great, I’m glad my guide is useful to you!

  2. Hoping you are still seeing comments for this page. I followed the instructions and was able to get my Schlage Be469 into Home Assistant. I can lock/unlock in HA. However, I want to be able to control them in HomeKit. I have HomeKit integration with Home Assistant, but I can only see sensors related to the lock. There is nowhere I can simply lock/unlock in HomeKit. Is this normal? If so, should I use a virtual switch in HomeKit to control the lock/unlock functionality?

    1. Hi there,

      Yes, I’m still responding to comments! First, I’m glad you got it working by following my guide.

      Unfortunately, I don’t have any Apple products and haven’t tested or used Homekit, so I’m really not sure the best approach to unlock via the Homekit integration. I wish I could be of more help!

    2. s.rudolstadt says:

      Did you ever find out a way to get the BE469 into homekit? Google led me to this comment.

  3. Thanks for the guide. Do you know of a way to set up multiple codes for multiple users? That’s the one reason why I have my Schlage lock still connected to SmartThings despite migrating the rest of my Zwave devices over to HA.

    Thanks.

  4. Thanks for the guide. it is now possible to add a z-wave lock using S2 authentication, which has both security and communication advantages. Make sure you have all the keys generated in the Zwave JS addon configuration tab. Then use the zwavejs2mqtt web UI to add the device. You can run both arsons, but just turn off the MQTT reporting on the latter. When you add the lock in secure mode, it gives you some options, so pick the one that tries S2. After you start the pairing, you have a limited time before the lock times out, so you need to be quick adding the DSK code when it asks.If you are fast enough, it will continue. The pairing dialog will end, but it is still polling the lock for several minutes, so be patient. The device table in the web UI will show you if it paired using S2 and when it is done polling.Apparently, this prevents your security key from ever being transmitted in the clear, unlike S0. They also claim that it uses less bandwidth on the network, which should increase stability.

    1. Thanks Jay – I haven’t updated my z-wave JS to allow for S2 authentication yet, so thanks for the info! I’m sure there are others looking for steps on how to do so with S2 auth – I appreciate you documenting the process for us.

  5. Joe Morris says:

    I’m also migrating from ST to HA and ran into an issue migrating my Schlage Connect locks. I have un-enrolled them successfully from ST, but when I tried to add one lock last night to HA (Z-wave JS) I got prompted for a 5-digit PIN to complete the enrollment. I don’t know that it was asking for. I’ll save a screenshot the next time I attempt this. I can enroll outlets with no problems.

    1. The pin it wants is the DSK code from the back page of your quick start guide. I dont think you can you the qr code, but right under it, is the actual code. It is to the right of the serial number. This is for the extra security.

  6. In order to use S2 authorization, I believe you need an S2 zwave hub. A few things I found after finally getting my lock connected.

    1. The hub has to be near the lock. I can’t emphasize this enough. I saw it in another thread, I kinda blew it off, But it did not connect until I did that, and connected almost instantly after I did. I believe it is a security set in the locks.

    2. My quick start guide said nothing about needing to enter the programmers code to include or exclude. I tried both the process in this blog and the one in the guide. After moving the hub close, I only tried the one that is a single push on the include/exclude button, and it work great. I’m thinking maybe they changed the lock or the firmware

    I didn’t have to use mqtt to get the security code in. It popped up on my phone with the normal inclusion, and the timing didnt see real tight. I think we are sitting on top of JS code changing, but not sure that is the reason..

    If I open the device, I see
    “Highest Security; S2 Access Control”
    So I think it is connected at that level

    Anyway this experience, so if it helps anyone through what was a really frustrating experience for me, I’ll be happy.r

  7. If you are a first-time user of a Schlage deadbolt lock, it is vital that you learn how to program it. You will only be able to personalize the device to your desire if you understand this.

  8. Do you have to have a zwave hub or some type of hardware before you can use Z-wave JS? This is my first zwave capable device.

  9. John Welter says:

    You miss the entire “inclusion” step on the lock itself….

  10. Hi Danny, will your instructions work with this type of Schlage Connect lock?
    SCHLAGE Connect Smart Deadbolt with Camelot trim in Bright Brass, Zigbee Certified – BE468GBAK CAM 605
    https://www.amazon.com/Schlage-BE469ZP-CAM-619-Deadbolt/dp/B07H3BD4LS/ref=cs_sr_dp_3
    Or is there a reason why you chose the Schlage Connect lock that you have the link to in your how to?

    I’m not the smartest tool in the shed, but I want to give your example with Home Assistant and the steps above a try. I do not want to pay a Wink or any other zigbee hub a subscription, and having a bridge between the smart hub and a Pc would be great to be able to control the smart lock from phones.
    Please do respond . Thank you.

  11. Hello Danny,
    I am really hoping you still come back to look at the comments as i have questions…. I have not removed my schlage lock from smart things yet as i always read the articles fully before executing them. i have HA fully updated and i have the Z-wave JS integration. so… right at step 2 after generating the key you show a pic of putting that key somewhere and i hust cannot fine where that will go. also… when adding the lock i do not have an “add node secure” in fact most of the screens in my Z-wave JS look different from yours. do you have any advice for adding the lick when its time?

  12. I am not sure if you are still responding to this post, but will ask my question. Like you, I am moving all of my devices from Smartthings to Home Assistant. My Schlage BE469 (older version) is the last thing to move. After chasing my tail for two days off and on, I found your post. Using the guidance from your post, and finally discovering I had failed to generate security codes in zwavejs2mqtt (see my system description below) I was successful in including the BE469.

    I can operate the lock from HA, see lock status and battery level, etc. I have created an automation to lock the BE469 and 10:00pm and to receive notification and it works. I like to know when the door is locked and unlocked manually with the thumb turn. I created an automation for each function, but neither sends the notification. Is this a known issue, or am I not finding the right configuration for the automations? I also see your post on Keymaster. Is using Keymaster a more effective way of getting notifications from these locks?

    My system is running on Ubuntu server 22.04.2 with Home Assistant 2023.3.1 running in a Docker container and zwavejs2mqtt also running in a Docker container. I have the Z-wave JS integration installed in HA.

Leave a Reply

Your email address will not be published. Required fields are marked *