Part 1: How to Setup & Configure Roborock S7 with Home Assistant
In this guide, I'll show you how to setup and configure the Roborock S7 in Home Assistant. The Roborock S7 is easily one of the best robot vacuum/mop combo's for Home Assistant in 2021/2022. I won't go into all the features, but a full list is available on their Amazon product page.
Once it's setup and added to Home Assistant, the possibilities are endless. You can create automations to run at certain days or times, scheduled daily vacuuming if away from home, pick individual rooms to vacuum, or simply view the stats & status of it - battery level, cleaning count, etc.
In Part 1 (this guide), I'll show you:
- First time setup
- Connecting to MiHome App
- Extracting the token (for use with a Lovelace card)
- Adding Roborock S7 to Home Assistant
- Adding the Xiaomi Lovelace cards
In Part 2, I'll show you:
- How to customize your Vacuum map card to include clickable zones
- How to add text/icons for rooms on Vacuum Map Card
- How to create a dropdown menu of rooms you can instruct your vacuum to clean or go to
In Part 3, I'll show you:
- How to configure with Google Assistant to send voice commands
- Example automations & scheduling
In Part 4, I'll show you:
- How to control Roborock S7 mopping in Home Assistant.
In Part 5, I'll show you:
- How to vacuum multiple rooms in an automation (by calling each
script.vacuum_xyzscript). This allows you to select the order and schedule vacuuming for as many rooms as you'd like.
In Part 6, I'll show you:
- A super clean, compact vacuum & mop control card
Let's get started!
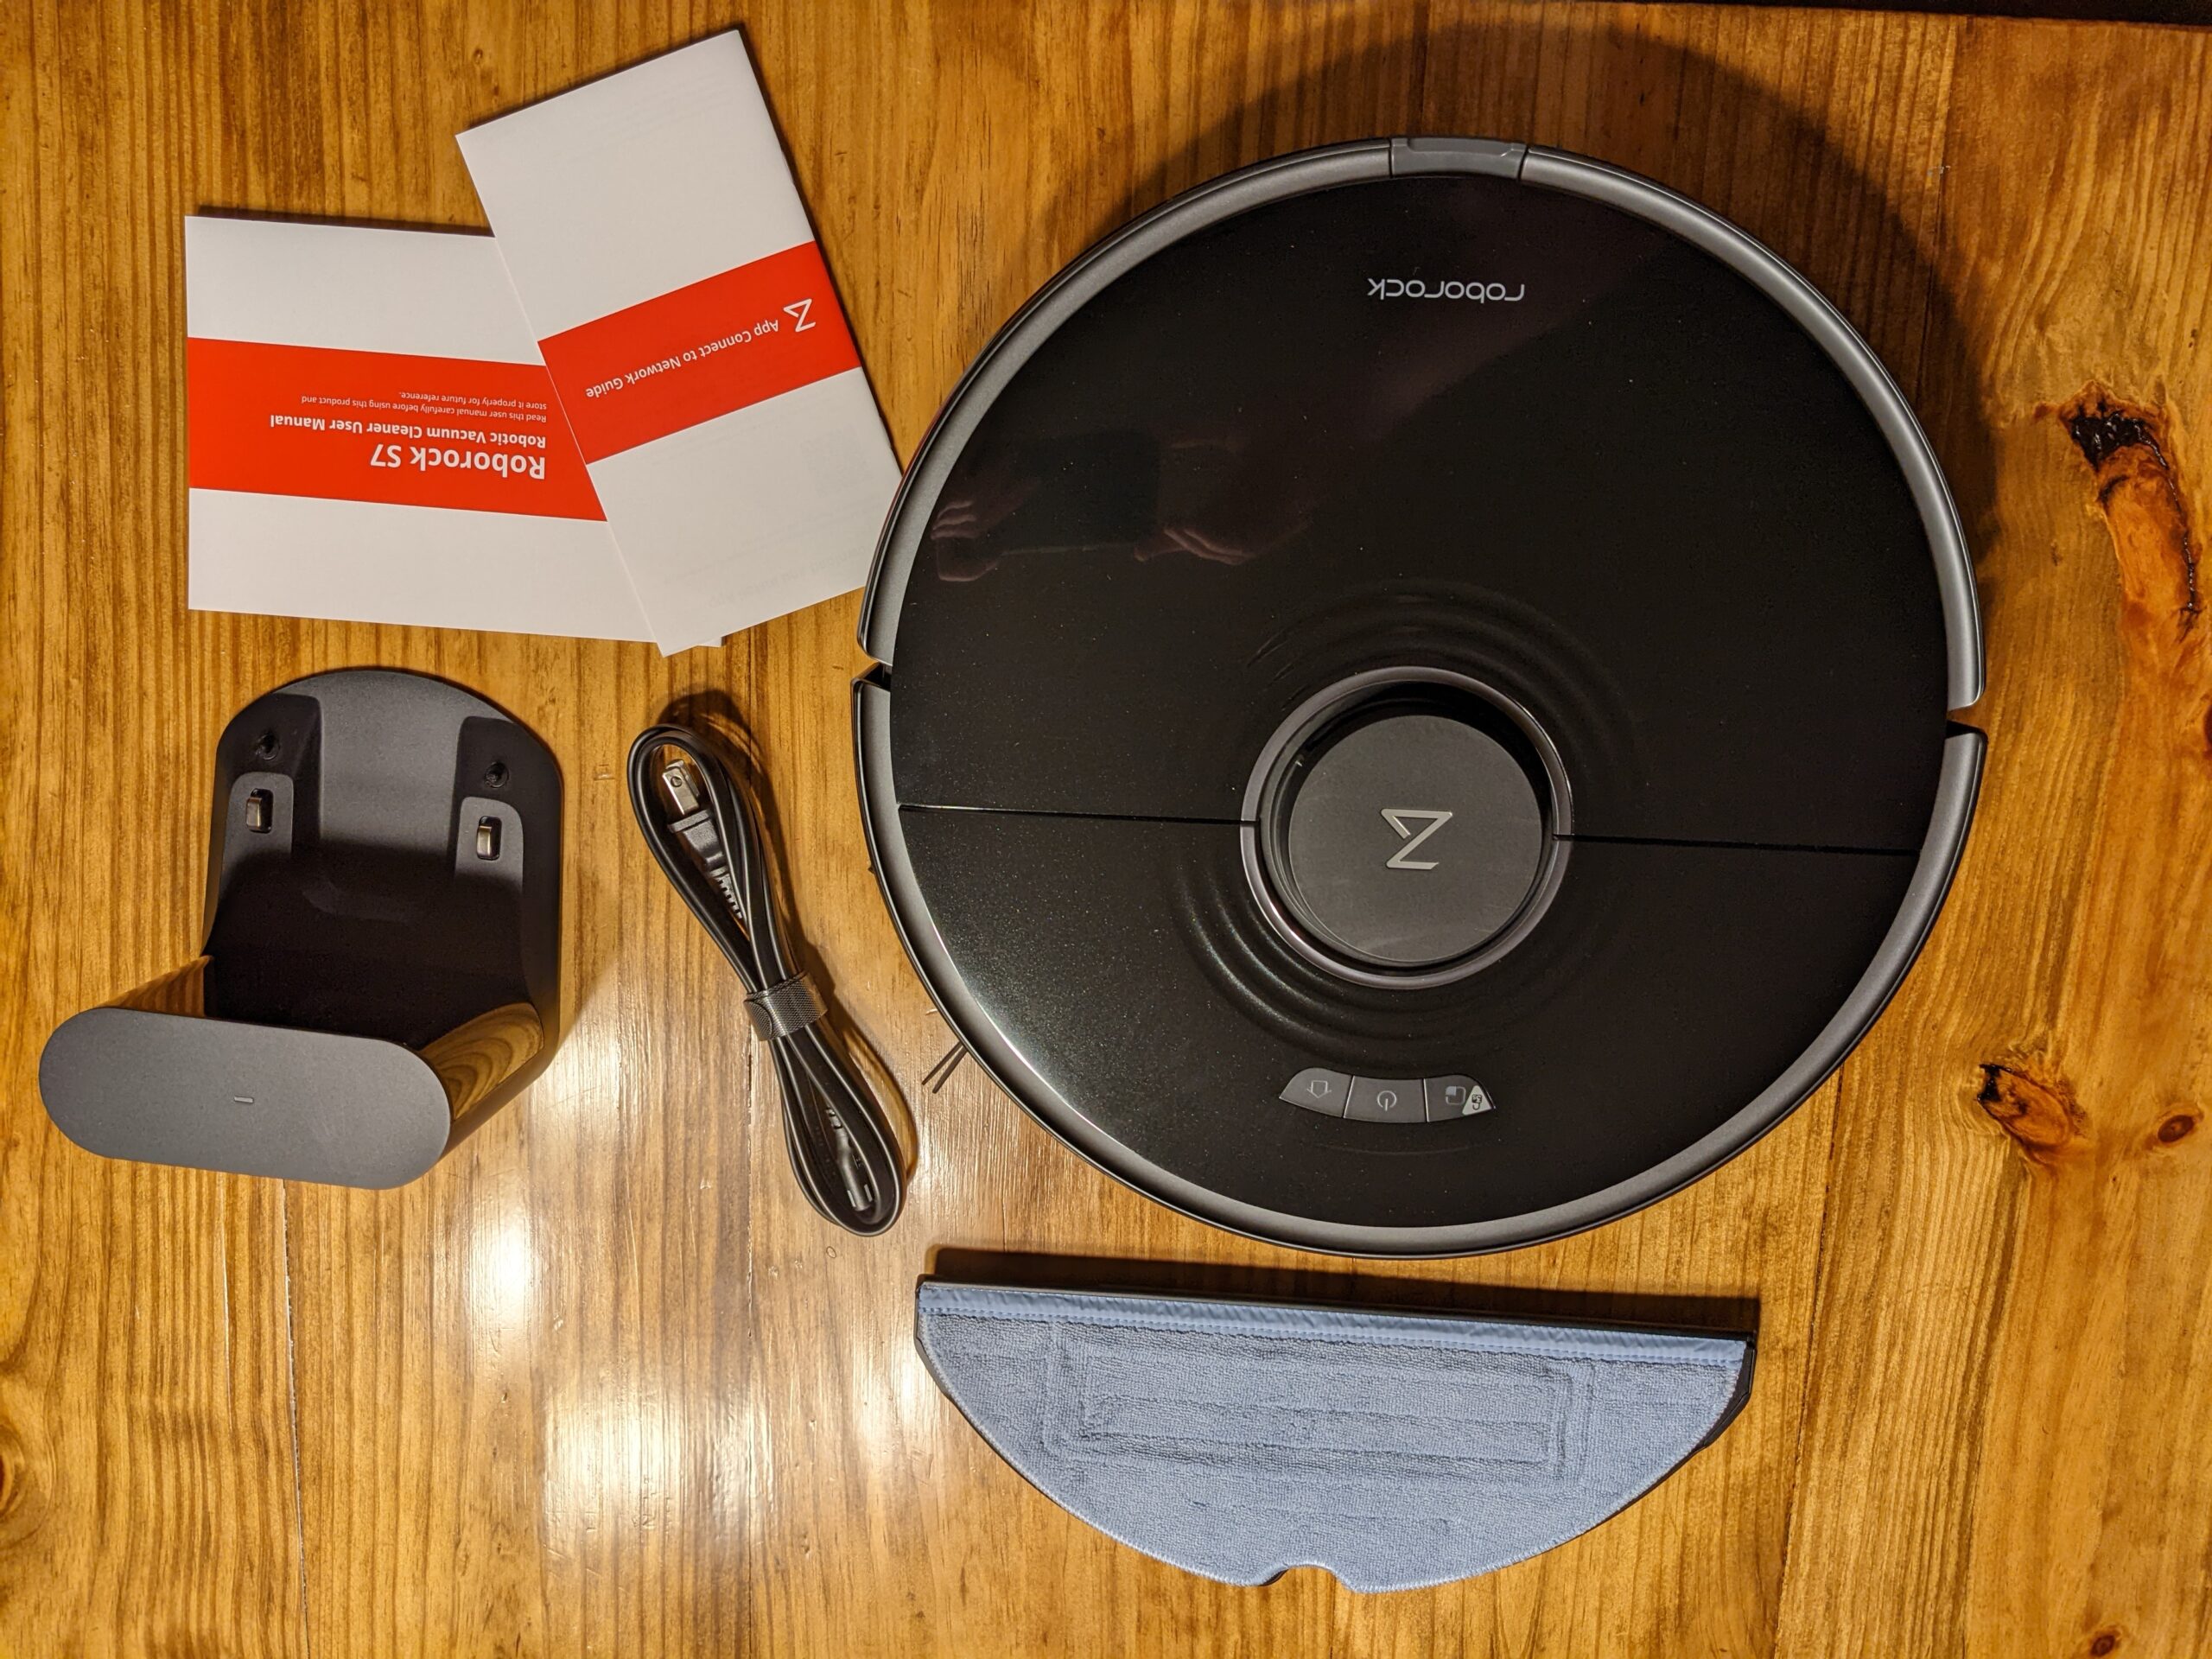
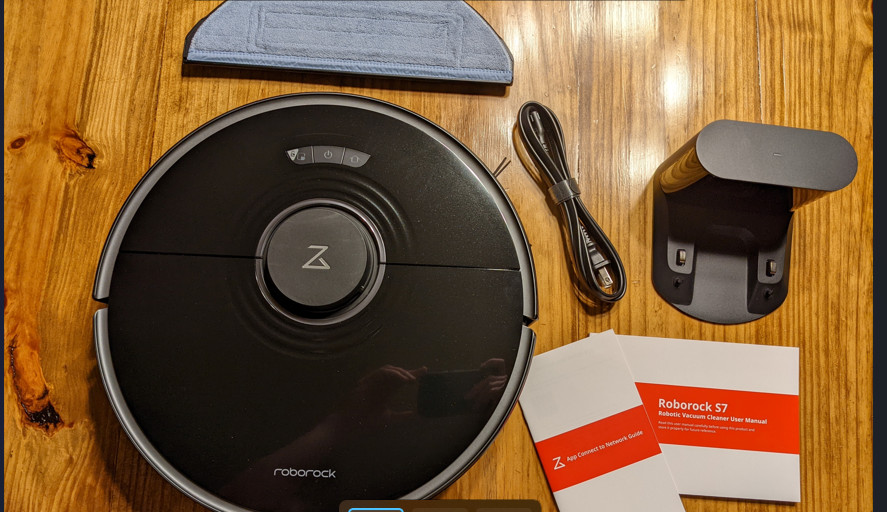
Step 1: Unbox and Charge
The first thing you'll want to do in unbox everything and plug in your dock. Mine arrived with about 40% charge initially.
Locate the silver charging ports on the bottom of the robot and place it on the dock. Once plugged in, the light on the top should flash green and the vacuum will verbally tell you it's "charging".
Next, open the lid. If your wifi status light is already blinking blue, you are ready for Step 2: Adding to the MiHome app.
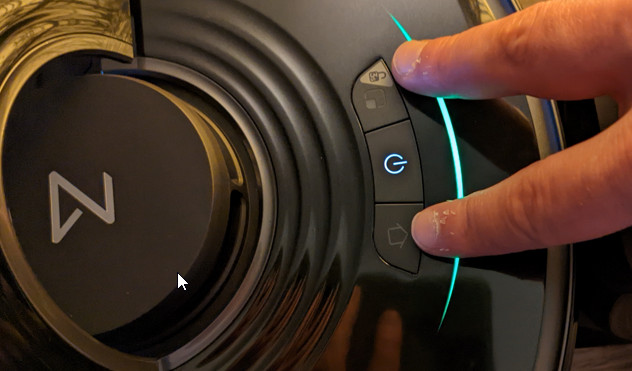
If yours is not blinking, press the "Spot Clean" and "Dock" buttons at the same time until you hear the "resetting wifi" voice alert. Then proceed with Step 2.
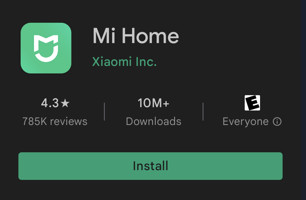
Step 2: Download MiHome App
Download the MiHome app from the Google Play or Apple App store. (The instructions tell you to download the Roborock app, but if you do that, you won't be able to extract the token.)
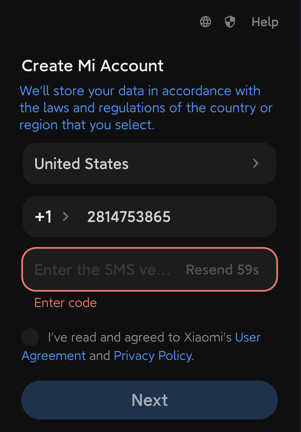
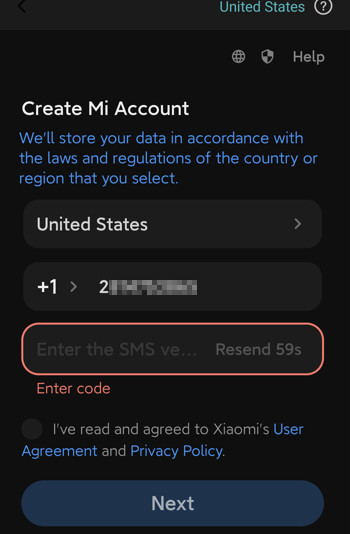
Accept the ToS, choose your country, and then create your MiHome account. Make note of the username and password as you'll need that for the token extraction step.
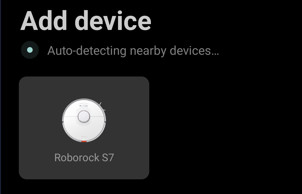
Once logged in, click Add a device:
It should autodetect it.
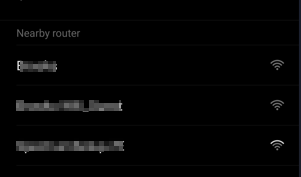
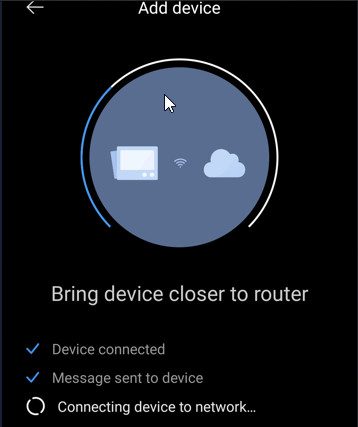
Then, connect it to your wifi network.
Then, pick a room where your robot vacuum will be docked at.
Then, look through the app settings.
- Rename your device under Robot Settings. I named mine Rosie (Get it, Rosie the Robot from the Jetsons?)
- Under Manage Maps, enable Map Saving.
Step 3: Retrieve Xiaomi Cloud Token
Next, we need to retrieve the Xiaomi token. This is needed so we can view the cleaning map we see in the MiHome app inside Home Assistant.
Navigate here: https://github.com/PiotrMachowski/Xiaomi-cloud-tokens-extractor
I'm using Windows 11 so I ran the token_extractor.exe, but you can also use this tool with docker, python, or linux.
Run the program after downloading. If using Windows, you'll see a blue Windows Smartscreen message which is normal (just means the program hasn't been digitally signed). Click More info and Run Anyway.
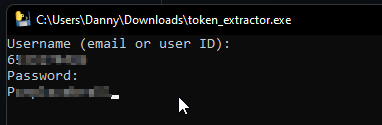
In the black box that pops up, enter your MiHome:
- Username (UserID found in Profile in the MiHome app)
- Password
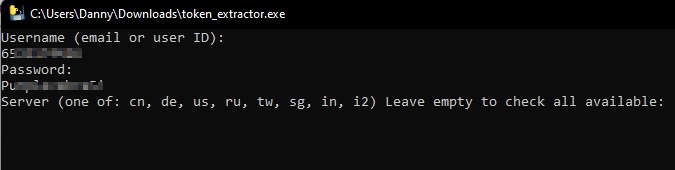
- Server (leave empty)
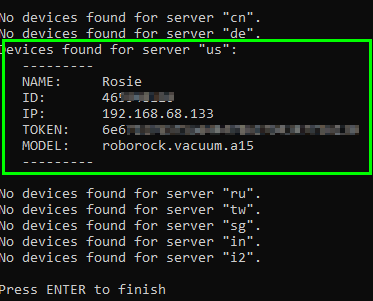
If the info was added correctly, you'll see your Roborock's token and IP address:
Quick Note: If you only want to add the vacuum to Home Assistant and don't plan on using the Lovelace card to manage it, you don't need the token. You just need the MiHome username and password.
If you plan on adding the Xiaomi Vacuum Map Card to control your Roborock from Lovelace, then you'll need it.
Step 4: Add to Home Assistant
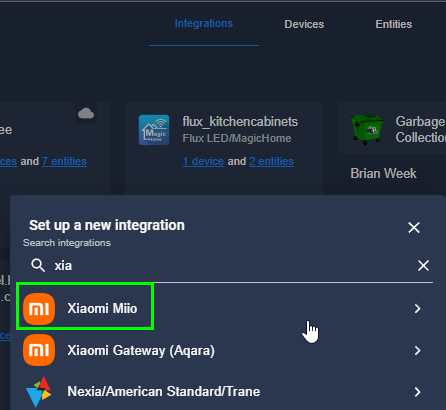
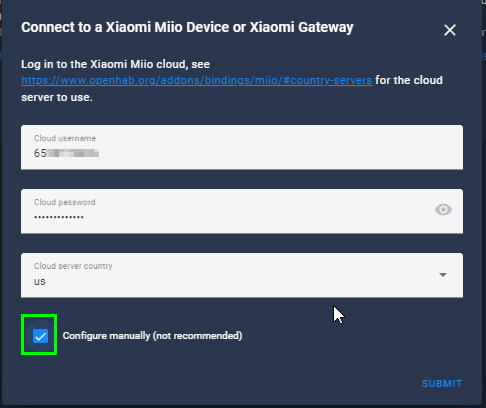
Now that you've retrieved the token and IP address, you can add it to Home Assistant. We are going to use the built-in Xiaomi miio integration for this.
Open Home Assistant. Go to Configuration > Integrations and search for Xiaomi Miio.
Enter your username, password, country, and then check the box for Configure Manually. Then click Submit.
Again, if you aren't going to use the map card, then you don't need to configure manually.
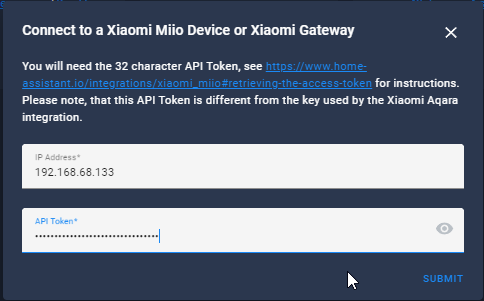
Enter the IP address and token:
Then choose a room and click Finish.
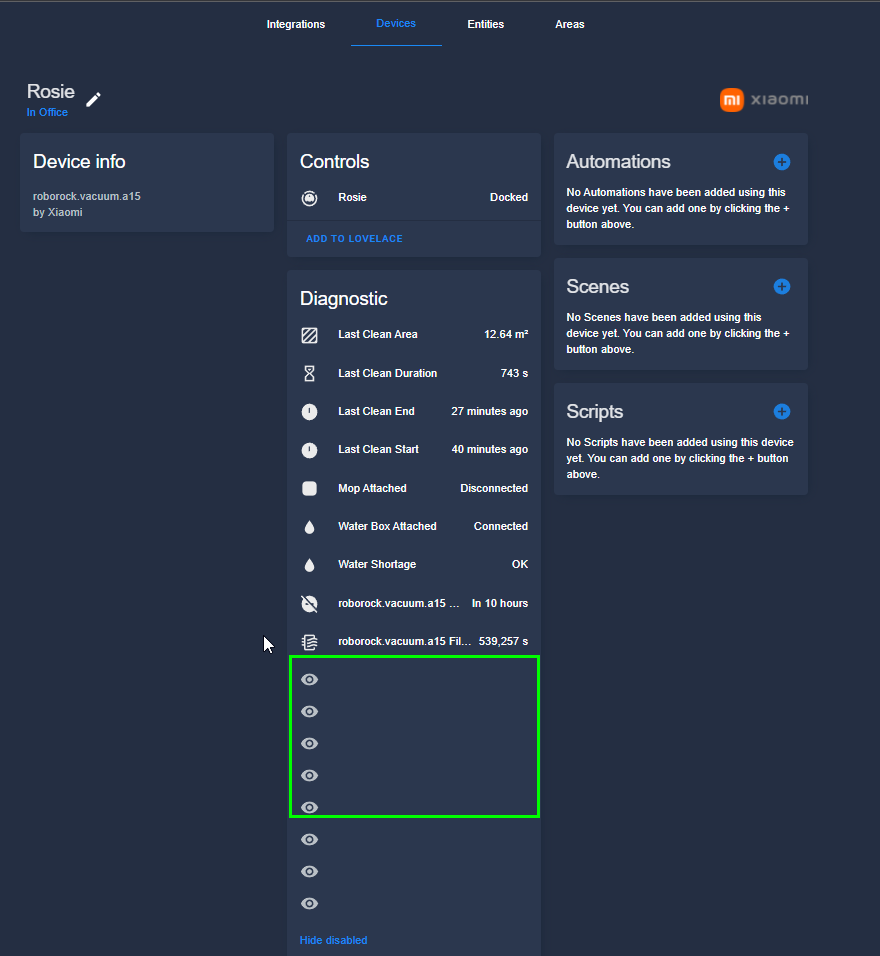
Step 5: Enable Disabled Entities
Go to Configuration > Devices and search for your vacuum.
Enable any entities that weren't enabled by default. Some disabled ones you might want are Total Clean Count, Total Clean Area, and Total Duration. I enabled them all.
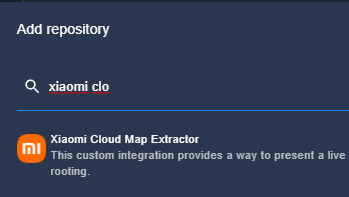
Install Xiaomi Cloud Map Extractor Integration
Before you can add the Lovelace map card, you need to add Xiaomi Cloud Map Extractor to Home Assistant. This will import the map from you MiHome app so you can view it in Lovelace by creating a camera: entity.
Assuming you have HACS installed, just open HACS > Integrations and search for Xiaomi Cloud Map Extractor.
In the bottom right corner, click Download this repository in HACS. After it's downloaded, restart Home Assistant from Configuration > Settings > Server Controls.
Then, open File Editor > Configuration.yaml and add either the Basic or Recommend camera config (I used the Recommended one). If you aren't using a !secrets file yet, you can just hardcode the values for now.
Basic:
camera: - platform: xiaomi_cloud_map_extractor host: !secret xiaomi_vacuum_host token: !secret xiaomi_vacuum_token username: !secret xiaomi_cloud_username password: !secret xiaomi_cloud_passwordRecommended:
camera: - platform: xiaomi_cloud_map_extractor host: !secret xiaomi_vacuum_host token: !secret xiaomi_vacuum_token username: !secret xiaomi_cloud_username password: !secret xiaomi_cloud_password draw: ['all'] attributes: - calibration_points Restart Home Assistant again. Then go to Configuration > Entities and search for "camera". You should see a new entity camera.xiaomi_cloud_map_extractor.
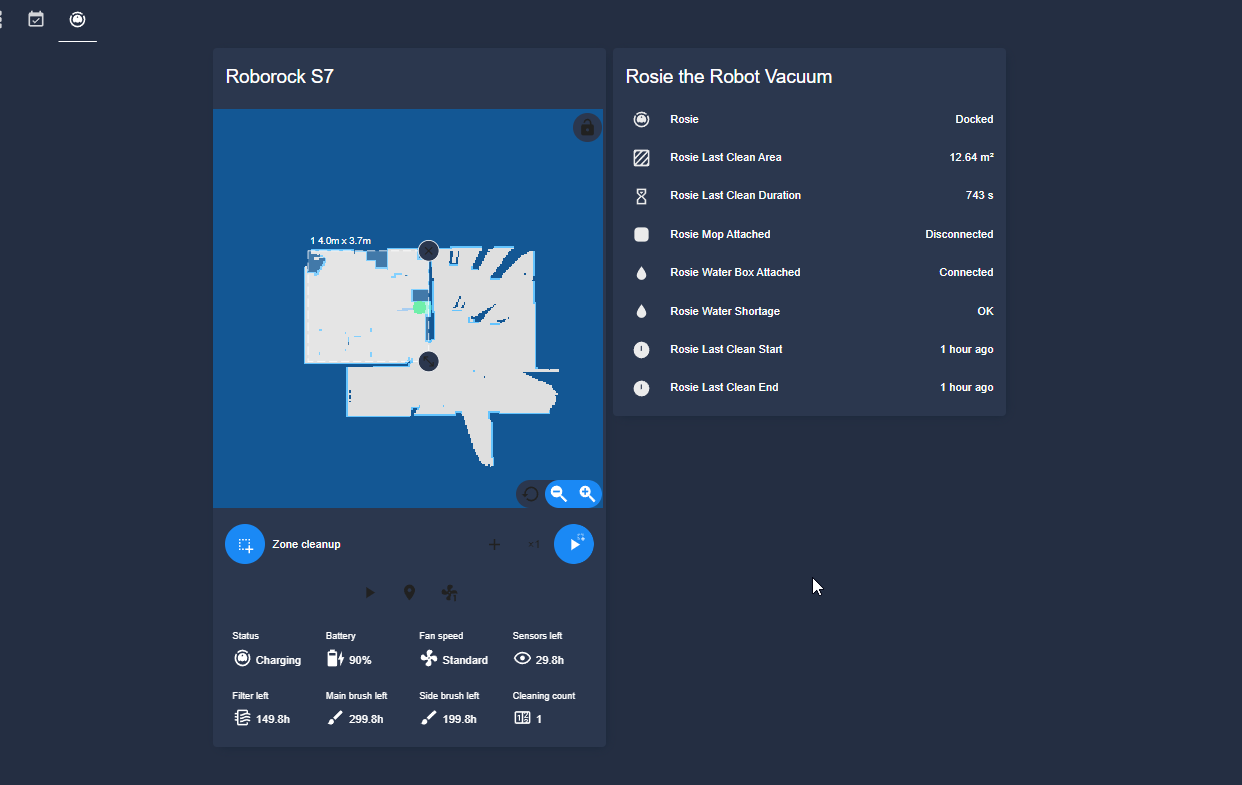
Add Xiaomi Vacuum Map to Lovelace
Now that you have your camera entity, install the Xiaomi Vacuum Map card.
- Open HACS
- Click the Frontend section
- Click the "+" button
- Search for "Xiaomi Vacuum Map" and install
- Reload
Then, navigate to one of your Lovelace dashboards.
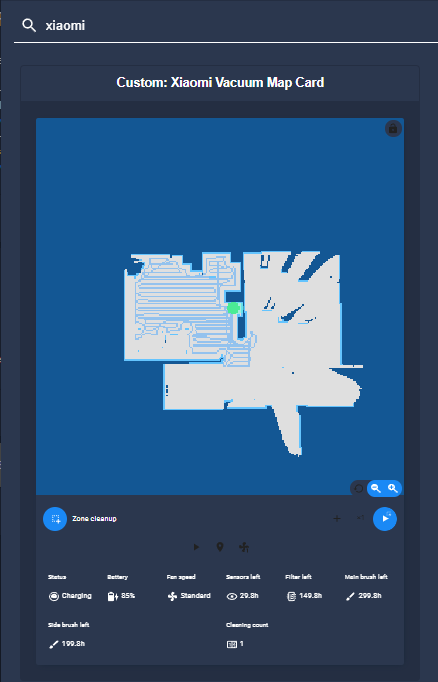
Add Card > Search for "xiaomi". It will look like this:
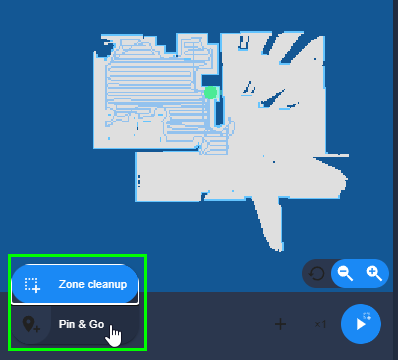
To use the card, you can either click the "Zone Cleanup" option and drag over an area that you'd like to clean, or "Pin & Go", where you can just tell your roborock to go to a specific location.
I use the pin & go feature if I'm being lazy and want Rosie to meet me at the trash can.
Wrapping Up
That's it! You have now successfully added your Roborock 7 vacuum to Home Assistant, as well as added some really nice Lovelace cards to manage it. This guide can also be followed for previous Roborock versions including Roborock 5, Roborock 6, etc.
I also wanted to point out that this vacuum now has an optional Auto-Empty Dock:
The only downside (so far) of adding this vacuum to Home Assistant is that mopping isn't yet supported in Home Assistant. To schedule mopping, you'll need to use the MiHome app. You can now control Roborock mopping from Home Assistant - follow this guide!
Make sure to follow all parts 1-4 (links at the very top of this guide), where I show you how to define zones vacuum "zones". So, rather than having to drag over a room to vacuum it - you can simply click a room on the Lovelace map. I'll also show you some neat automations I've set up as well as how I've configured it to work with Google Assistant to manage Rosie using voice commands.