How To Add SmartThings Water Sensor to Home Assistant
Are you looking for a step-by-step guide to add your SmartThings Water Sensor to Home Assistant in 2021? If so, then this tutorial will walk you through exactly how to do that.
This simple post is part of my "How to Migrate from SmartThings to Home Assistant" series, where I show you how to migrate all of your sensors and devices over as quickly and easily as possible. This process is super easy and takes less than 5 minutes from start to finish.
For reference, here's my other guides for SmartThings-branded equipment.
- How To Add SmartThings Button to Home Assistant
- How To Add SmartThings Motion Sensors to Home Assistant
- How To Add SmartThings Multipurpose Sensors to Home Assistant
Prerequisites:
This guide assumes that Home Assistant is already installed and configured.
- Home Assistant installed (I use a raspberry pi)
- A z-wave hub, such as the GoControl zwave zigbee combo
- Zigbee Home Assistant (ZHA) integration configured into Home Assistant.
How To Factory Reset SmartThings Water Sensor
If you are moving from SmartThings to Home Assistant, one of the first things you'll need to do is remove the device from your SmartThings hub.
There's a couple ways to do this, but the easiest way is to simply factory reset the device.
- Grab your SmartThings Water Sensor and flip the sensor over. Locate a small button towards the middle.
- Press and hold for 5 seconds. If you flip the motion sensor over while holding down the button, you'll see a light turn from Orange to Red. This means that the sensor has been factory reset correctly.
- At this step, your device has been factory reset but it'll still shows up in your SmartThings app. To remove it from the app, simply click and hold the device from within the app.
- You can also log into https://graph.api.smartthings.com to remove it from there.
Adding SmartThings Water Sensor to Home Assistant using ZHA
- Log into Home Assistant.
- Navigate to Configuration > Integrations > Zigbee.
- Click Configure and then + Add Device.
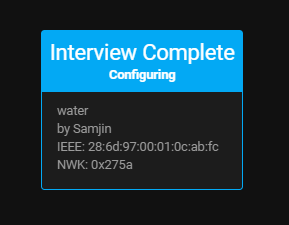
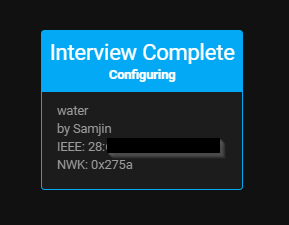
- Within a few seconds, you should see it start the interview/pairing process
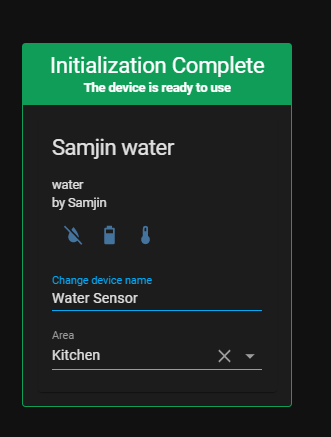
- Once it's configured, name your device and assign it to an area.
Add SmartThings Water Sensor to Lovelace Dashboard
To add it to your Home Assistant dashboard, click the 3 dots in the top right corner > Edit Dashboard. Then choose Add Card.
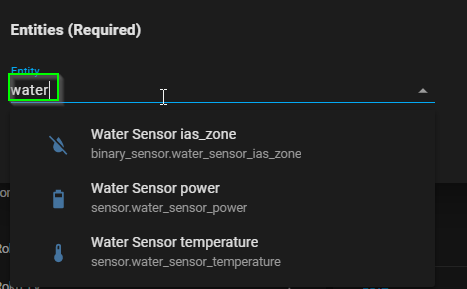
Then choose Entities.
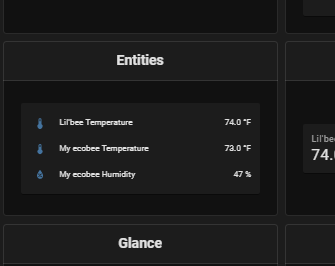
Under Entities (Required), start searching for "water". You'll see three entities show up for your water sensor. Go ahead and select all three, one on each line.
I also recommend toggling change color on state to ON. This will turn the water sensor a different color when wet versus when it's dry.
Click Save once complete.
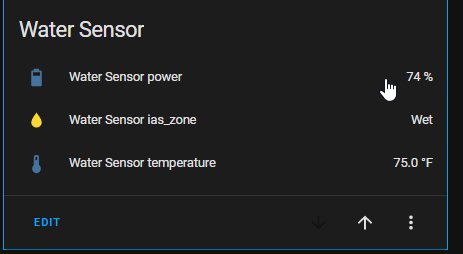
And finally, here's what your SmartThings Water Sensor and leak detector looks like as a Home Assistant item!
Wrapping Up
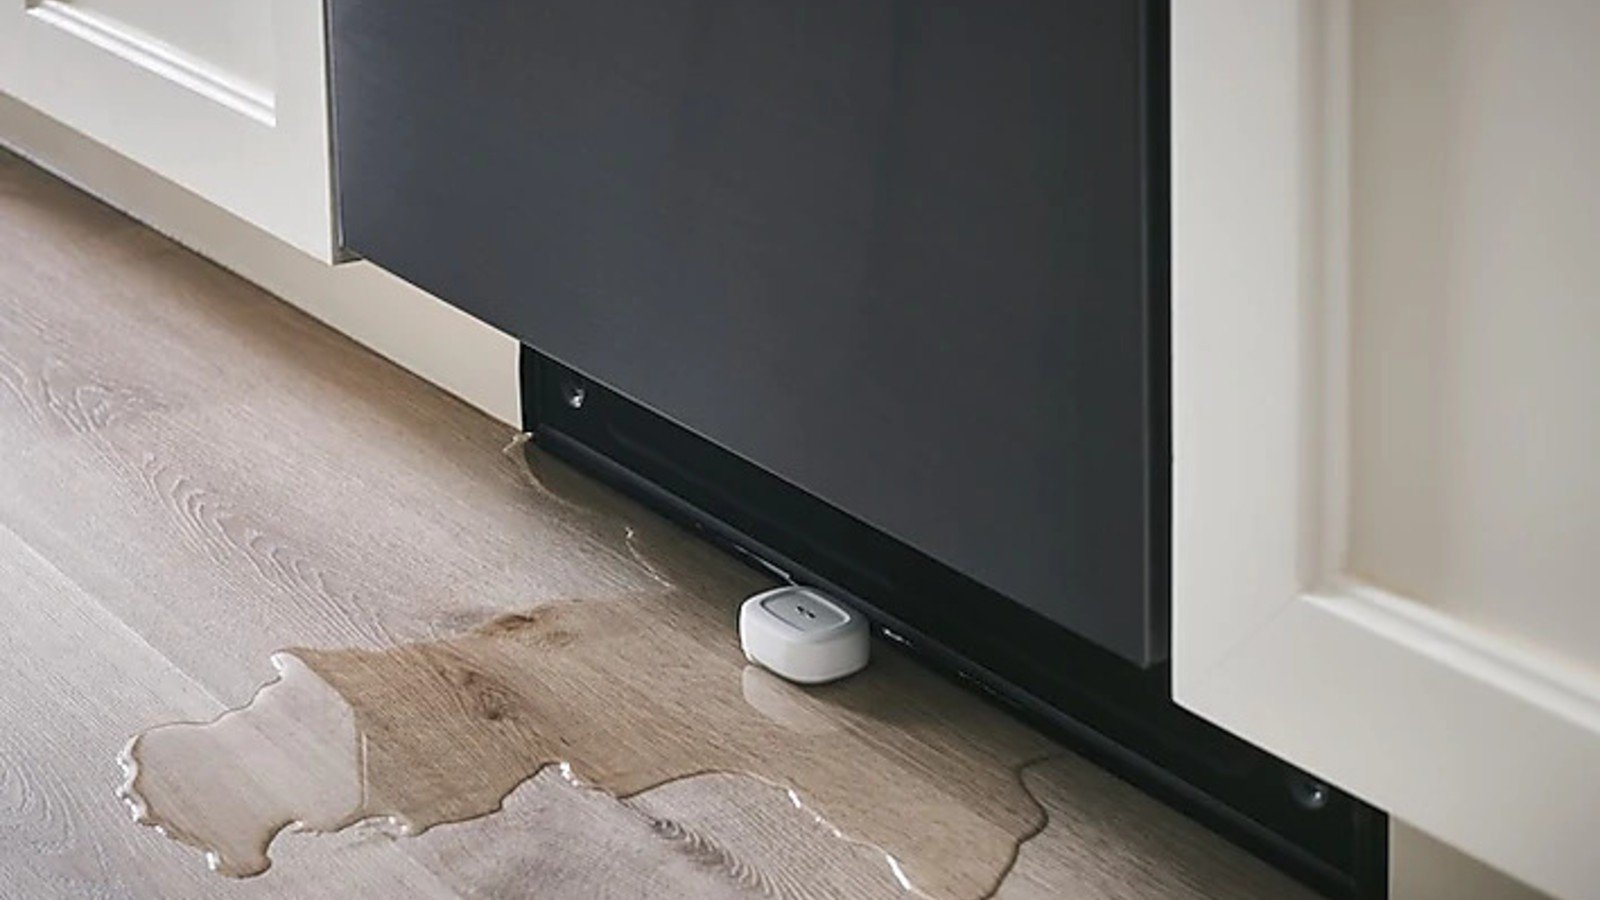
Overall, this was one of the easiest items to add to Home Assistant. The wet/dry detection works instantly, the temperature is accurate, and I've created some really cool automations around it.
For example, if water is detected under the kitchen sink, it changes the color of my smart bulbs to red and sends my phone a notification.
Good luck, and hopefully this guide helps you migrate to Home Assistant just a little easier!