Configure Bond Bridge integration in Home Assistant to Control Ceiling Fans
In this guide, I'll show you how to configure & integrate the Bond Bridge integration into Home Assistant. Once integrated, you can control your ceiling fan lights, turn the fan on and off, and set the fan speeds.
You can then display your fan as dashboard card in Lovelace, create automations to turn them on at certain times, or use a smart button/wall switch to send commands.
Let's get started!
Prerequisites
This is Part 2 of my of 'adding dumb ceiling fans to Home Assistant' guide.
Follow Part 1 where I showed you how to physically install a Ceiling Fan Remote Kit into your existing fan, setup your Bond Bridge, and then configure the commands from your remote control into the Bond app.
Setup Bond Bridge Integration in Home Assistant
There is an official Bond integration we will be using. You dont need to download or install anything from HACS (the Home Assistant Community Store).
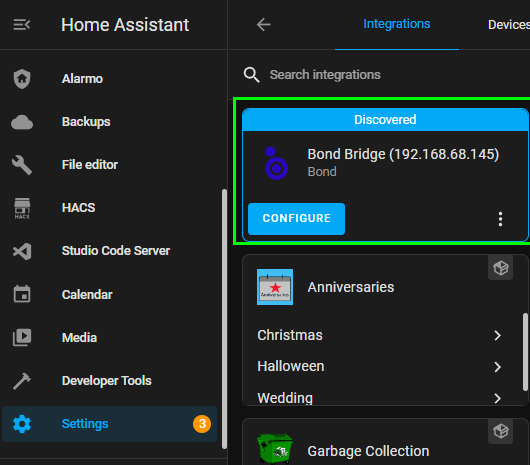
Once Bond is on your wifi network, Home Assistant should automatically detect the integration under Settings > Integrations:
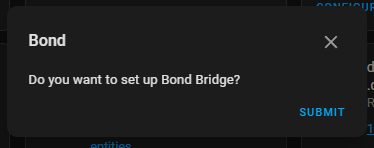
Click Configure. The onscreen popup will asl if you want to setup the bridge. Click Submit.
That's literally it. Your Bond Bridge is now integrated in Home Assistant!
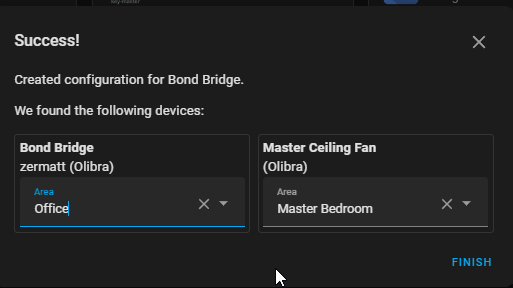
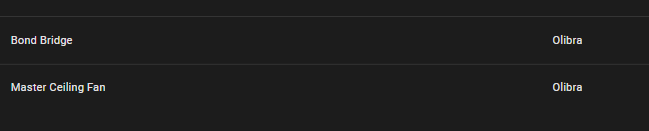
It will then ask you to add the Bond Bridge & ceiling fan devices to an area.
As you can see, it successfully detected by Master Ceiling Fan.
Reminder: You'll want to make sure you've named your ceiling fan something useful in the Bond Home app. (i.e. - name it Game Rm Ceiling Fan instead of just ceiling fan, otherwise your entity names will be hard to distinguish in Home Assistant.
Check For Newly Created Entities
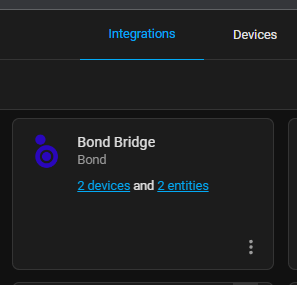
On the Integrations page (settings > Devices & Services > Integrations tab), you should see two devices and two devices - one for the Bond Bridge itself and another for the ceiling fan entity.
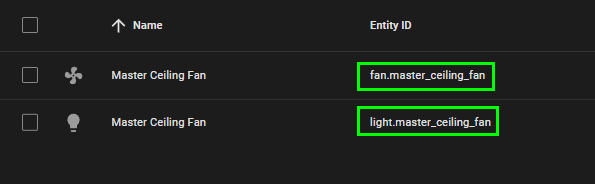
Two entities will get created for each ceiling fan - one for the light and the other for the fan.
Testing Fan Controls from Developer Tools
The easiest way to test if everything is working from Home Assistant is to click Developer Tools in your sidebar.
Control Fan Speed
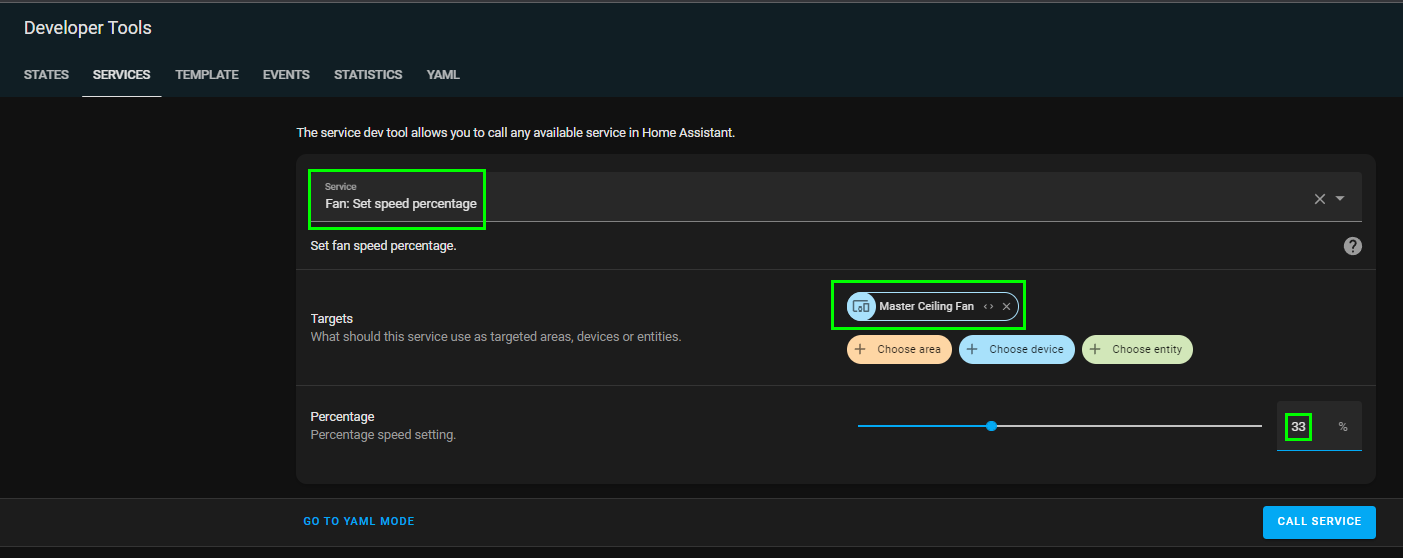
Under Services, type Fan: Set Speed Percentage (entity ID is fan.set_speed_percentage) and choose your fan entity (fan.master_ceiling_fan) Set each of the percentages below, then click Call Service. If you are in your room you should be able to visually see the fan speed up or slow down.
- 33 = Low speed
- 66 = Medium speed
- 100 = High speed
- 0 = off
Control Lights
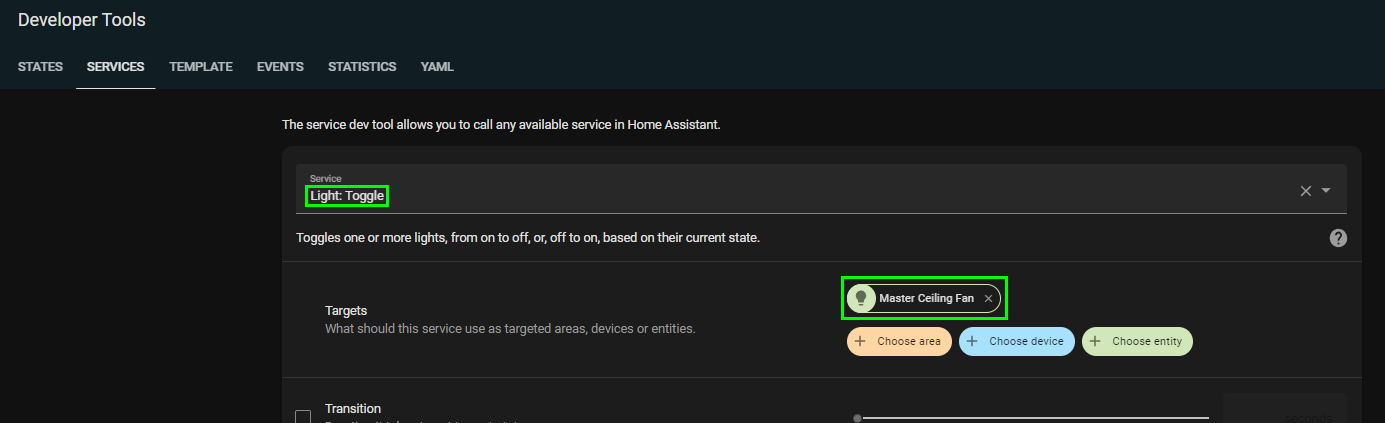
To test the lights, in Developer Tools, type light.toggle and target your light.master_ceiling_fan entity. Click Call Service and it should toggle the light.
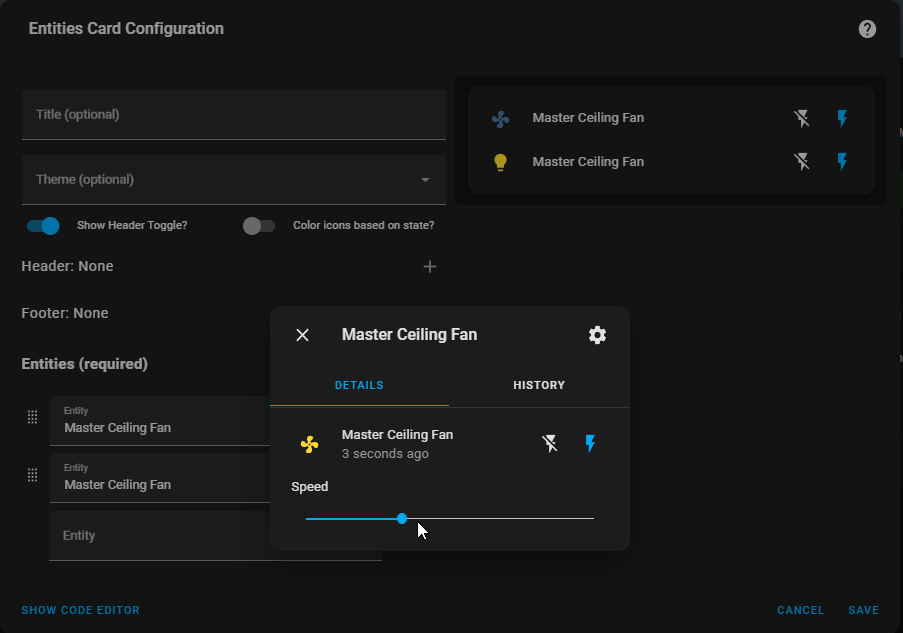
Add Entities to "Entities card"
You can also add the 2 entities to an entities card on your dashboard. This will give you basic on/off functionality. If you click the fan entity, you'll see a slider where you can set the speeds.
There's much better ways to visually displays fan speed settings using some custom cards, so I'll show you some examples below.
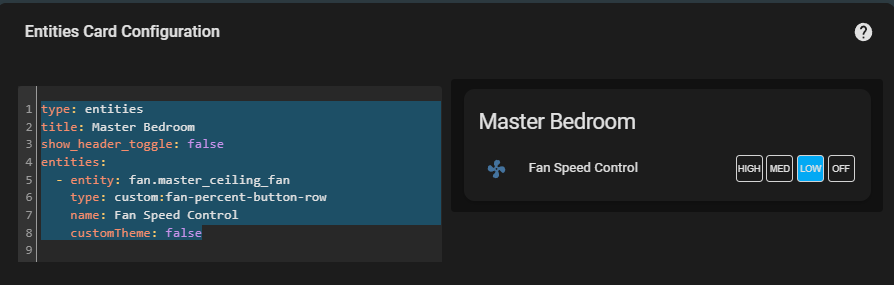
Fan Percent Button Row: Low, Medium, High, Off buttons
The cards below are from a HACS frontend integration called Fan Percent Button Row. This gives you 4 buttons for low, med, high, and off.
To install, open Home Assistant > HACS > Frontend tab. Search for Fan Percent Button Row.
Then, add a "manual" card to one of your dashboards. Paste in the code below changing out the fan entity name with your own.
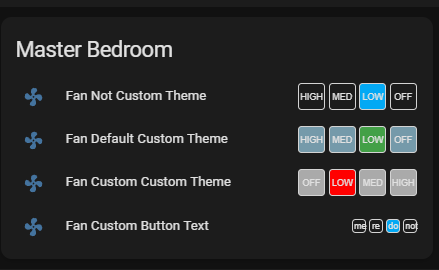
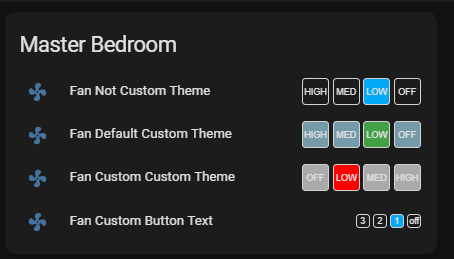
type: entities title: Master Bedroom show_header_toggle: false entities: - entity: fan.master_ceiling_fan type: custom:fan-percent-button-row name: Fan Speed Control customTheme: falseHere's some example customizations you can make with this card (The YAML for these are on the Github page here)
Twist Animation for On/Off Button
Install Custom: Button-Card installed from HACS for this one.
When toggled on, it will animate for 5 seconds. Change linear 5 to 'infinite' if you want it to always twist.
type: custom:button-card entity: fan.master_ceiling_fan state: - value: 'off' color: rgb(179, 179, 45) icon: mdi:fan - value: 'on' color: rgb(250, 250, 62) icon: mdi:fan styles: icon: - animation: - twister .9s linear 5 extra_styles: | @keyframes twister { 0% {transform: rotatez(0deg): top: 10px} 25% {transform: rotatez(15deg)} 50% { top: 0px} 75% {transform: rotatez(-15deg)} 100% {transform: roatatez(0deg): top: 10px} } Button-Card: Spin when On
You'll need Custom: Button-Card for this, too. This icon will rotate constantly when the fan is running.
type: custom:button-card entity: fan.master_ceiling_fan state: - value: 'off' color: rgb(179, 179, 45) icon: mdi:fan - value: 'on' color: rgb(250, 250, 62) icon: mdi:fan spin: trueMushroom Fan & Light Card
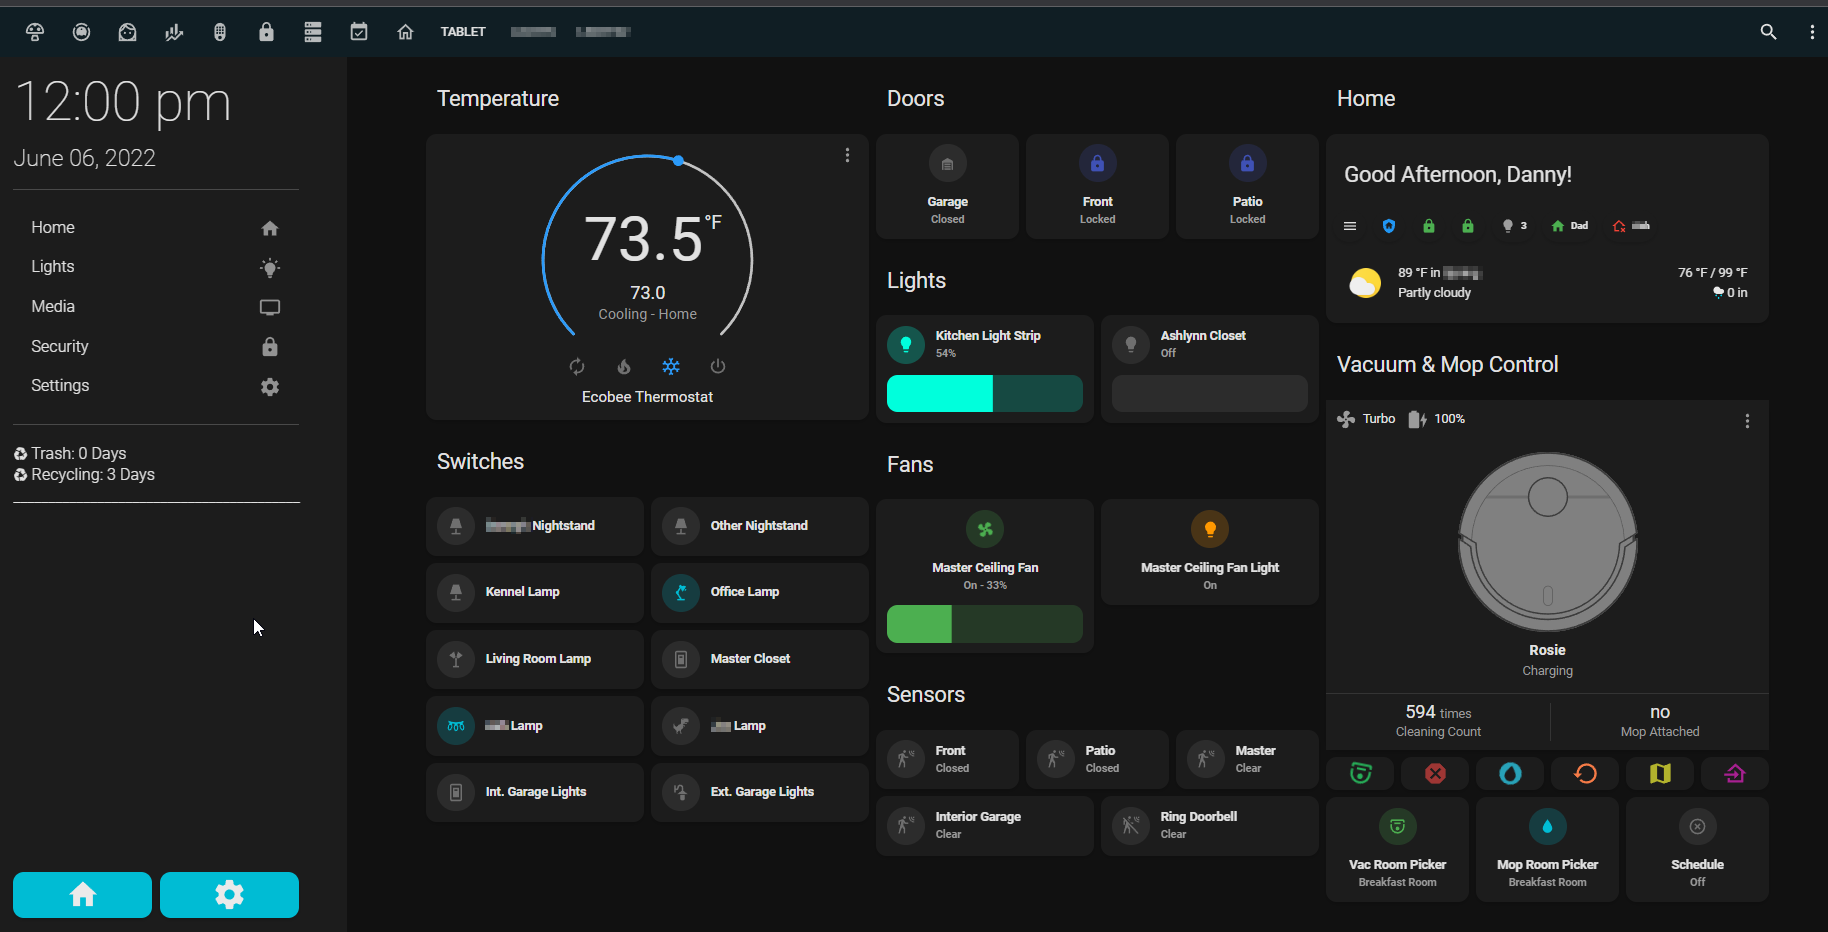
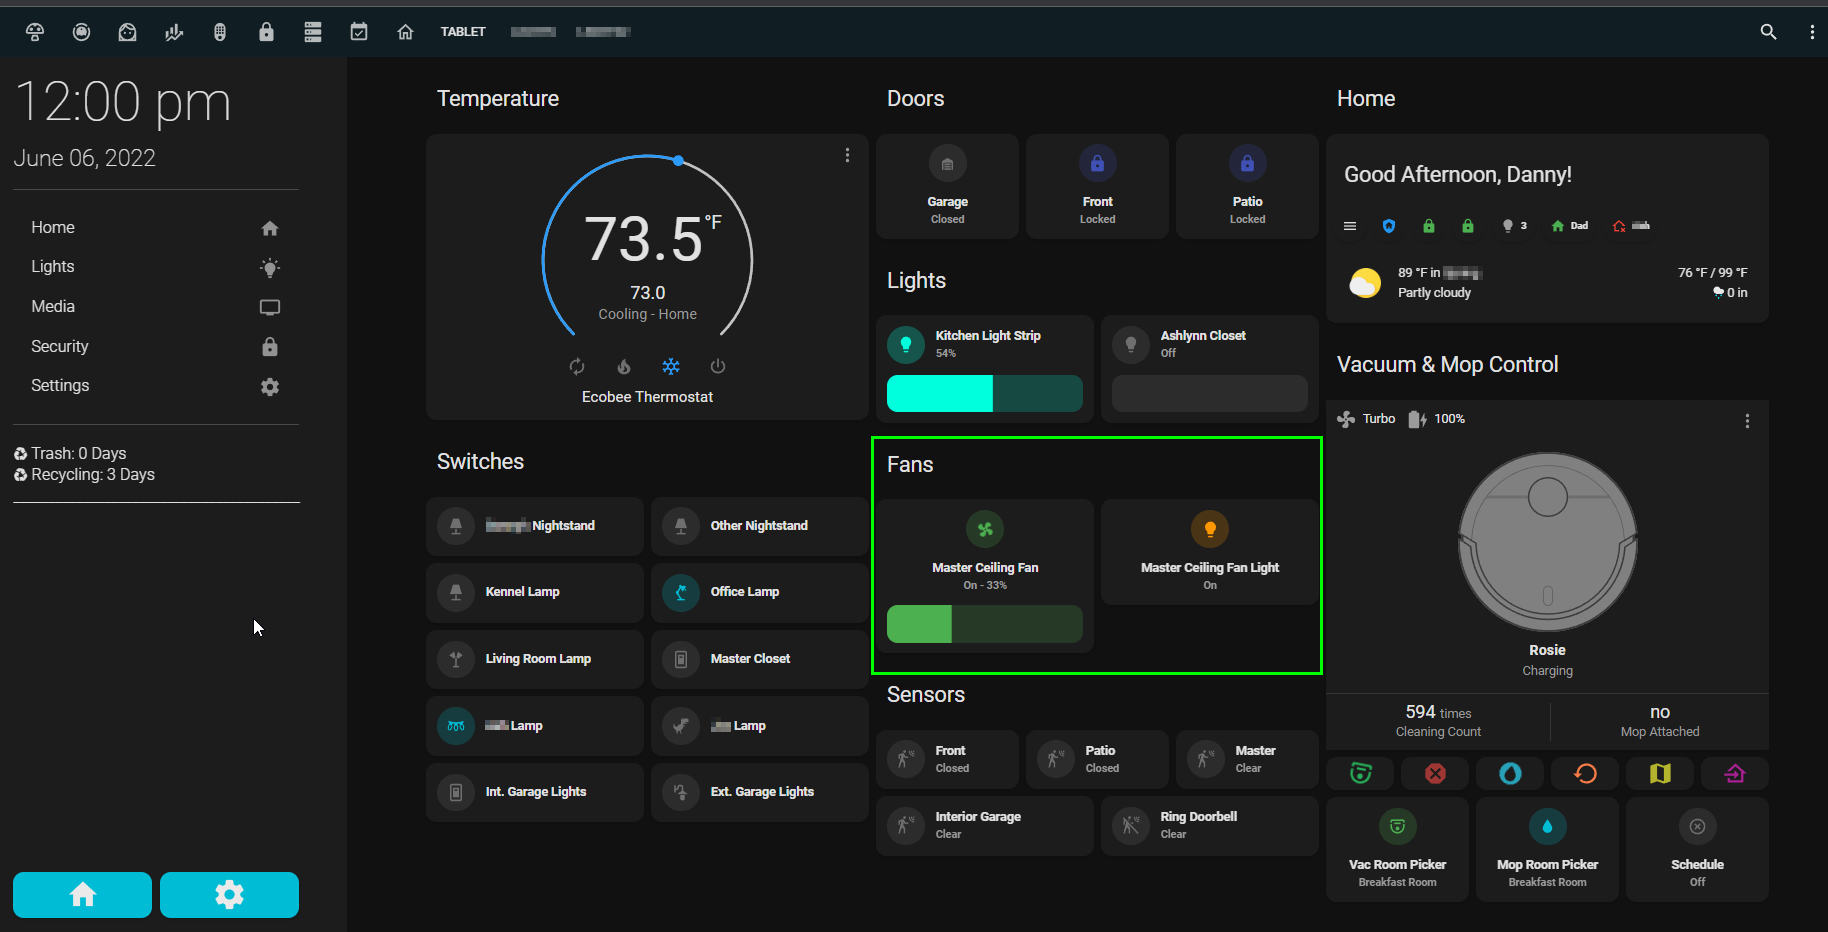
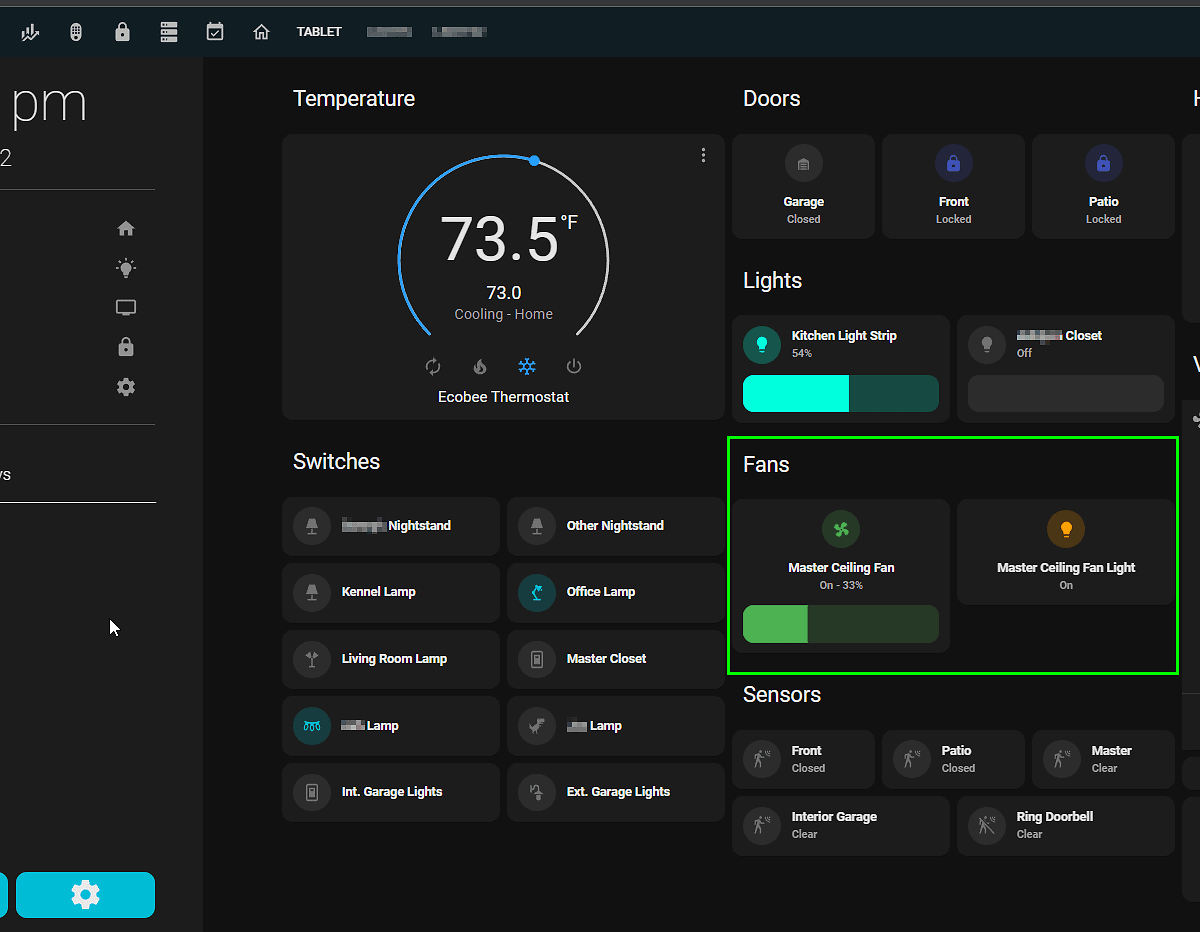
If you have the Mushroom integration setup like I do, you can add a horizontal stack and then add a Mushroom: Fan Card and Mushroom: Light Card.
type: horizontal-stack cards: - type: custom:mushroom-fan-card entity: fan.master_ceiling_fan icon_animation: true layout: vertical show_percentage_control: true collapsible_controls: true - type: custom:mushroom-light-card entity: light.master_ceiling_fan layout: vertical name: Master Ceiling Fan Light show_brightness_control: false show_color_control: false show_color_temp_control: false use_light_color: falseWrapping Up
I hope you found this mini-series helpful! Turning my dumb ceiling fan into a smart, wifi-controlled one with the Bond Bridge is super useful. And the Bond Home Assistant integration makes it super easy to control and create scripts/automations.
If you have any great ceiling fan cards you've created, share them in a comment below. I'm using the Mushroom Fan & Light Card for my setup, as seen in the header image of this blog post.