How To Make A "Dumb" Ceiling Fan Smart with Bond Bridge
In this guide, I'll show you how to turn your regular ceiling fan into a wifi-controlled "smart" ceiling fan. To do this, you'll need to purchase a ceiling fan remote control kit and a Bond Bridge.
The ceiling fan remote kit gets wired into your ceiling fan. It comes with an RF remote control, so this now gives you the ability to turn on/off/toggle the lights as well as set the fan speeds from the included remote.
The Bond Bridge is a small, hockey puck sized device that connects to your wifi. During Bond setup, you will point the RF remote at the Bond Bridge. In the Bond app, you'll tap the Light On button to configure turning the ceiling fan light on, then press the "light on" button on your physical RF remote. You'll repeat this procedure for turning the light off, toggling the light, and also for configuring fan speed (low, medium, high, off).
You are essentially teaching the Bond Bridge what RF signals should do what, and on what device. RF signals can reach the Bond from up to 2,500sq. ft and a 1 bridge can connect up to 30 different devices.
If you use Home Assistant as your smart home platform, you can then integrate Bond with Home Assistant to create some really useful automations.
There is a bit of electrical work that needs to be done, but even for a very inexperienced home electrician, it was pretty simple. The hardest part was fitting the receiver into the mounting bracket on the ceiling. I'll include pictures below to help you out.
Let's get started!
Project Overview
- Purchase necessary equipment & have tools handy
- Physical installation of ceiling fan remote control kit
- Installation of Bond Home app & adding device
- Configure remote control commands into Bond
Equipment List
You will need to purchase a Ceiling Fan Remote Kit and a Bond Bridge. You may want a few extra wirenuts/wire connectors as well. The Remote Kit comes with a handful of them, but you may want to replace all the wirenuts with smaller ones to make as much room as possible for the receiver .
The remote kit below is the one I purchased. It works perfectly from the remote and the Bond app, but it does make an annoying beep every time a command is sent to it. I'll probably research another small formfactor kit for the next fan kit I install (that doesn't beep) and will update this guide once I test another one. EDIT: The beep can be silenced by holding the STOP button for 6 seconds, so I'll be buying more of these.
You will also need x2 AAA batteries for the remote as those are not included.
Tools needed:
- Step ladder
- Screwdriver
- Small wirenuts (optional)
- Wire strippers (only if you have really long wires)
My Existing Ceiling Fan Setup
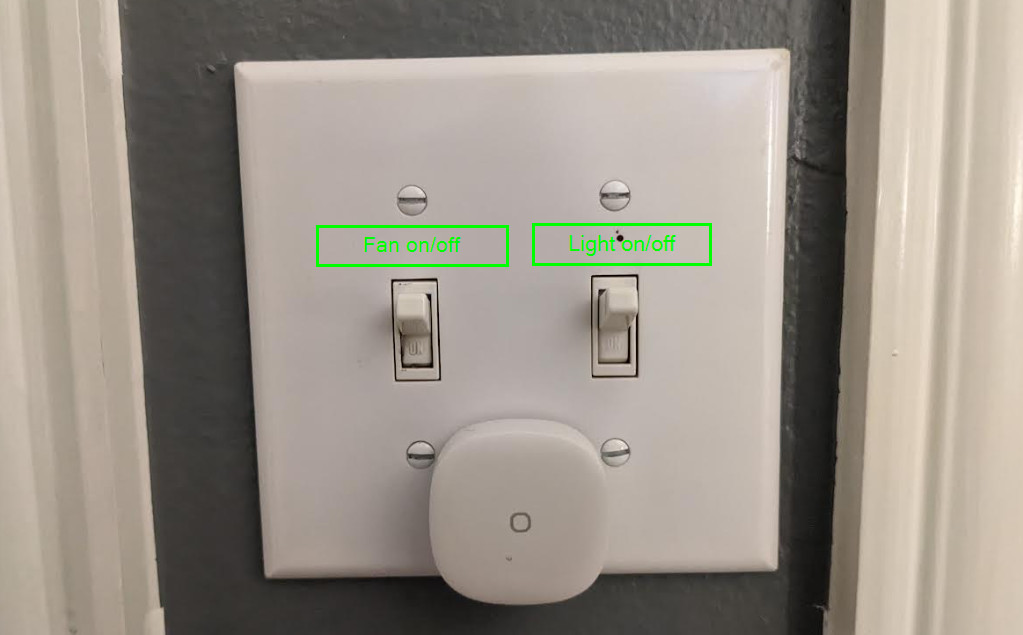
For reference, I have a 2-gang wall switch. One switch powers the fan, and the other powers the lights. No remotes currently controi my fan.
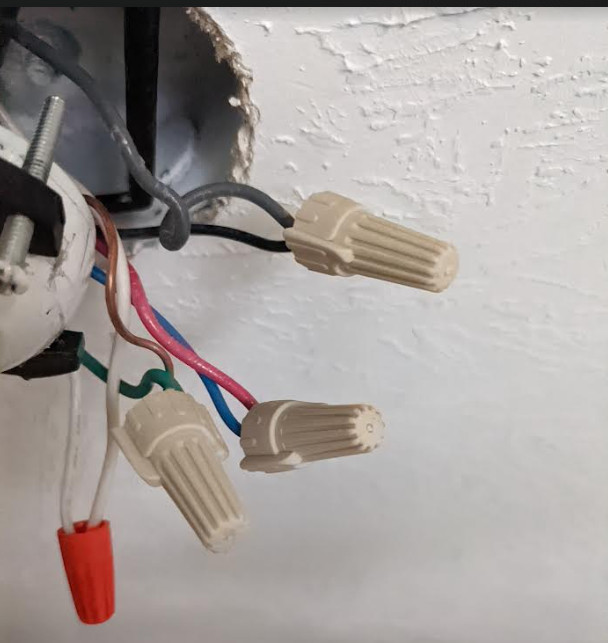
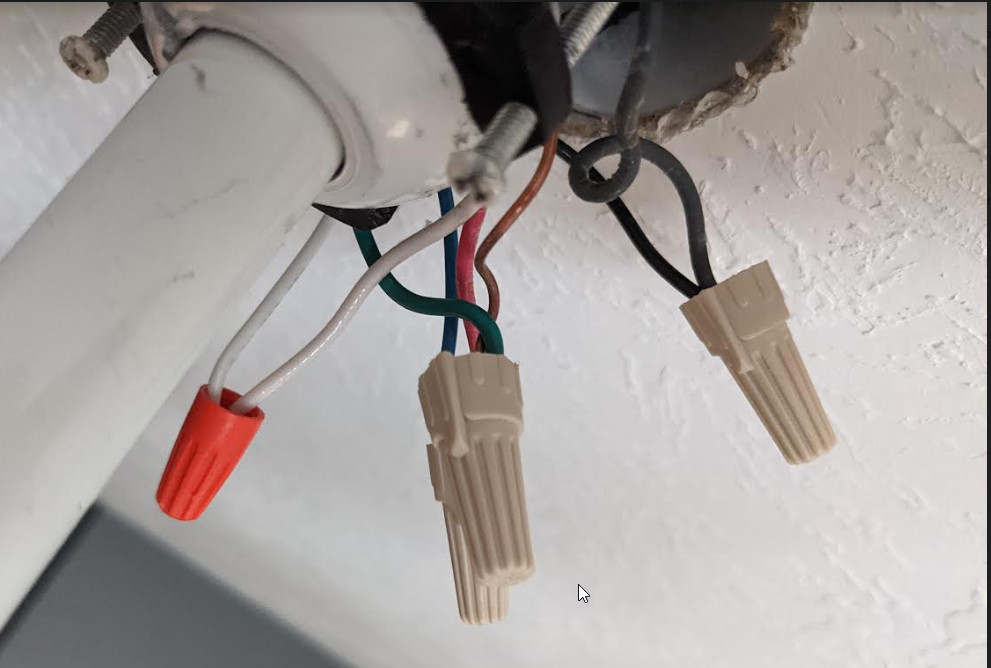
I have a generic ceiling fan that was installed probably whenever my house was built. From the ceiling, I have 4 wires coming down - white, black, red, and copper.
- White: neutral
- Black: fan power
- Red: light power
- Copper: ground
Turn off the power at the main breaker panel for your room before checking what wires you have.
And on my ceiling fan, I have:
- Black from ceiling to black on fan (grey in photo)
- Copper from ceiling to green on fan
- White from ceiling to white on fan
- Red from ceiling to blue on fan
Note: If you have a 2-gang wall switch, installing the Remote Control Kit will render 1 of the 2 switches useless. If you only had a 1-gang wall switch that provided both power & light to your ceiling fan, then you may only have 1 power cable coming from the ceiling (most likely black or red). After installing this, it's best to just leave the wall switch on at all times and only control it from the Bond app or Home Assistant.
Installation of Ceiling Fan Remote Kit
The first thing you need to do is turn off the power at your main breaker panel. This prevents someone from accidentally flipping the switch during installation. If your breaker panel isn't labeled, turn the lights on in that room and flip the switches until they turn off. (This is easier with a 2nd person and a phone call. Or you can have your kids run back and forth.)
This video was pretty useful to install a brand new fan, but includes closeups of how to wire a fan up.
- Next, remove the canopy from the mounting bracket. There's usually a few screws to loosen. Twist the canopy so you can pull it down.
2. Next, take pictures of every wire. This is optional, but just in case you can't get it to work or the receiver doesn't fit, these are useful to have as a reference.
3. Pull all the wires out of the bracket and remove the wirenuts. Once everything is disconnected, try to pull all the wires to one side.
**If your wires are pretty long, you may have to cut them down a little to make space for the new receiver.
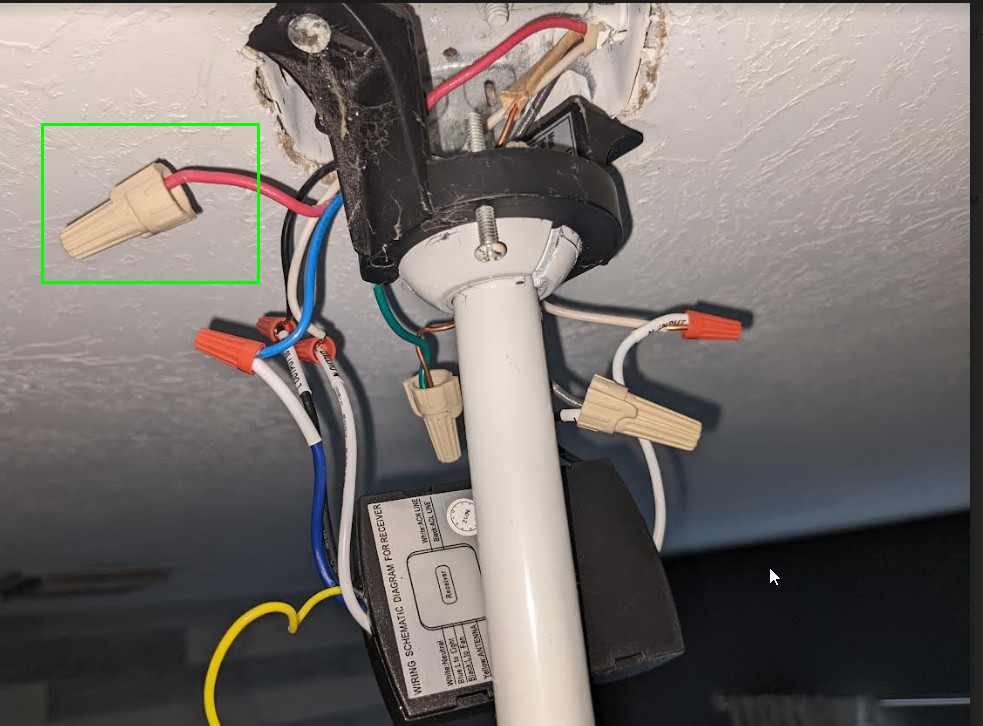
4. Connect the receiver according to the instructions.
Reminder: If you had a 2-gang switch, that means you had separate power & light coming from the ceiling into your old fan. You will only be using 1 power source with the remote control kit, so cap off whichever one you don't end up using with a wirenut.
Once it's all wired up, you can leave the receiver dangling until you test.
Test the Ceiling Fan Remote Control Kit
If you are confident you wired everything up correctly, and you've tugged on all the connections to make sure they won't accidentally come loose, it's time to test out the remote.
- Install the batteries in the remote.
- Flip the breaker switch back on for your room.
- Turn on the wall switch. That now provides light & power to the fan. If you have a 2-gang switch, test both wall switches to determine which one powers the fan.
- Use the remote to toggle the lights, & then test various fan speeds.
- If your fan has a pull cord that controls fan speeds, pull it into the highest speed. The fan needs to be set to the HIGH speed otherwise the slower speeds might not work.
If everything works correctly, go ahead and put everything back into the ceiling and reinstall the canopy.
While you're at up there, now is a good time to clean out any cobwebs and dust your fan blades.
Push Receiver & Wires Back Into Ceiling
By far the most difficult part of this project was pushing everything back into the ceiling. Although the receiver I bought has one of the smallest form factors I could find on Amazon, it was still a challenge to slide it inside the ceiling mount. Maybe I have a small/ older style bracket, I'm not sure. Getting everything to fit was mostly trial and error. Using smaller wirenuts helped, though.
- Turn off power at breaker again.
- Push the wires & receiver into the ceiling bracket.
- I found it was easier to slide the receiver in first, then push the wires in afterwards.
Installation of the Bond Bridge
Now that the hard part is done, adding the Bond Bridge is super simple. You basically plug the Bond Bridge into the wall for power, download the Bond Home app, and then follow the in-app instructions to connect Bond to wifi and configure the remote control options.
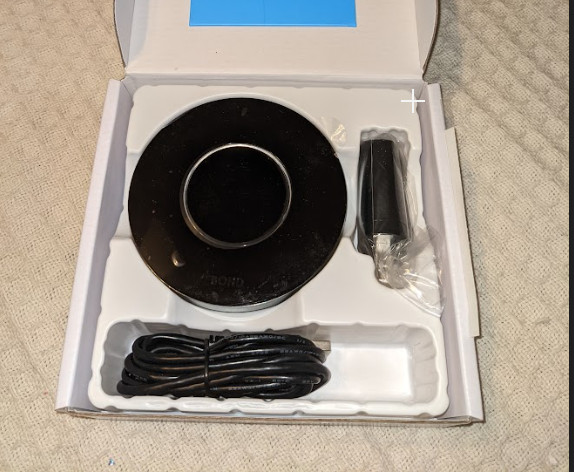
Contents of Bond Bridge
- Power brick
- Micro USB cable
- Bond Bridge device
Here's a step-by-step guide for setting up the Bond app.
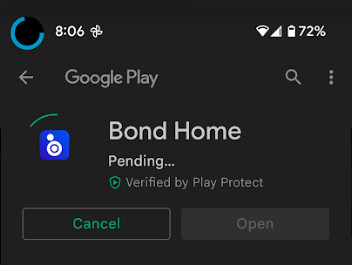
Download Bond Home App
First, plug your Bond into power. It should be flashing green.
Then download the Bond Home app on your Android of iOS device.
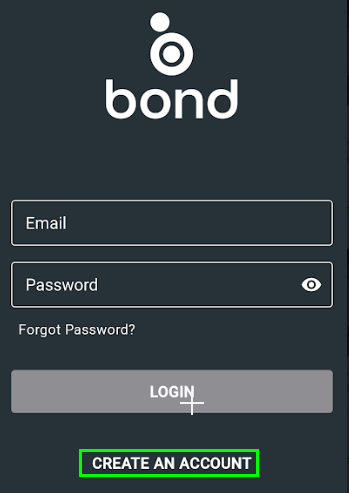
Create Bond Account & Sign In
After installing, open the app. You probably don't have a Bond Account yet, so you'll first need to create a Bond account.
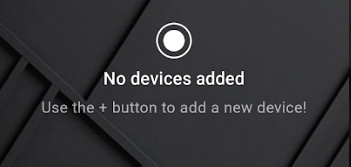
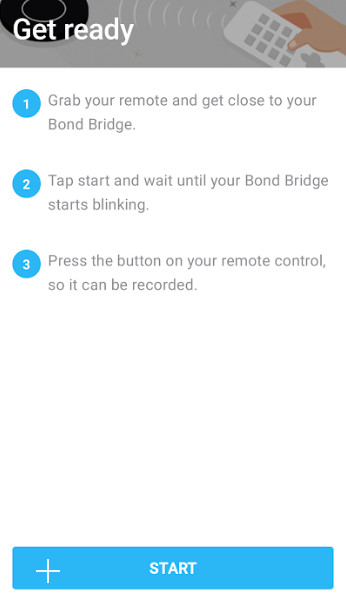
Add A Bond Device
Once your account has been created, sign into the app. You should be met with a "No devices added" screen.
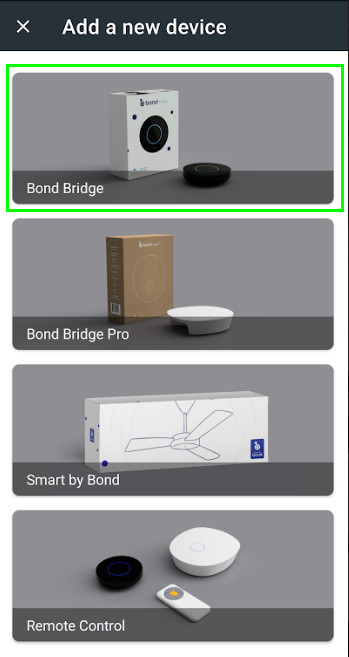
Click the blue plus button.
Choose Bond Bridge.
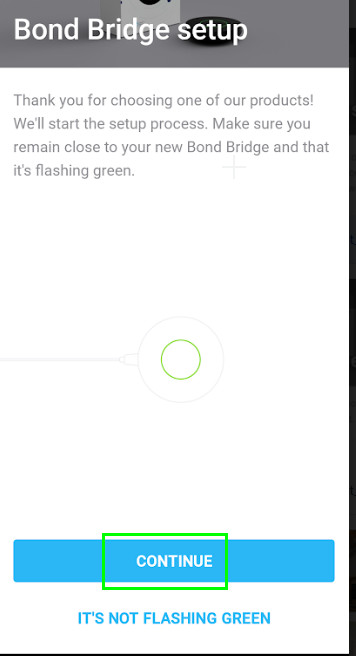
It will ask you to verify that your Bond Bridge is flashing green. Click Continue if it is.
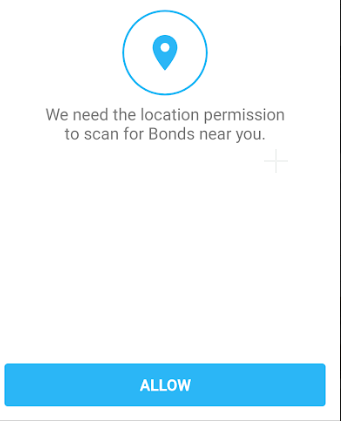
Next, you'll need to grant Bond access to your Bond devices' location.
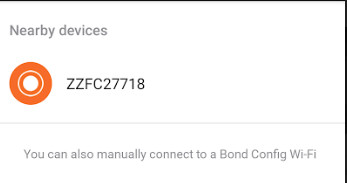
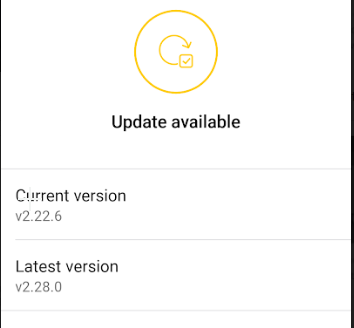
During the scan, it should find your device. If any firmware updates are available, Bond will prompt you to install them.
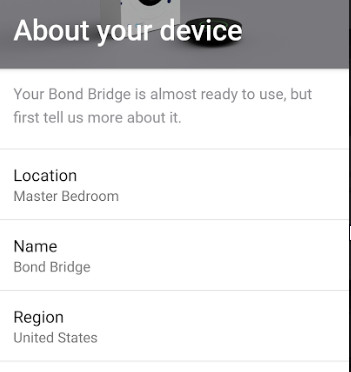
Then, you'll be prompted to add a location, name, and region.
Connect to Wifi
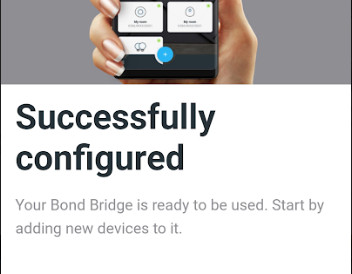
After you fill out the device details above, it'll ask you to connect it to wifi. Once it connects, you'll see a success screen.
Note: It should be flashing blue before it connects to wifi, and solid blue once connected.
Add a Remote Control to Bond Bridge
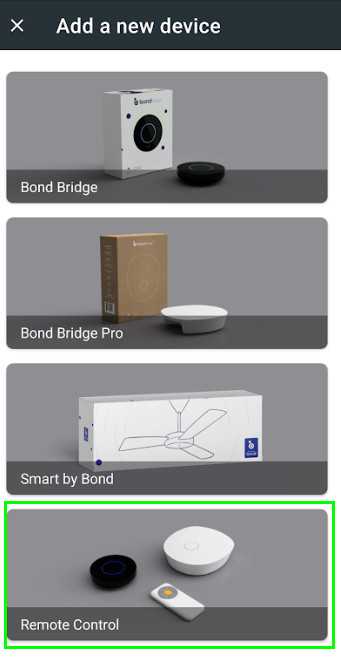
From the homescreen, click the blue plus button again. This time add a Remote Control device.
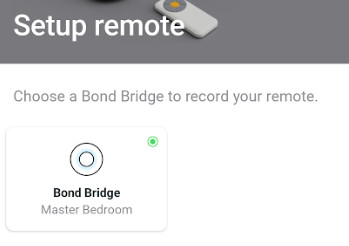
Select the Bond Bridge you just set up.
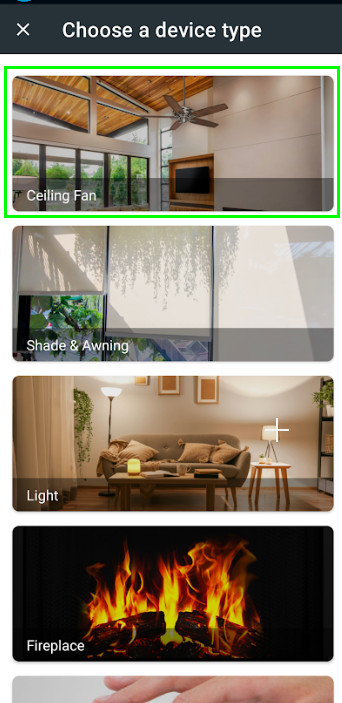
Choose Device Type "ceiling fan".
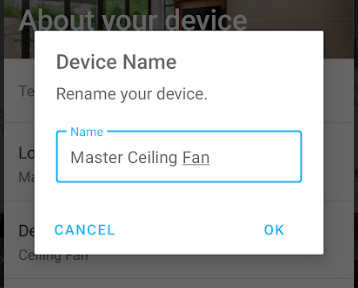
Name your Device
Name your ceiling fan something useful, like "Master Ceiling Fan" or "Game Rm Ceiling Fan". This is especially important if you plan on integrating Bond with Home Assistant. If you leave the device name set to the default "ceiling fan" name, then the entities that get created in Home Assistant won't be named correctly.
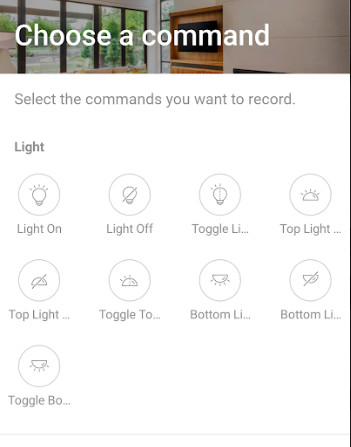
Configure Remote Control Commands in Bond
Now comes the fun part: teaching Bond the remote controls for your fan! (i.e. - light on, light off, fan speed low/medium/high, etc).
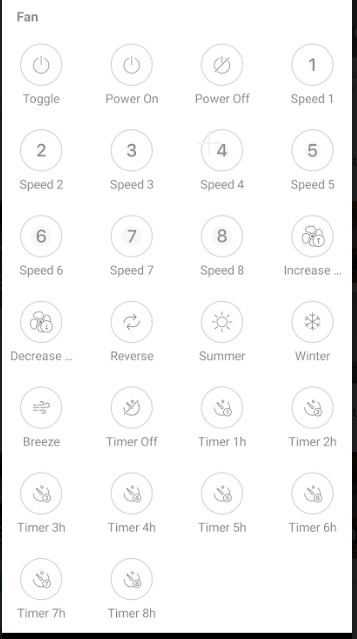
On the Choose a Command screen, select one of the options. Then point your remote control at Bond and press the corresponding button on the remote. There's likely way more remote control options in Bond than what you need, so I recommend configuring just the basics - light on/off, fan on/off, and fan speeds.
I wouldn't worry about timers now (even if your remote has them). If you plan on using Home Assistant to create fan speed automations or have light schedules, you wouldn't use these anyway. You can always program new remote commands into Bond later on.
I only had to push the buttons on the remote once for each command for Bond to learn it. Super easy. Then, it's as simple as testing out the commands from the app!
Troubleshooting tip: If your light turns off when you press the Light On button, then you probably had the ceiling light already on when you configured. You'll need to turn your light off, then click the 3 dots in the top right corner of the homescreen > Edit Commands. This is because there is only 1 physical "Light On/Light Off" button the RF remote.
Wrapping Up
Hopefully this guide helped you turn your dumb ceiling fan "smart"! Click here if you want to follow my tutorial on how to integrate my ceiling fan into Home Assistant using the Bond integration.
If you don't plan on integrating with Home Assistant, controlling the fan from Bond app still works pretty well. You can also set up voice control from Google or Alexa from the app.