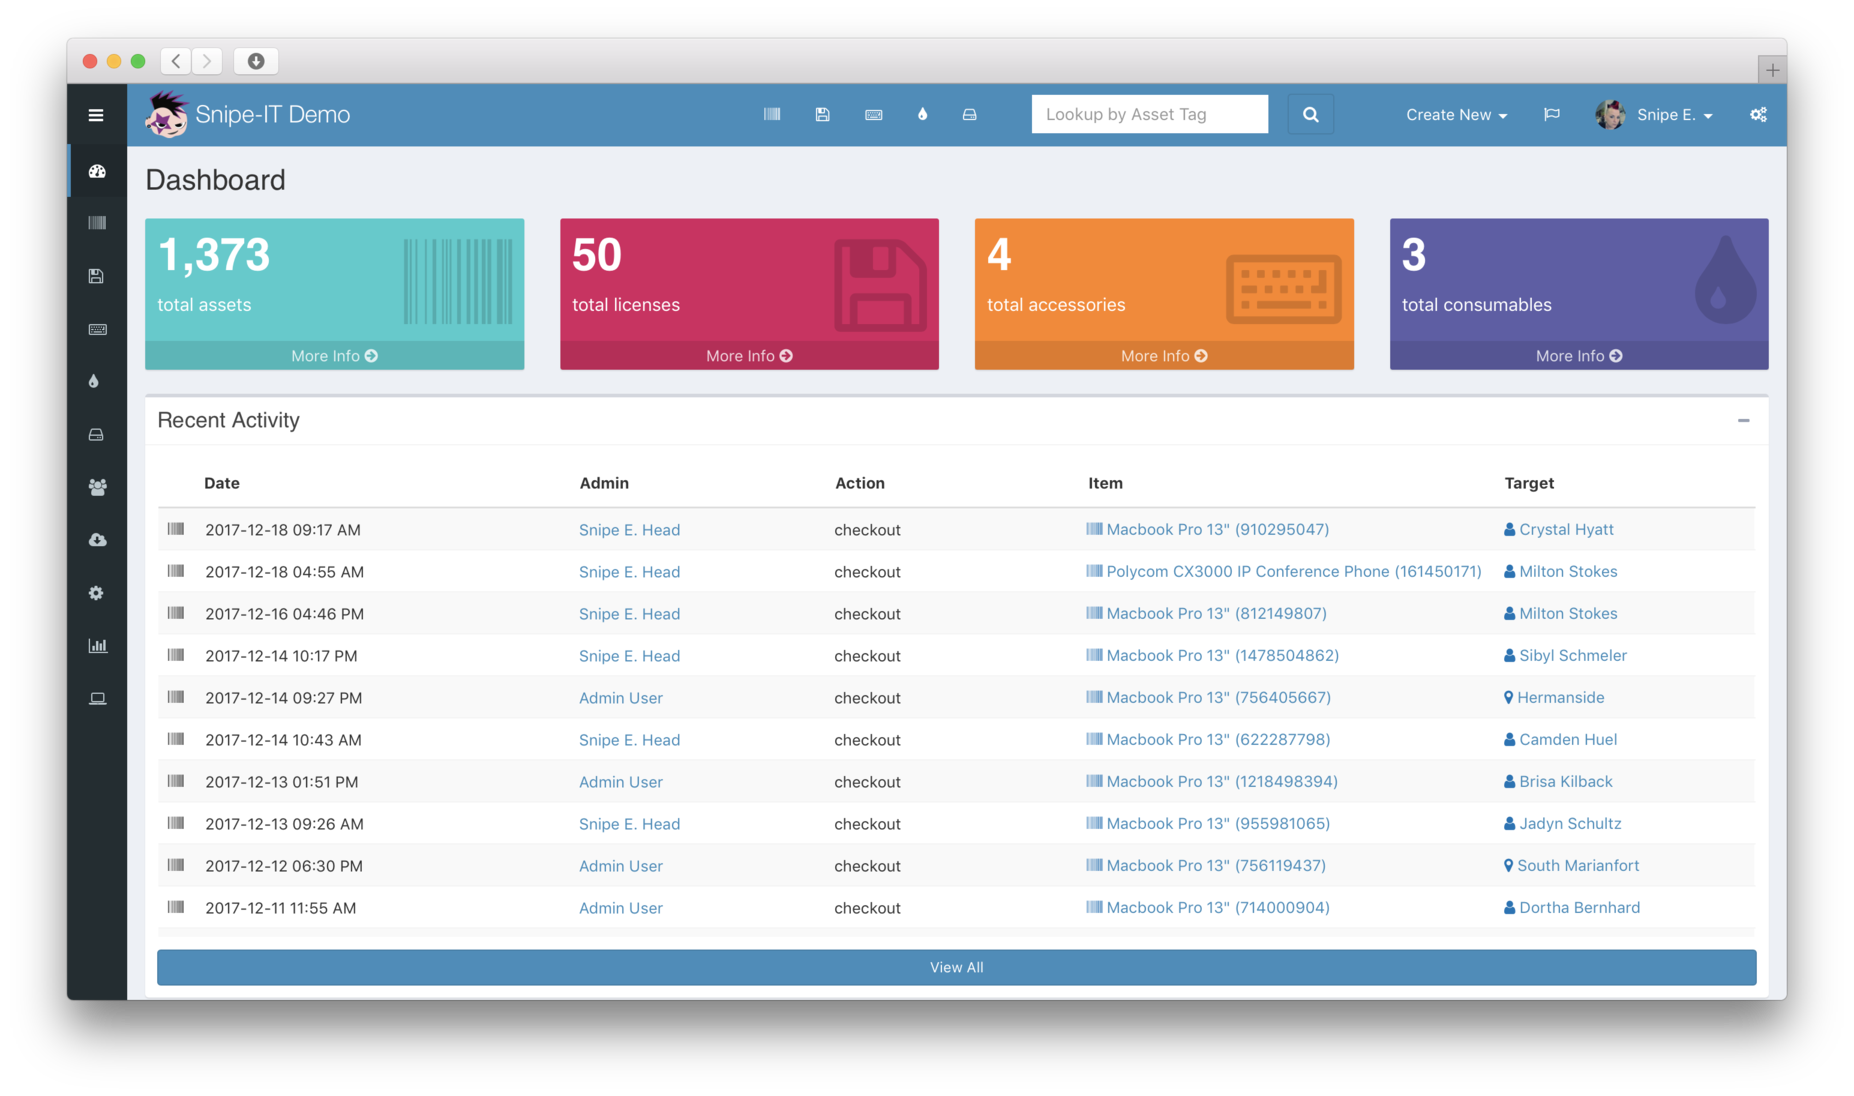
How To Install SnipeIT In Docker
In this guide, I'm going to show you a quick and easy way to install SnipeIT in Docker in 2021, then this simple step by step guide is for you.
SnipeIT, for those of you who don't know, is an open source asset and license management tool. It's great for tracking physical assets like laptops, desktops, and software licenses.
For reference, I am installing this on a Ubuntu 20.04 VM, which already has docker installed. If you don't have docker or Docker installed yet, you can follow Docker Setup Guide.
Create Folders
Use Putty to SSH into your docker host. I like to start out by putting my containers into the same directory, so I'm first going to create a parent SnipeIT folder.
All of my containers typically go into /srv/config, so that's where I'll be creating it.
First, navigate to the config folder:
cd /srv/config
Then, create the folder by entering sudo mkdir snipeit
Next, go into the snipeit directory:
cd snipeit
Then, create two new directories
sudo mkdir snipe-mysql
sudo mkdir snipe-conf
Create MySQL Container
To create the mysql database container, just run the code below. You can change the ROOT and MYSQL passwords, if you'd like to. Also, make sure the timezone is set to your correct location.
docker run \
--name snipe-mysql \
-d \
-e MYSQL_ROOT_PASSWORD="Goldpumpkineagle4" \
-e MYSQL_DATABASE=snipe \
-e MYSQL_USER=snipe \
-e MYSQL_PASSWORD="Wolfhungrysunset8" \
-e TZ=America/Chicago \
-p 127.0.0.1:3306:3306 \
-v /srv/config/snipeit/snipe-mysql:/var/lib/mysql \
mysql:5.6 --sql-mode="
Create SnipeIT Container
Now, you can create the main SnipeIT container.
docker create \
--name=snipe-it \
--link snipe-mysql:db \
-e PUID=1000 \
-e PGID=1000 \
-e DB_CONNECTION=mysql \
-e DB_HOST=snipe-mysql \
-e DB_DATABASE=snipe \
-e DB_USERNAME=snipe \
-e DB_PASSWORD="Wolfhungrysunset8" \
-e APP_KEY=base64:5U/KPKw1GN/Rz0fWYO/4FsSOqjmjvDAQzMCqwcAqstc= \
-p 8082:80 \
-v /srv/config/snipeit/snipe-conf:/config \
--restart unless-stopped \
snipe/snipe-it
Keep in mind - the DB_PASSWORD will use the MYSQL_PASSWORD in the first container you created.
Launch SnipeIT
Now that both containers are created, you can enter this command to run it. Once complete, SnipeIT should open in a web browser at port 8082.
docker start snipe-it
If all goes well, you should be able to browse to the IP of your docker host (172.16.0.41:8092) in a web browser and you'll be met with a SnipeIT Pre-Flight screen like this:
Wrapping Up
That's it! You can run your own instance of open source asset management software in a docker container. I've been using SnipeIT (hosted) at my company for the past 5 years, and it's one of my favorite pieces of software to use. We primarily use it for license management, but in the past (before PDQ Inventory), we used to use it for asset management as well. There are some really neat features for consumable objects too, such as toner, paper, SSD's, etc.

