How to Deploy Bookstack in Docker-Compose using Portainer
Are you interested in self-hosting a Bookstack wiki using Docker? If so, look no further than this step-by-step guide.
For multi-container applications (like Bookstack), it's easiest to use Docker-Compose. Bookstack is one of those applications that are easiest to deploy using Portainer, so in this guide I'll show you how to:
- Install Docker Compose
- Deploy Portainer
- Deploy Bookstack from within Portainer
Prerequisities
- You should have Docker already installed. (I have a Docker installed on Ubuntu 20.04 VM)
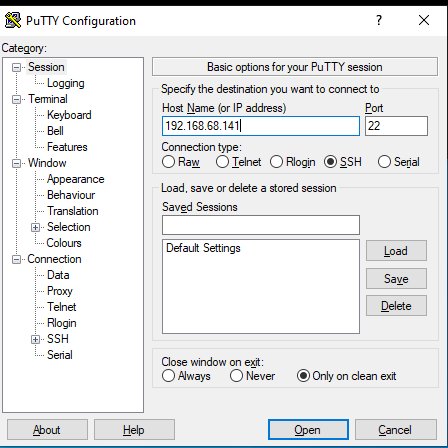
- You should have an SSH tool, like Putty, installed.
If you are just starting out with Docker and don't have it installed yet, you can follow steps 1-3 here.
Step 1: Install Docker Compose
- To install Docker on a Ubuntu VM, follow this guide.
- To install Docker-Compose and Portainer, follow this guide.
Once both are installed, you can continue to the next step.
Step 2: Create BookStack "Stack" in Portainer
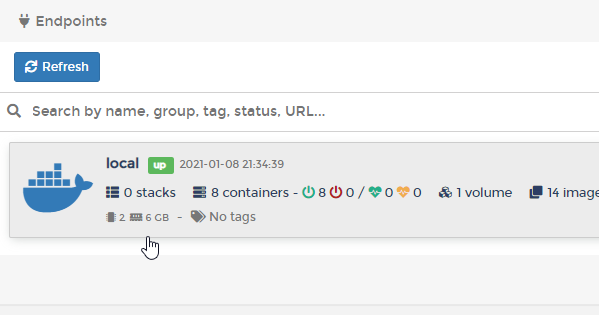
After logging into Portainer, choose the Local tab and then select Stacks.
Give your container a name like bookstack. Then simply paste the code below.
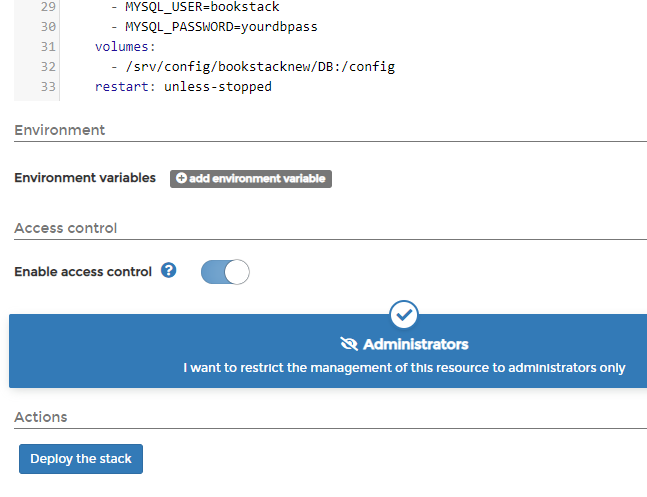
--- version: "2" services: bookstack: image: linuxserver/bookstack container_name: bookstack environment: - PUID=1000 - PGID=1000 - DB_HOST=bookstack_db - DB_USER=bookstack - DB_PASS=yourdbpass - DB_DATABASE=bookstackapp volumes: - /srv/config/bookstack:/config ports: - 6875:80 restart: unless-stopped depends_on: - bookstack_db bookstack_db: image: linuxserver/mariadb container_name: bookstack_db environment: - PUID=1000 - PGID=1000 - MYSQL_ROOT_PASSWORD=yourdbpass - TZ=Europe/London - MYSQL_DATABASE=bookstackapp - MYSQL_USER=bookstack - MYSQL_PASSWORD=yourdbpass volumes: - /srv/config/bookstack/DB:/config restart: unless-stoppedIf you don't plan on opening this up to the world and are just accessing your Bookstack wiki locally within your own network, you can leave the database user and passwords exactly as the script below.
However, there are a few lines you'll need to edit.
- Type
idinto Putty to find your PUID and PGID. Mine is set to 1000. - Change your Volume paths. Note that I have two different paths, I recommend you do the same.
- Change the timezone.
Step 3: Deploy the stack
The deployment will take several minutes, so just be patient here.
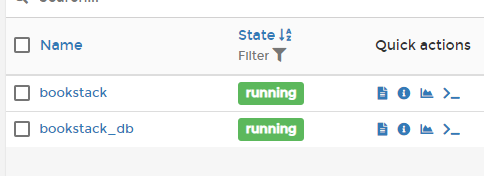
Once complete, click the BookStack stack. You should see two containers running:
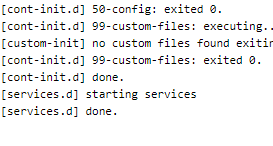
To verify everything is setup correctly, click the Log button. You should see a systemd.done message indicating that the container is setup and ready to go.
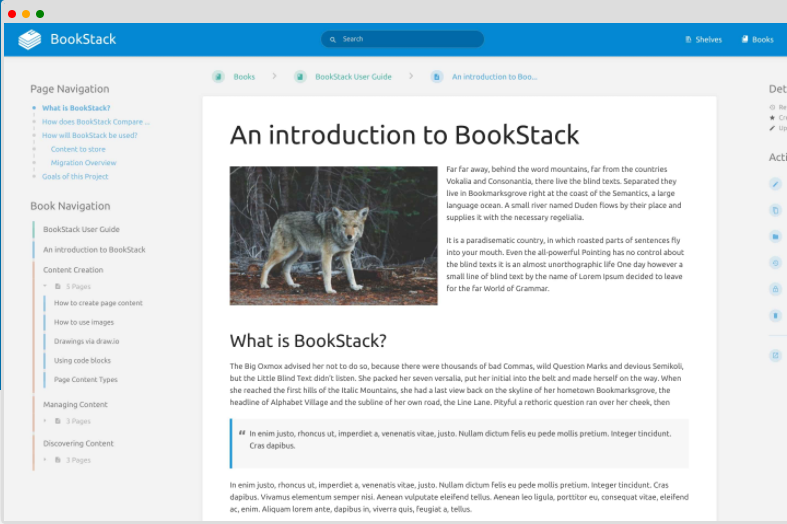
Step 4: Open Bookstack
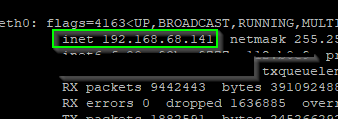
Bookstack should now open at http://192.168.68.141:6875/login
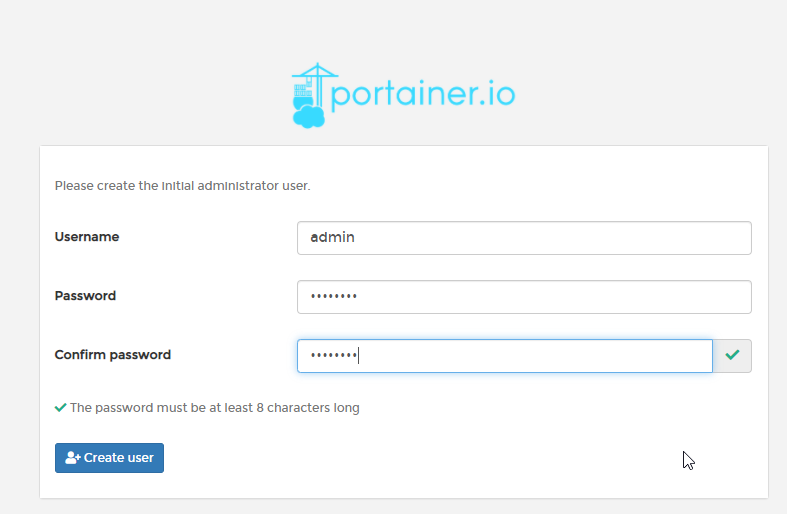
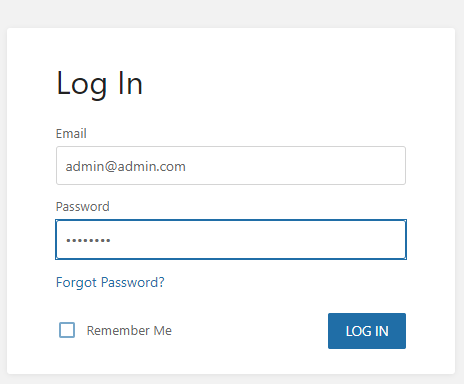
To log in, use the default credentials: admin@admin.com and password.
Troubleshooting Bookstack in Portainer
In my case, when I deployed Bookstack via Portainer, whenever I went to http://192.168.68.141:6875 it was using my public IP address instead of my internal server IP address. (I saw this in the log files of the "bookstack" container.)
If this happens to you, you need to add an APP_URL environment variable to the container.
Stop the bookstack container. Click Duplicate/Edit.
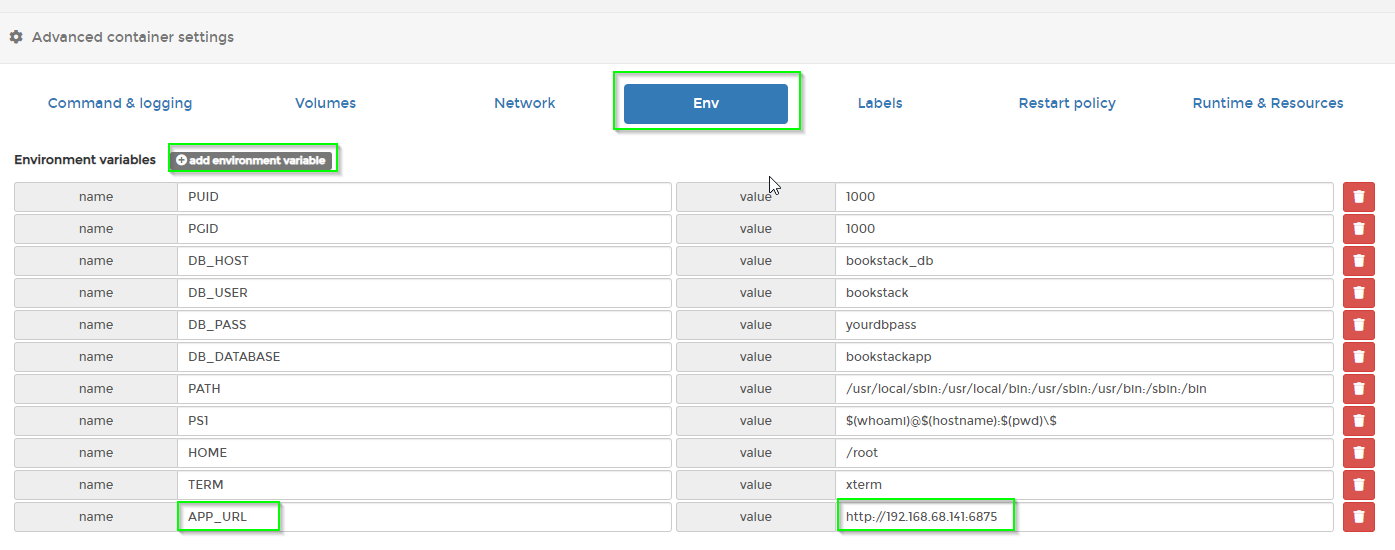
Scroll down to Env > add environment variable. Add APP_URL with a value of your server's IP and port:
Then click Deploy the Container. This will overwrite the old container and apply the correct IP address.
After a few moments, you should be able to log into Bookstack via the server IP and port number.
Wrapping Up
I won't go into details about how to use Bookstack as there are tons of tutorials and videos out there on that. It's pretty self-explanatory. Considering this is my first Docker Compose stack that I've setup, I wanted to document the install process to make as simple for others to follow.
Hopefully this guide helps other beginners get BookStack running via Portainer!