How To Setup Overseerr in Docker (Ombi Alternative)
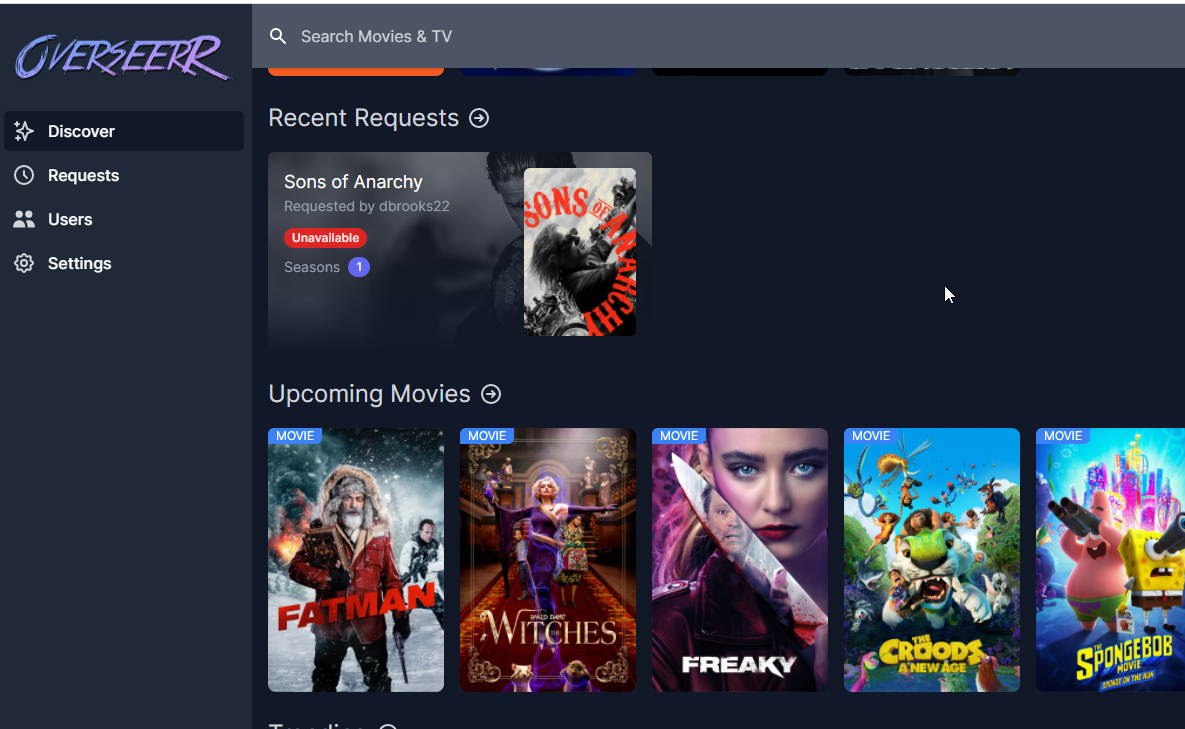
Yesterday on Reddit, I came across an awesome Ombi alternative that allows your Plex users to request TV shows and Movies in an incredibly simple and easy-to-use way. This project is called Overseerr.
Overseerr integrates directly with Plex so you can login and manage user access with Plex, view your library, and much more. It also integrates directly with Sonarr and Radarr, so once your users request something - it automatically starts downloading the requested media for them to watch. Pretty cool, right?
Many of you already use Ombi or Requesterr to do this, but as the developer stated in his Reddit post, he had some long standing issues with those options and decided to create a new project to solve them. Being fairly new to Docker, I decided to write a step-by-step guide for anyone wanting to setup this up themselves. Hopefully it helps!
This guide will only allow users inside your local network to request TV shows or movies (husband, wife, kids, VPN-connected users, etc).
If you want to access Overseerr remotely, follow my Nginx Proxy Manager setup guide after this guide.
Prerequisites
This guide assumes you already have a Ubuntu VM with Docker installed. If not, follow my How To Install Docker On Ubuntu 20.04 guide.
Step 1: Deploy Overseerr Image
To deploy the Overseerr image, open a terminal and type the below command:
sudo docker run -d -e LOG_LEVEL=info -e TZ=America/LosAngeles -p 5055:3000 -v /srv/config/overseerr:/app/config --restart unless-stopped sctx/overseerr:developYou can also use Putty to SSH into your host server.
After a few seconds, your Overseerr container should now be running!
Step 2: Test Overseerr in a Web Browser
If you installed Overseerr from within your Ubuntu VM, browse to http://localhost:5055 to see if the page loads.
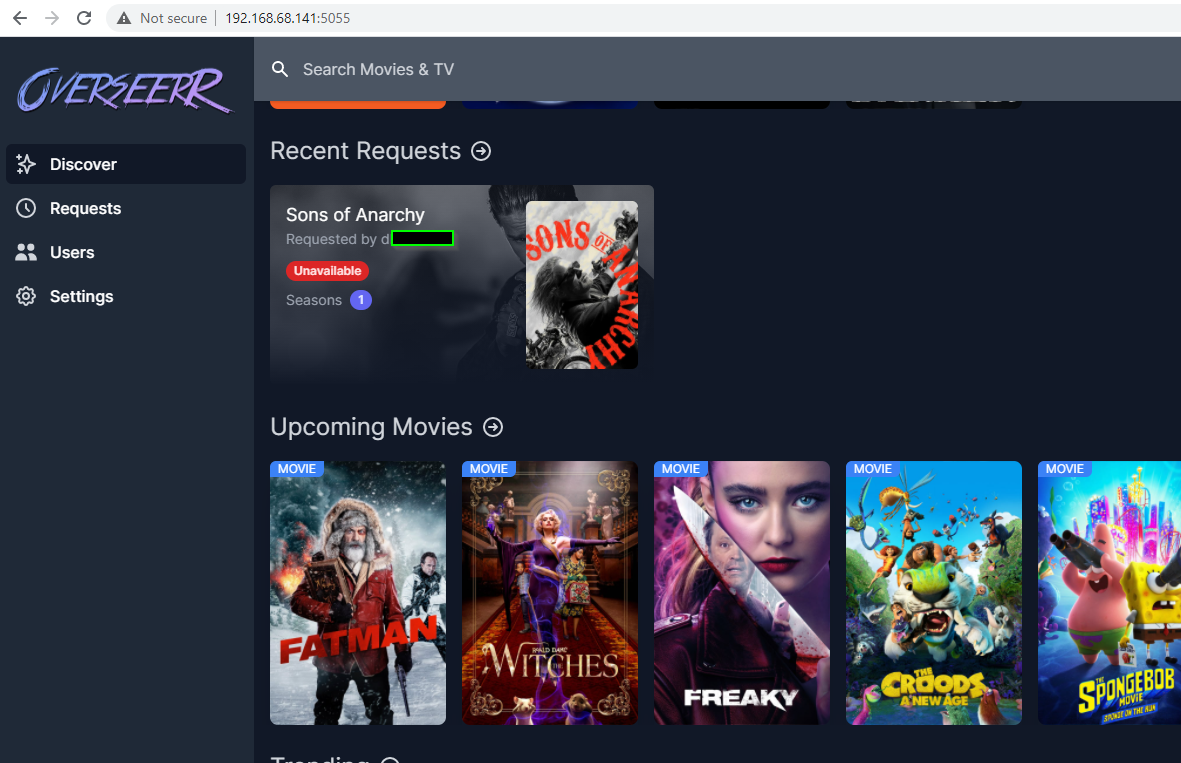
You could also browse to your UbuntuIP:5055 (http://192.168.68.141:5055)
Step 3: Configure Overseerr with Plex
Click the orange Login with Plex option. Sign in with your Plex credentials.
Enter your Plex server's IP address. Once you hit Save Changes, it should pull your Plex server name automatically.
Scroll down a little and click Sync Plex Libraries:
A little below that is a "Manual Library Scan" option. If you're setting this up for the first time, you'll want to run this now rather than wait 6 hours for it to automatically scan your Plex library.
Step 4: Add Sonarr and Radarr to Overseerr
For this step, you can either continue testing and making changes from inside the Ubuntu VM or browse the to the webui from your desktop. Since I'll need to copy/paste the API keys Sonarr and Radarr, I prefer to access things from my desktop.
First, you need to find out the IP address of your Ubuntu VM. Open a terminal and type:
ifconfigIf ifconfig isn't installed, it'll prompt you to do so.
Once installed, type ifconfig again. On eth0, locate the inet line. That is the IP address of your Ubuntu VM.
From your desktop, you can now type http://192.168.68.141:5055 to access your Overseerr webui (replacing the IP address with the IP address of your Ubuntu VM, of course).
Sonarr Setup with Overseerr
After logging in via Plex, navigate to Settings > Services. Click the + Add Sonarr Server section.
In a separate browser tab, open your Sonarr webui (192.168.68.137:8989) and navigate to Settings > General to grab the API key.
After clicking TEST, it should say "Sonarr connection established!" Once established, you can then choose a Quality Profile and Root Folder.
Click Add Server once complete.
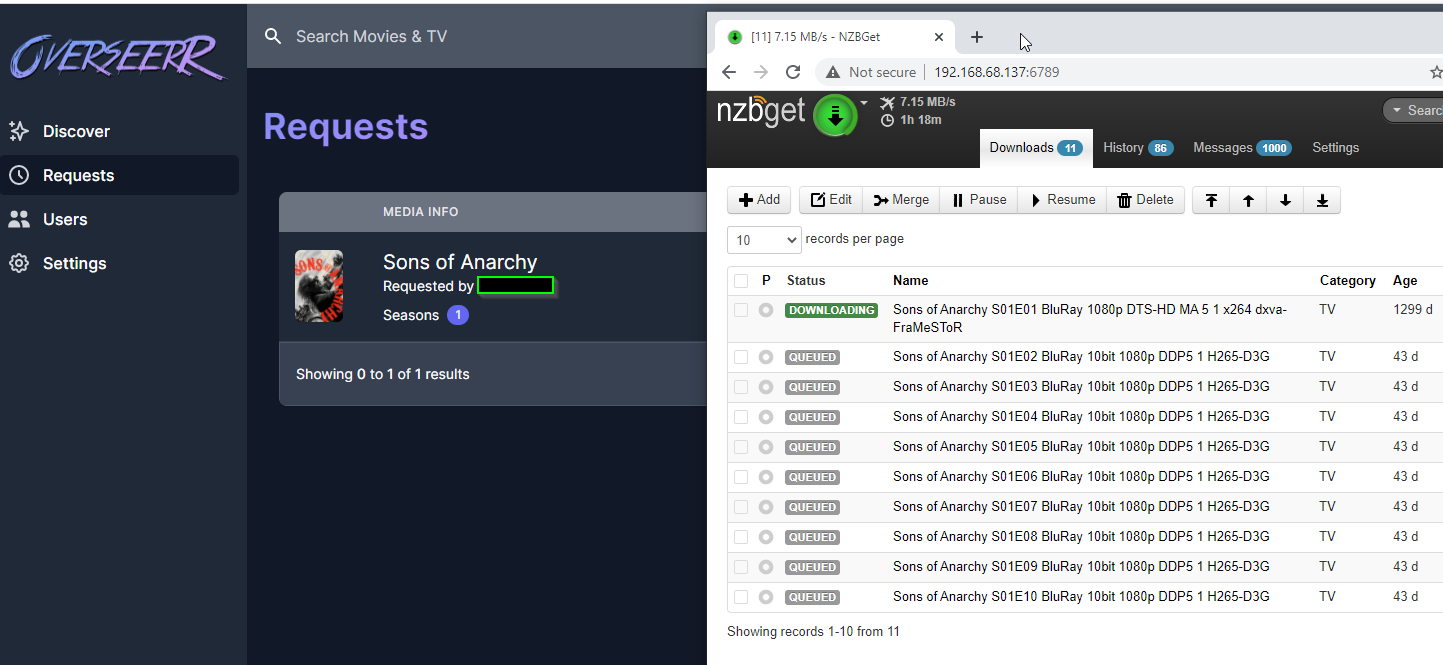
You can then search for any TV show via Overseerr, and it will automatically start downloading it via the Sonarr API connection!
The last thing you need to check is Overseerr automatically grabs and downloads the episodes via Sonarr. I use NZBGet, so after a few moments you should start to see NZBGet downloading all of the requested episodes.
For Radarr, just repeat the steps above for Sonarr, this time using your Radarr API key and paths.
Oh, and if you are curious about setting Windows Toast Notifications (the popup notifications in the bottom right-corner once Sonarr grabs an episode) check out my Configure Windows Toast Notifications for Sonarr and Radarr guide.
Overseerr Docker-Compose
If you use Portainer or want to deploy Overseerr with Docker-Compose, here you go:
version: "2" services: overseerr: image: sctx/overseerr container_name: overseerr environment: - LOG_LEVEL=info - TZ=America/LosAngeles volumes: - ./config:/app/config ports: - 5055:3000 restart: unless-stoppedWrapping Up
Hopefully this guide helps you get Overseerr up and running pretty quickly! I don't have a reverse proxy setup yet, but once I do - I'll be setting up Nginx Proxy Manager and opening a port in my router for my Plex users to access.
Update: Nginx Proxy Manager install guide is here!


