How To Install Node Red in Docker
In this guide, I'm going to show you how to setup Node Red in Docker.
For purposes of this tutorial, I'm just going to show you how to configure Node-Red in a simple Docker container in 2021, but you'll have to do your own research as to how to fully use it. A great resource to learn the basics of Node-Red is a Youtube channel called The Hook Up.
What is Node Red?
Node Red is a web-based flow editor. It allows you to create functionality between different "nodes" via your web browser. These are called flows. If you are into smart home tech or home automation, you might create a flow to notify your family if smoke or carbon monoxide was detected.
Node Red is extremely powerful; I've only just begun to scratch the surface of it's true potential. Many people use Node Red as a replacement to the entire Automations section in Home Assistant. Others, like myself, may use it to display an RSS feed in their Homer dashboard.
Prerequisites:
This guide assumes you already have Docker installed. For reference, I have Docker installed on a Ubuntu 20.04 VM.
If you don't have Docker installed yet, follow my Docker Setup Guide.
Step 1: Create Node Red Container
First, you'll need to SSH into your Docker server and create a new container.
Most of my containers are stored in the directory /srv/config, so the path I'm using in my command is /srv/config/noderedChange the green text to your own path.
sudo docker run -it -p 1880:1880 -v /srv/config/nodered:/data --name mynodered nodered/node-redIf you happen to see an error, you might need to take ownership of the directory first. You can do that by running this command:
sudo chmod -R 777 /srv/config/noderedIf you did receive an error, then you won't be able to simply start the container after taking ownership. You'll have to create a new directory. So, run this command (the only thing that changed is the container name in green).
sudo docker run -it -p 1880:1880 -v /srv/config/nodered:/data --name nodered nodered/node-redStep 2: Open Node Red Web Interface
The next step is launch Node Red. You can do this by typing your Docker IP and port (i.e. - 192.168.68.141:1880)
If all goes well, Node Red should open in your browser like this:
How To Import a Node Red Flow
Luckily, you don't necessarily have to create all of your own Flows. A lot of users have created Flows and added them to the official Flows library. Feel free to browse through the available ones to see if you find one you could use. Flows can be thought of as templates, where the only thing you might need to change out is endpoint IP addresses URL's.
To import a Flow, copy the RAW json to your clipboard.
Then, in the top right-corner of Node Red, click the 3 lines and click Import.
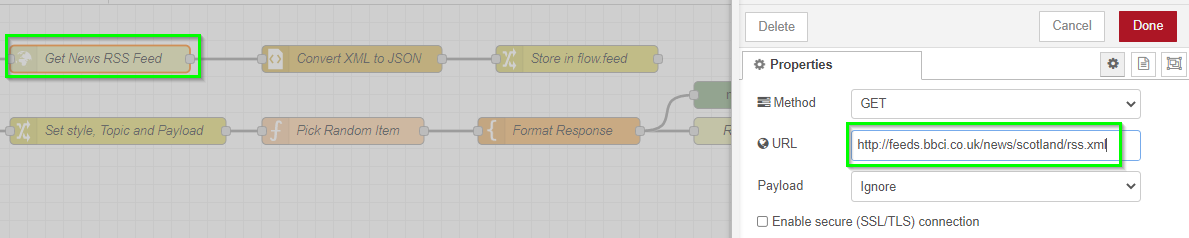
Paste in the copied text, and then click Import. Your imported flow should now appear:
Wrapping Up
Hopefully this very basic guide helps you deploy Node red quickly and easily. It's an entirely different and complex beast, but from what I've read, once you understand how it works and how you can utilize it in your homelab, it's extremely powerful.
Good luck!