How To Install Mealie in Docker
Mealie is a self-hosted recipe manager and meal planner. It has a beautiful UI, is easy to use, and very customizable. The developer is also actively adding new features to it, which is something I always like seeing in self-hosted apps.
To add a recipe, simply copy and paste a URL into Mealie and it will pull the header image, ingredients, & all steps. The ingredients show up as a checklist, so you can check off ingredients as you are cooking. You can also tag/categorize recipes or plan out meals for the entire week.
One of the really neat features of Mealie is that there's a Mealie API available. I haven't experimented with this portion yet, but a few example use cases might be:
- Add {"Message": "Remember to pull out the steaks!"} to a recipe. Then add the webhook to Home Assistant. This will display a reminder on your Home Assistant dashboard
I would also like to use the API to display the "dinner meal of the day" directly on Home Assistant for my wife and I. If I can get this working, I'll be sure to create another guide.
Installation Overview
Deploying Mealie is pretty easy, however I wouldn't have been able to figure it out without the help of DBTech's Mealie video tutorial - so all kudos to him.
You basically create a folder, clone the github repo, edit the docker-compose.yml file, and then build the container. You can also install directory from Dockerhub, if you'd like.
Obviously if you're familiar with Docker and Docker-Compose, then you probably don't need a step by step guide like this. However, I know a lot of you are just starting to learn Docker and are looking for useful ways to use selfhosted apps in your daily life, so I think Mealie would be a great place to start.
Prerequisities
This guide assumes you have Docker and Docker-Compose already installed.
For reference, I have Docker and Docker-Compose installed on my Ubuntu 20.04 virtual machine on a Windows Server 2019 Hyper-V host.
Step 1: Create Mealie Directory
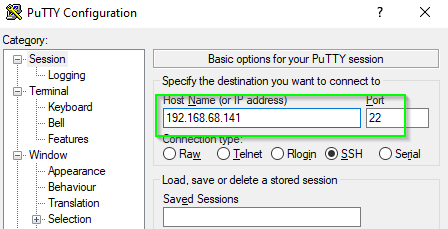
Open Putty and SSH into your Docker server.
Then, change directories if you'd like.
cd /srv/config
Create a new directory for Mealie. This is the folder where you'll be cloning the Mealie repo to.
mkdir mealie.
Step 2: Clone the Repo
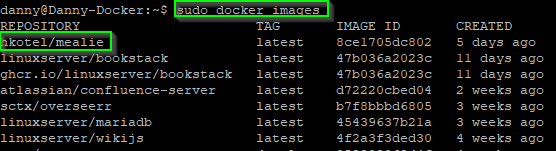
Navigate to the Mealie Github page.
Click the green Code dropdown button to copy the URL.
Run this command in Putty to clone it:
git clone https://github.com/hay-kot/mealie.git
Step 3: Edit Docker Compose File
Once it says "done", you are ready to edit the docker-compose.yml file.
Navigate to the mealie directory.
cd mealie/
Then edit it with nano file editor:
nano docker-compose.yml
By default, Mealie runs on port 9000. Since I already have Portainer on 9000, I changed mine to 8787.
You'll also want to change the database user and password in all 3 places. Most of my containers are in the /srv/config/ folder, so that's where I'm setting my volume for Mealie. For the Mongo database path, I used a srv/config/mealiedb/ folder. Change the paths to whatever path makes sense for your setup.
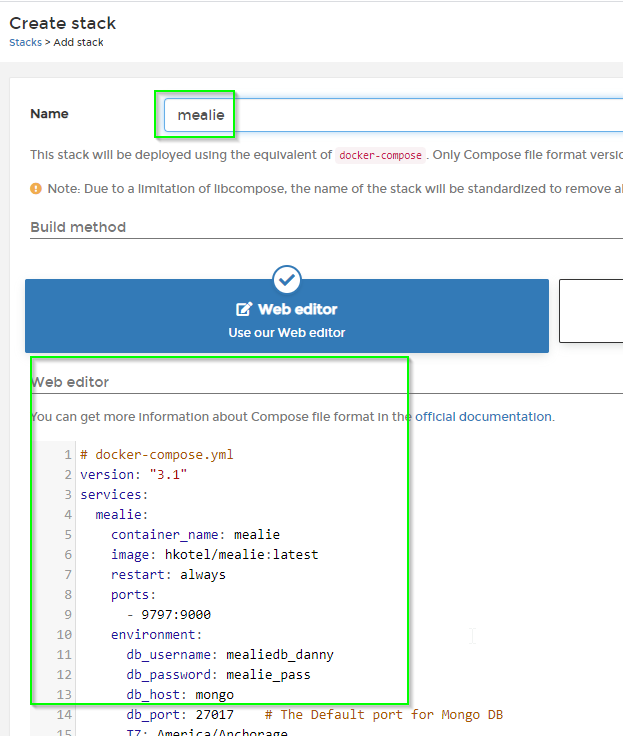
Here's what my Docker-Compose.yml ended up looking like:
# docker-compose.yml version: "3.1" services: mealie: container_name: mealie image: hkotel/mealie:latest restart: always ports: - 8787:9000 environment: db_username: danny # Your Mongo DB Username - Please Change db_password: mealiedb_pass # Your Mongo DB Password - Please Change db_host: mongo db_port: 27017 # The Default port for Mongo DB TZ: America/Anchorage volumes: - /srv/config/mealie/:/app/data/ mongo: image: mongo restart: always volumes: - /srv/config/mealiedb/:/data/db environment: MONGO_INITDB_ROOT_USERNAME: danny # Change! MONGO_INITDB_ROOT_PASSWORD: mealiedb_pass # Change! mongo-express: # Optional Mongo GUI image: mongo-express restart: always ports: - 9091:8081 environment: ME_CONFIG_MONGODB_ADMINUSERNAME: danny ME_CONFIG_MONGODB_ADMINPASSWORD: mealiedb_passTo save you file, press CTRL+X to bring up the menu. Then hit Y for yes, and Enter to save.
Step 4: Build the Container
The last step is to build the container.
After saving, you should still be in the correct mealie directory. To build the container, simply run:
docker-compose up -d
This will take several minutes to complete (about 5 for me), so just be patient while everything gets installed and extracted.
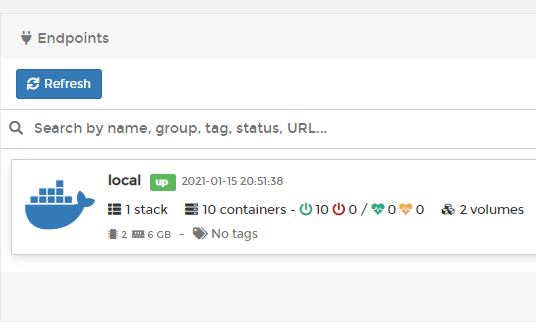
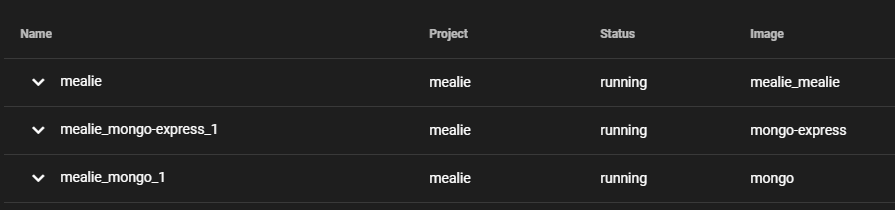
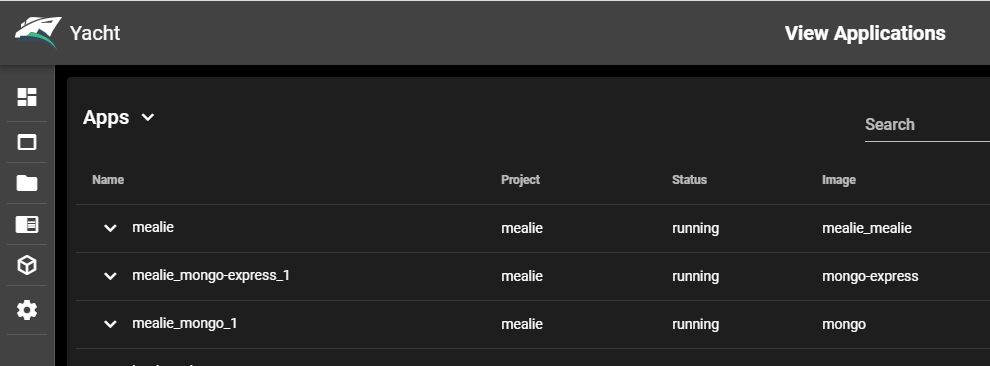
Once complete, you should now have 3 containers running (image shown from Yacht, but checking in Portainer would work too.)
Mealie should now open for me at 192.168.68.141:8787.
Step 5: Adding Recipes to Mealie
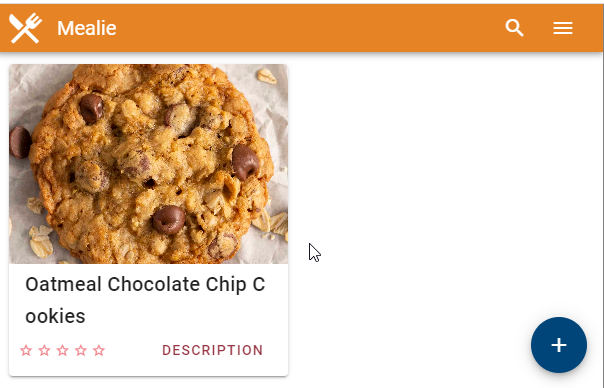
I won't go into a whole lot of detail here as it's pretty self-explanatory and easy enough for anyone to follow. But, just so you have some images to reference, here's how to add a recipe to Mealie:
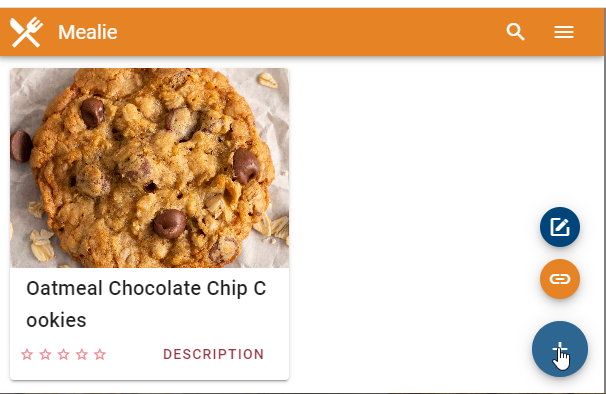
Hover over the + button. Then click the Link icon. Search Google for a recipe you want to add:
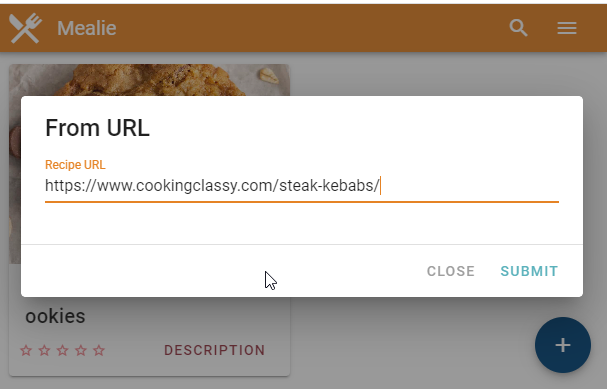
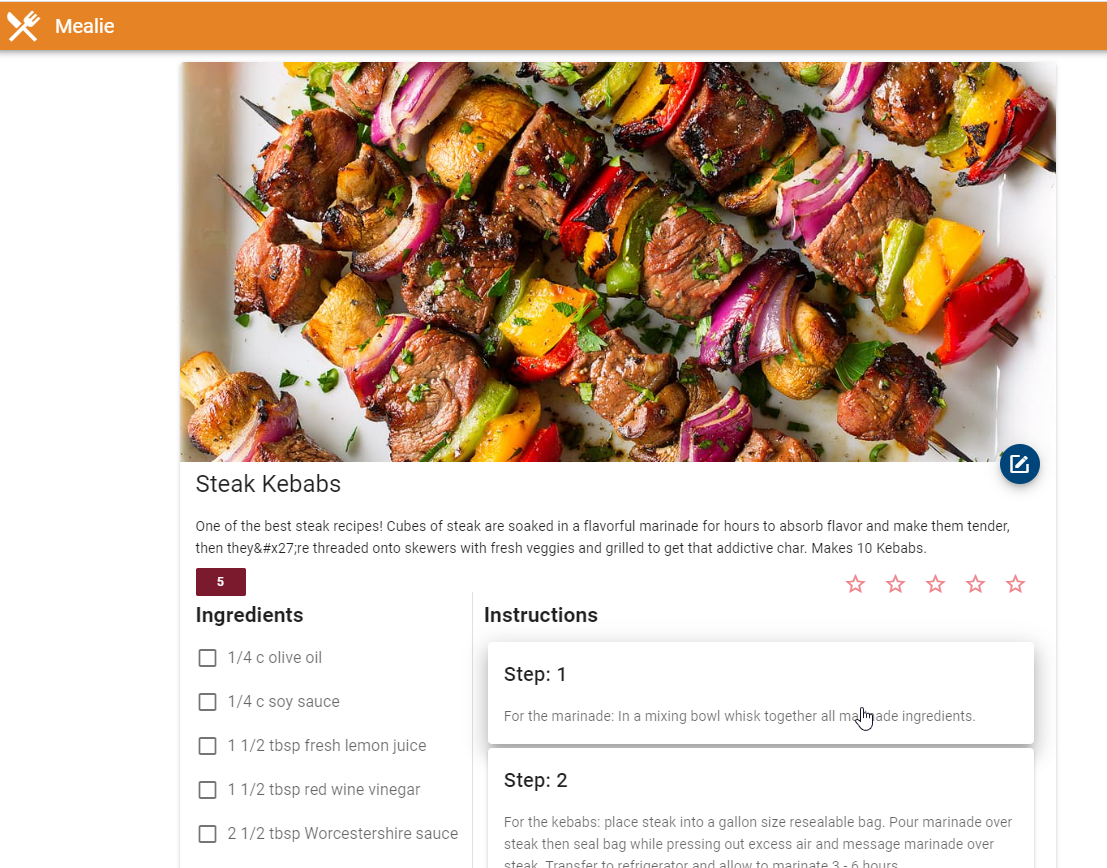
The URL I'm using is: https://www.cookingclassy.com/steak-kebabs/
Simply paste it into the From URL bar.
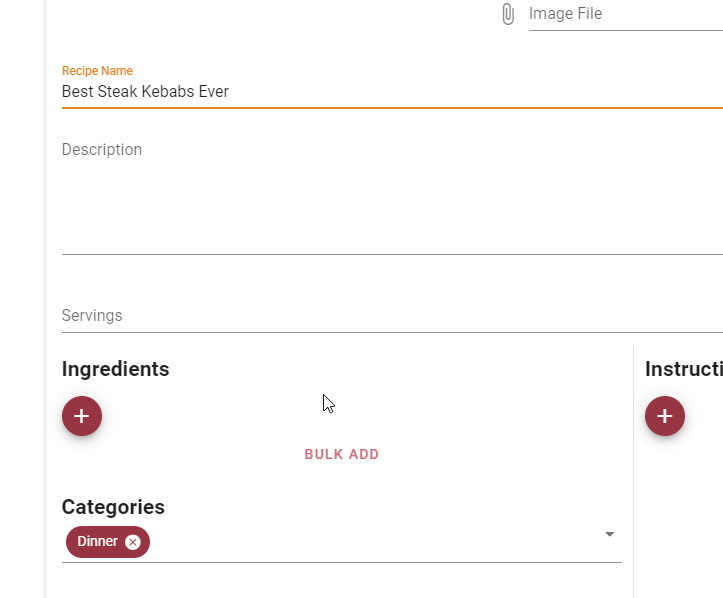
And just like that - Mealie has pulled in the entire recipe.
Also, if you scroll to the bottom of the recipe you added, you'll see a handy "Original Recipe" button. I use this to quickly go back and read the reviews to see if anyone has tweaked the recipe to make it just a little better.
So far, I've pulled in a bunch of recipes and just about all of them pull in everything flawlessly.
How To Categorize/Tag your Recipe
Click the + button in the bottom right corner > Edit icon. This will bring you to the recipe editor page. From here you can add notes, change ingredients, give it a custom name or description, or categorize it.
Wrapping Up
Hopefully this guide helps get you get Mealie installed! Consider buying the developer a coffee for a job well done.