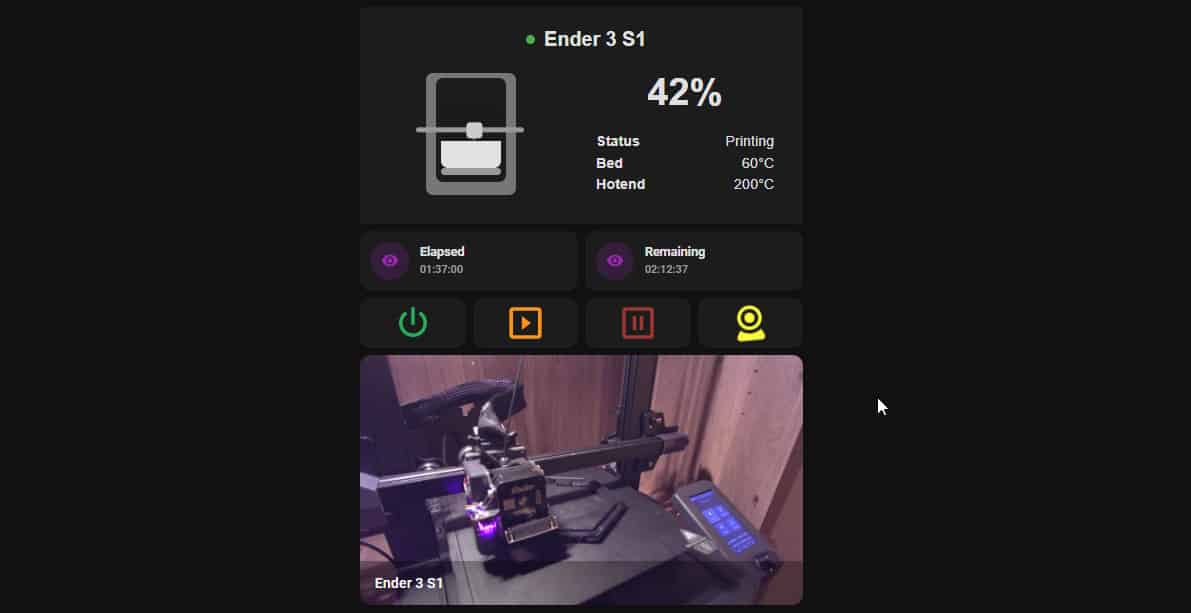
Compact 3D Printer Card Dashboard in Home Assistant
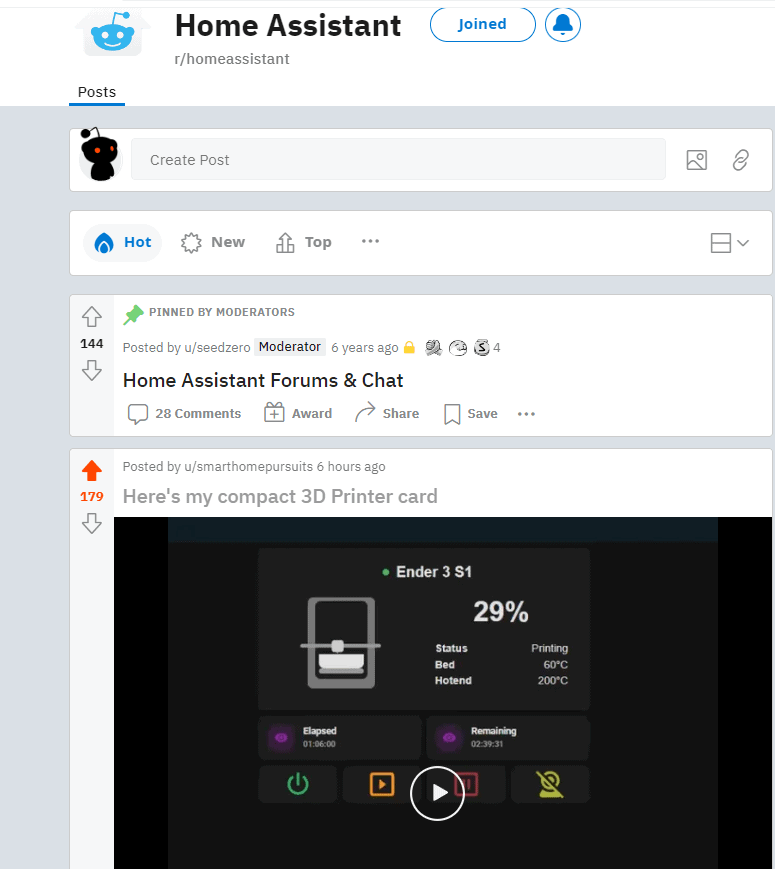
Earlier today I posted a short video of my 3D printer card on Reddit, and you guys loved it so much that you voted it to the #1 spot in the /r/HomeAssistant subreddit. A lot of you were asking for the YAML or how I created this, so I'm going to share everything I did to set this up.
It's honestly too much info to put into a single Reddit comment, and plus formatting code snippets on Reddit is pretty painful, so it'll be easier for me to post on my blog that way I can give reasons why I did things the way I did them.
So let's get started!
Integrations & Cards Needed
If you're looking to create a "card" exactly like how I've done mine, you'll need the following integrations and custom cards setup. Hopefully you have HACS installed already because you'll need it.
- Octoprint integration - This is the default Octoprint integration; not the MQTT Octoprint integration from HACS.
- Threedy - This is the moving image card at the top. (Installed via HACS)
- Mushroom Card - This is for the purple Print Time Elapsed and Print Time Remaining entities. (Installed via HACS)
- Custom:button-card - This is for the 4 buttons at the bottom. (Installed via HACS)
Hardware Needed
- You'll need to have Octoprint already up and running (I have mine running on a Raspberry pi 3B+ connected via USB-C to my Ender 3 S1 3D printer (AMAZING printer by the way. It's the first one I've ever used, and I highly recommend it!).
- You'll also need a smart plug (I'm using a Sonoff S31 Lite Zigbee) so you can toggle the printer on and off from the card. I keep the switch on my 3D printer always set to ON, and then simply toggle it on/off via the smart plug.
- Webcam for Octoprint: I'm using a NexiGo N60 1080p
Step 1: Install Octoprint Integration
The first thing you'll need to have done is install the official Octoprint integration. This gets installed like any other default integration, but I do have a How To Configure Octoprint in Home Assistant guide you can follow if needed.
Step 2: Install Remaining Integrations
After Octoprint is integrated, go ahead and install the remaining 3 from above. Mushroom Card is optional, but in my opinion it looks better than using the default entity card.
Step 3: Create 2 Template Sensors
The default Octoprint integration in HA doesn't include sensors for "Time Remaining" or "Time Elapsed", so I had to create two template entities for those. I can't take the credit for these; I found them on the HA forums but unfortunately I don't remember where. But they are just doing math to calculate the time estimates based on the entities the Octoprint integration does provide.
File Editor > Configuration.yaml. Then add the following sensors.
The newly created entity names will be:
- octoprint_time_elapsed_friendly
- octoprint_time_remaining_friendly
sensor: - platform: template sensors: octoprint_time_elapsed_friendly: value_template: > {{ ( as_timestamp(now()) - as_timestamp(states.sensor.octoprint_start_time.state) ) | int (0)| timestamp_custom('%H:%M:%S', false) }} friendly_name: 'OctoPrint Time Elapsed' - platform: template sensors: octoprint_time_remaining_friendly: value_template: > {{ ( as_timestamp(states.sensor.octoprint_estimated_finish_time.state) - as_timestamp(now()) ) | int (0)| timestamp_custom('%H:%M:%S', false) }} friendly_name: 'OctoPrint Time Remaining' Step 4: Create Toggle Helper (for toggling webcam visibility)
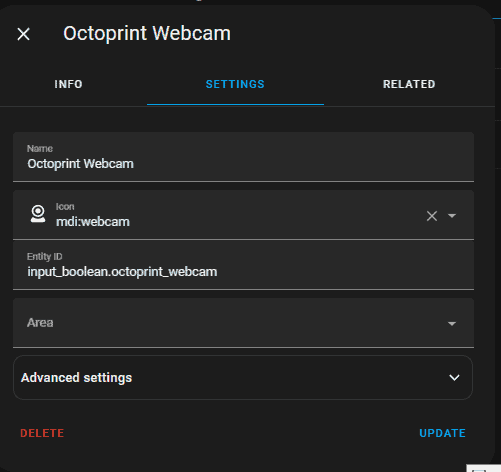
Next, I needed to create a Toggle Helper. This is because in my card, I'm using a Conditional card to display the webcam connected to my Octoprint Raspberry Pi. The conditional card basically states if this helper is ON, then show the webcam stream.
Settings > Devices & Services > Helpers tab > Create Helper > Toggle.
Name it "Octoprint Webcam". The entity created will be called input_boolean.octoprint_webcam.
Step 5: Find Stream URL of Octoprint
If you'd like to display the webcam stream, you will use this URL: http://octopi.local/webcam/?action=stream
You could also use the IP address if you can grab that from your router. I don't think the IP is displayed anywhere within the Octoprint UI. You'll need to replace my IP in the YAML below with your own.
http://192.168.68.145/webcam/?action=streamStep 6: Full YAML
The easiest way for you to set this up yourself is to just paste my YAML below into a Manual card on one of your dashboards. From there, you can just edit the entity names.
I'll highlight the areas you need to edit.
If you followed this guide with the same naming conventions I gave you, you only need to change out the entity name of your smart plug and the stream URL under the camera: section.
square: false columns: 1 type: grid cards: - type: horizontal-stack cards: - type: custom:threedy-card base_entity: sensor.octoprint monitored: - Status - Bed - Hotend printer_type: I3 name: Ender 3 S1 theme: Default temperature_unit: C round_temperature: true - type: horizontal-stack cards: - type: custom:mushroom-entity-card entity: sensor.octoprint_time_elapsed_friendly icon_color: purple name: Elapsed - type: custom:mushroom-entity-card entity: sensor.octoprint_time_remaining_friendly name: Remaining icon_color: purple - square: false columns: 2 type: horizontal-stack cards: - type: custom:button-card icon: mdi:power color: rgb(39, 176, 89) show_name: false entity: switch.ender3_s1 - type: custom:button-card icon: mdi:play-box-outline color: rgb(252, 148, 30 ) tap_action: action: call-service service: button.press service_data: entity_id: button.octoprint_resume_job - type: custom:button-card icon: mdi:pause-box-outline show_name: false color: rgb(158, 54, 52) tap_action: action: call-service service: button.press service_data: entity_id: button.octoprint_pause_job - type: custom:button-card entity: input_boolean.octoprint_webcam state: - value: 'off' color: rgb(179, 179, 45) icon: mdi:webcam-off - value: 'on' color: rgb(250, 250, 62) icon: mdi:webcam styles: icon: - animation: - twister .9s linear 6 extra_styles: | @keyframes twister { 0% {transform: rotatez(0deg): top: 10px} 25% {transform: rotatez(15deg)} 50% { top: 0px} 75% {transform: rotatez(-15deg)} 100% {transform: roatatez(0deg): top: 10px} } tap_action: action: toggle show_name: false - type: conditional conditions: - entity: input_boolean.octoprint_webcam state: 'on' card: camera_view: live type: picture-glance title: Ender 3 S1 image: http://192.168.68.145/webcam/?action=stream entities: []Wrapping Up
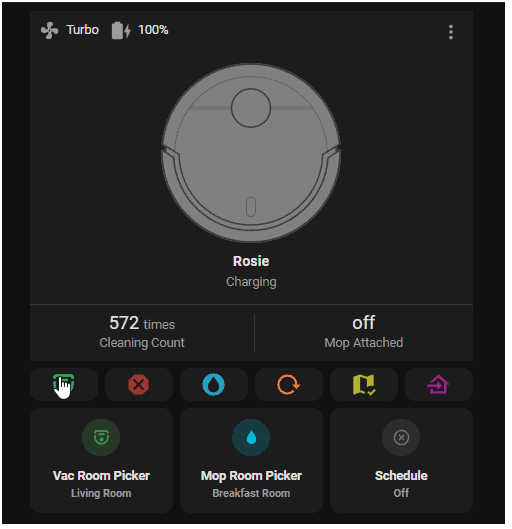
Good luck! This one was a lot of fun to set up. It's actually very similar to my Clean Robot Vacuum+Mop Card, so if you have a robot vacuum, you should set that one up, too.