How to Setup HASS Workstation Service in Home Assistant
In this guide, I'm going to show you how to install HASS Workstation Service in Home Assistant. HASS Workstation Service is an application that lets you use use Home Assistant to control your computer, such as locking your PC, rebooting it, or detecting when your webcam is in use. It also provides useful sensors within in Home Assistant, such as CPULoad, CurrentClockSpeed, LastBootTime, MicrophoneActive, and much more - all of which show up as lovelace entities.
Setting this up allows you to create some pretty awesome automations. Here's a few examples:
- Dim your lights if you start playing a video game
- If webcam turns on, then change Hue bulbs from green to red to alert family members
- If your server reaches a certain CPU threshold, then send a notification.
- Change desktop wallpaper based on weather
Prerequisities
This guide assumes you already have Home Assistant setup and a Windows 10 PC that you want to integrate.
It works by installing a service in Windows (which runs in the background) to communicate to an MQTT Broker you setup within Home Assistant.
Let's get started!
Install MQTT Broker Addon
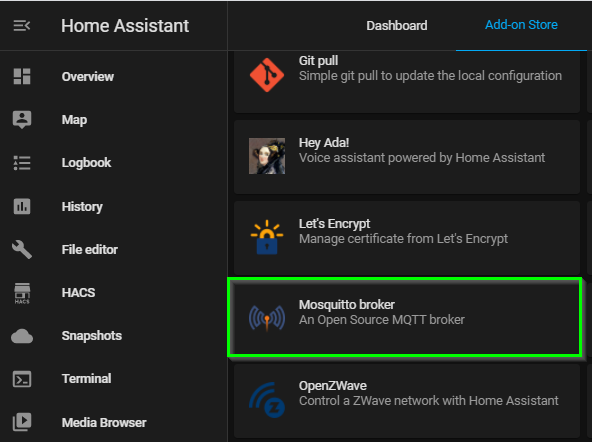
- In Home Assistant, navigate to Supervisor > Add-on Store.
- Find the "Mosquitto broker" addon and add it.
- Click Install.
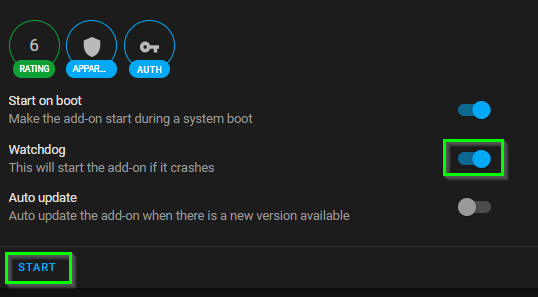
Start on boot should be enabled by default. Toggle the Watchdog status to ON, and then click Start.
Congratulations, your MQTT broker is now setup and ready to go. Next, you need to create an MQTT user
Create MQTT User Account in Home Assistant
While you don't technically need to create a specific mqtt user, for security purposes it's recommended to do so. So, that's what we're doing here.
In Home Assistant, navigate to Configuration > Users.
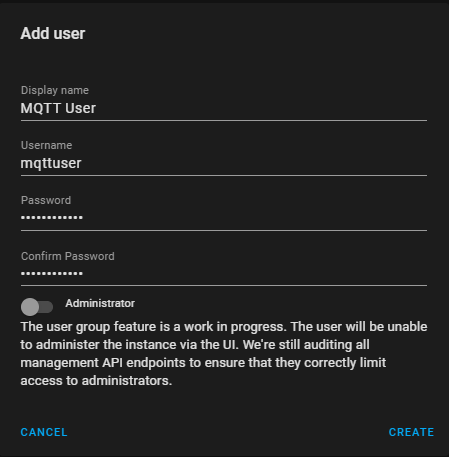
Click Add User in bottom right corner.
Enter a Display Name, username, password, and leave the Administrator toggle off.
Then, click Create.
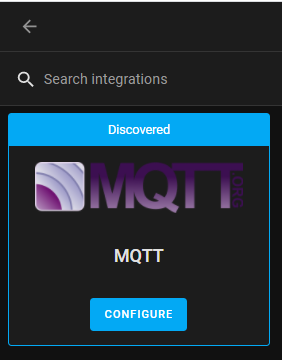
Then, go to Configuration > Integrations > locate the MQTT integration and click Configure.
Check the box for Enable Discovery. Then, click Submit.
A few seconds later, you should see a Success! message.
You will then need to reconfigure Mosquitto Broker and enter the newly created user/password instead of the default created one.
Download the HASS Workstation Service Installer
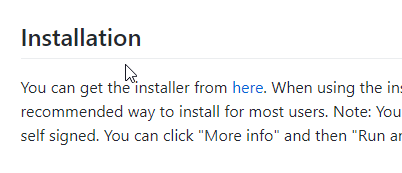
Download the installer from here. Scroll to the "Installation" section to download.
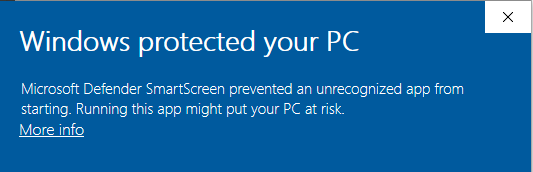
You will see a blue "Windows Protected your PC" screen. This is because the .exe is using a self-signed cert.
Click More info > Run Anyway.
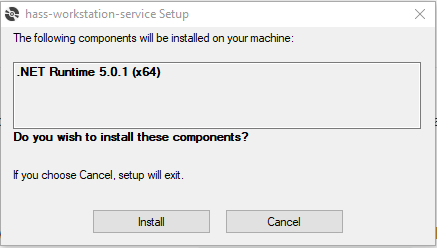
If you don't have .NET 5.0.1 installed, it will prompt you to install it.
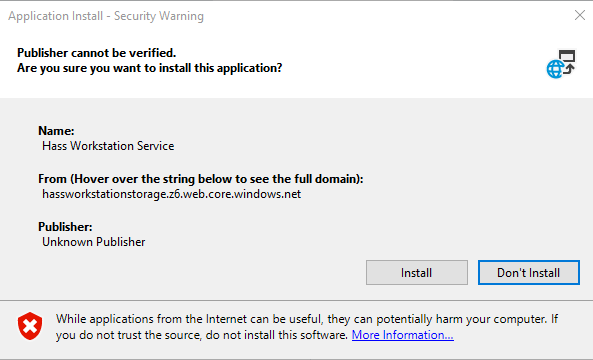
You will then receive a "Publisher cannot be verified" warning. Go ahead and proceed with the install.
Once complete, the application will automatically launch. Now, it's time to configure it.
Pre-Configuration Settings
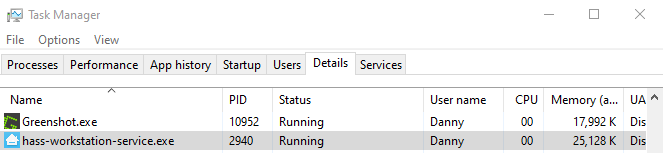
Before you configure the settings, make sure the hass-workstation-service.exe is running. You can check this in Task Manager > Details.
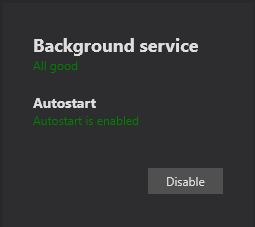
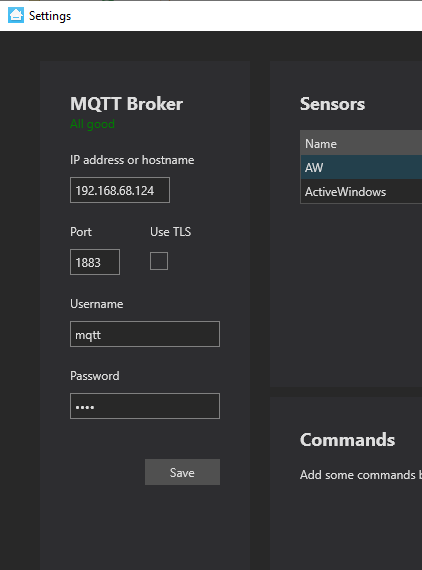
If it is, you'll see the background services state "all good".
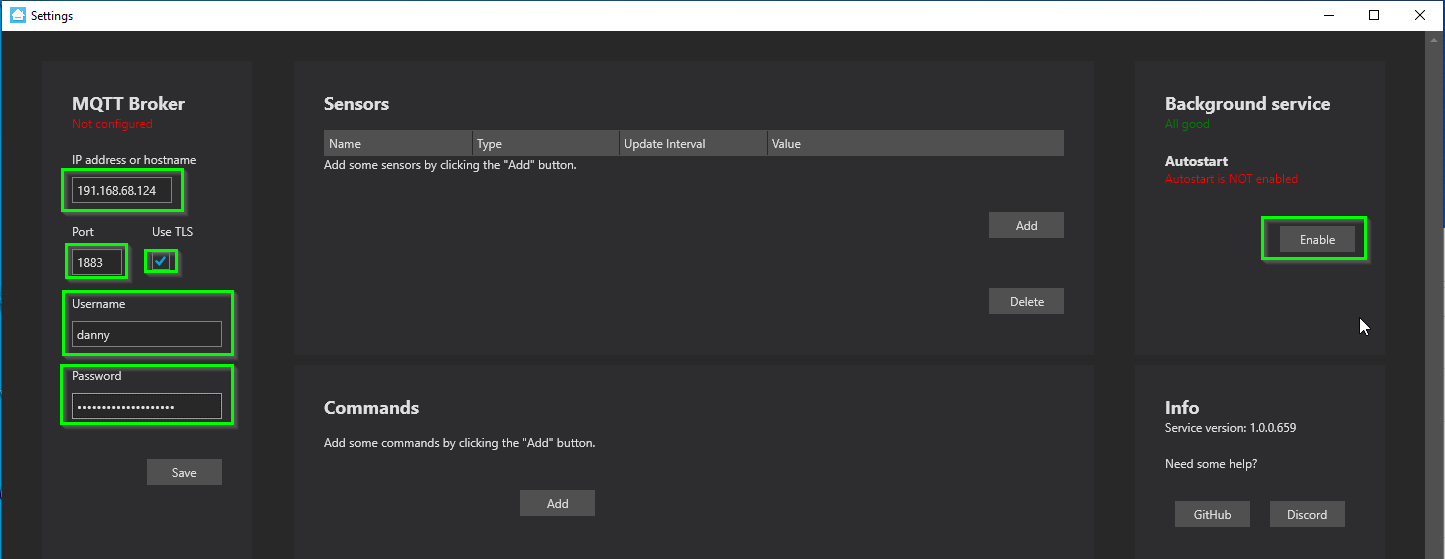
Configure Settings
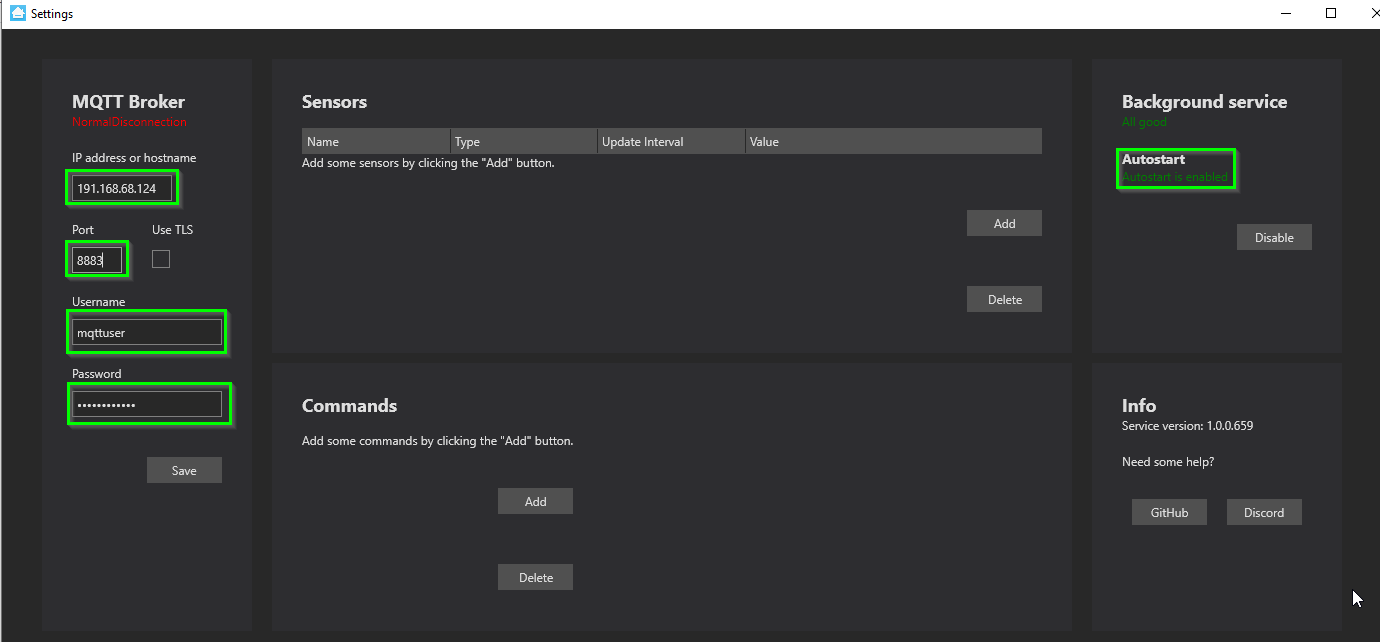
Add the IP address of your Home Assistant instance (mine is http://192.168.68.124:8123/ ) The port is 1883. Uncheck the TLS box.
Enter your MQTT credentials.
If autostart is disabled, enable that too.
Then, click Save.
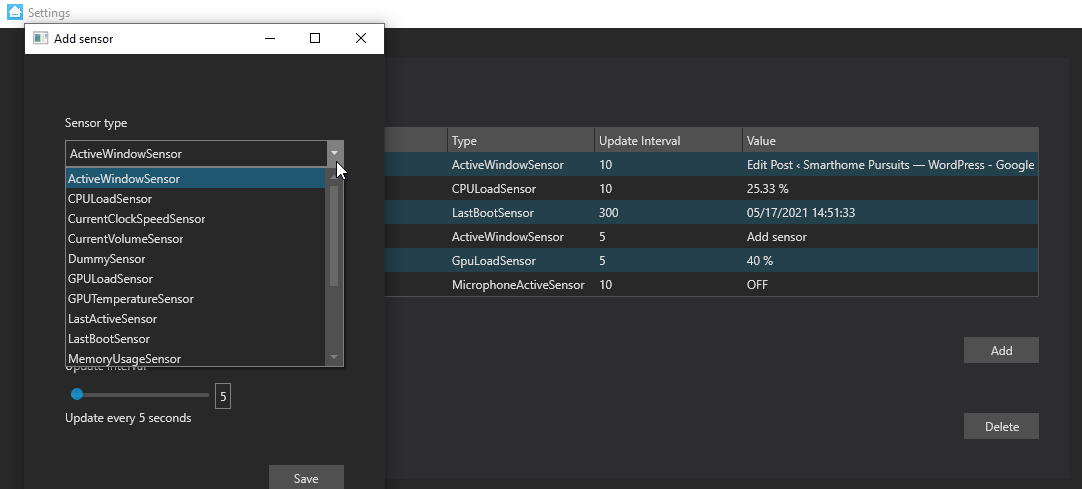
Once the status changes from NormalDisconnection to connected, you can start adding your sensors!
This part is pretty self-explanatory, just click the Add button and choose a sensor from the dropdown list. These will then become entities with Home Assistant automatically.
If you're looking for a cool real world example of this in use, check out my guide to automatically change my desktop background to a live rainy wallpaper when it starts raining!
Wrapping Up
Hope this guide helps you get started installing and using Hass Workstation Service in 2021! Let me know in the comments below some of the creative ideas you are using with HASS Workstation Service.