How to Connect Cura to Octoprint (2022)
In this guide, I'll show you how to configure Cura with Octoprint. This will add a "Print to Octoprint" button directly inside Cura. This is an awesome timesaving feature - no more needing to download the gcode from Cura and upload to Octoprint for every new 3D print!
The entire process takes less than 5 minutes, so let's get started!
Prerequisites
Before you begin, you will need:
- Your 3D printer setup & working (I'm using a Creality Ender 3 S1)
- Cura slicing software installed (this guide is for version 5.0)
- Octoprint installed (I have it installed on a Raspberry Pi 3 B+
Overview
Normally when you work with 3D printers, you typically find an .STL file from Thingiverse or some other website & import into your slicing software. Cura is one of the most popular ones.
However, it can be a little tedious to constantly be switching back and forth from Cura & Octoprint. I.e. - Slice in Cura, download, upload to Octoprint...rinse and repeat.
So, we are simplifying it even further. Rather than downloading the .gcode from Cura, we are going to connect the two together so you can upload from Cura. No downloading the files needed (unless you still wanted to save the save them to your PC).
To bridge the gap between Octoprint & Cura, we'll installing the OctoPrint Connection plugin from the Cura Marketplace.
Step 1: Install OctoPrint Connection plugin in Cura
The first step is to install the Octoprint Connection plugin in Cura. This plugin is needed to configure the connection between Cura/Octoprint.
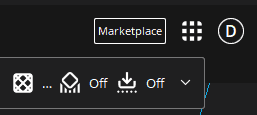
To begin, launch Cura. In the top right, select Marketplace.
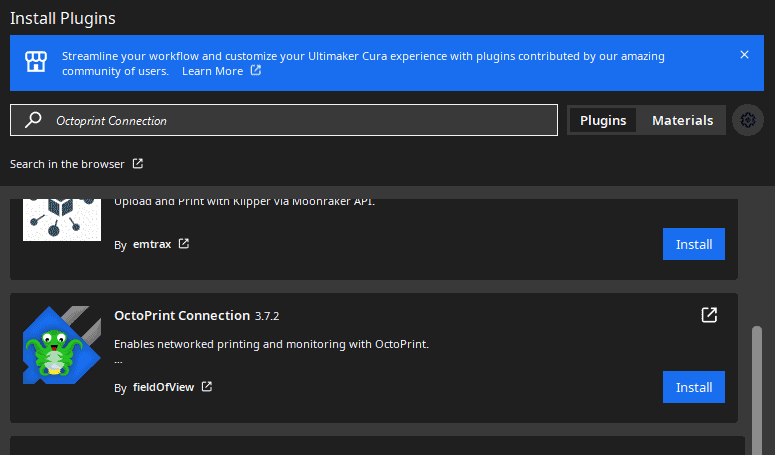
Type "Octoprint Connection" in the search box. Then click Install.
I had to click install about 7 times before it actually installed, but eventually it installed correctly. Hopefully it installs for you right away.
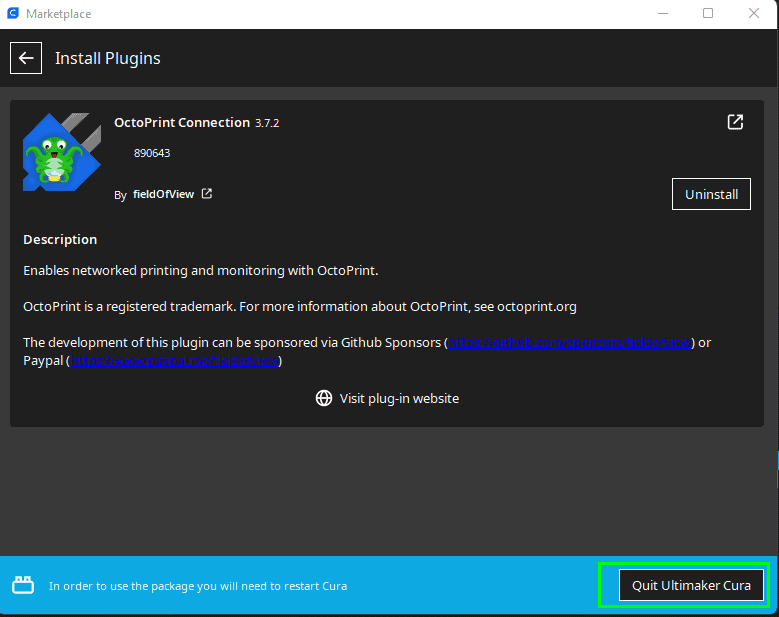
Once installed, restart Cura by closing & reopening it or clicking the Quit Ultimaker Cura button.
Step 2: Connect Cura to Octoprint
The next step is to configure the connection between Octoprint and Cura. This is done within the Connection plugin settings of Cura. We'll be using Cura'a API Request feature, which will automatically grab the API key from Octoprint.
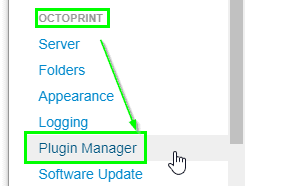
To begin, open Cura. Click Preferences on the top ribbon > Configure Cura.
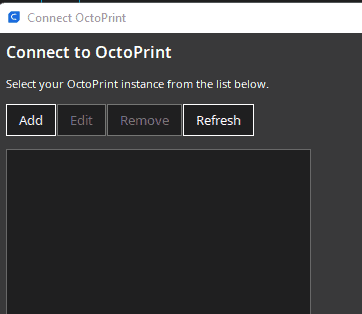
Click Printers on the sidebar, then Connect Octoprint.
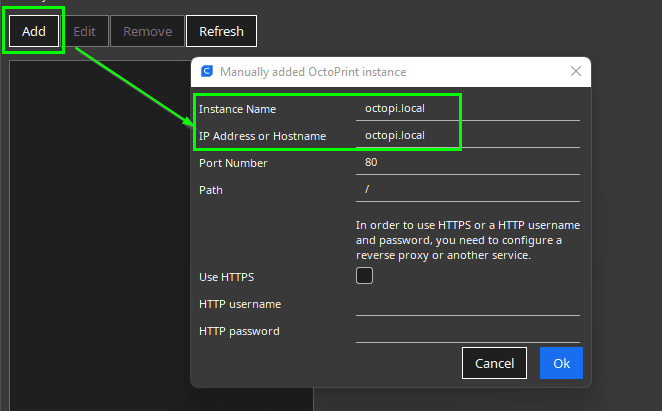
Select your printer from the list. If no printers show up in your list, click Add to add your 3d printer manually.
In the Instance Name field, enter octopi.local or the IP address of your Octoprint server.
Leave all of the other settings as is; you don't need to change these.
Then click OK.
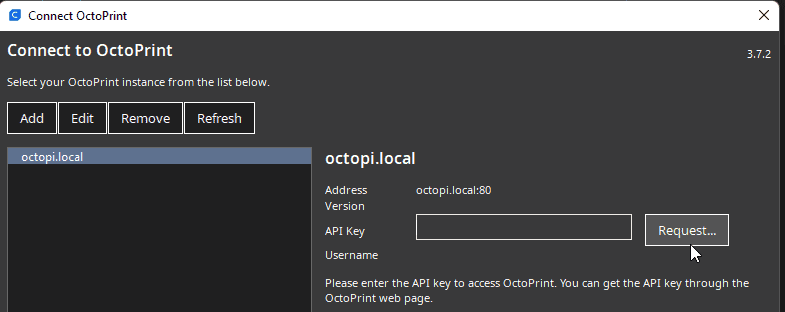
Your printer should now show up in the list! The next step is to request an API key from Octoprint.
Step 3: Request Octoprint API Key
Select your printer from the list. The click Request.
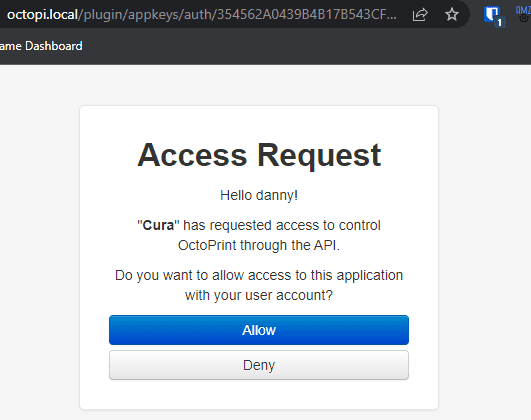
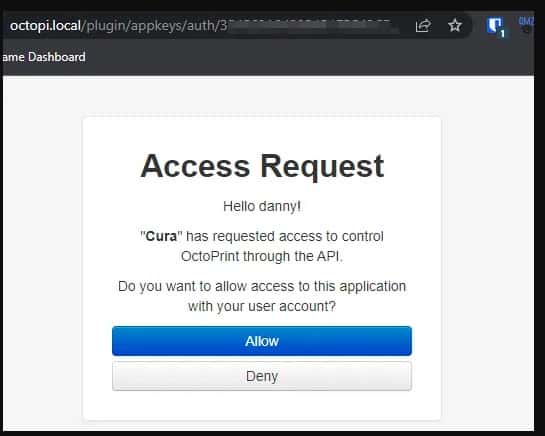
This will load an Access Request page. Since we want to allow Cura to access it using the API, click Allow.
Once the request has processed, you can close the tab.
Step 4: Configure Optional settings
Once you've closed the tab, you'll notice that the API key has been autofilled for you.
The options below the API key field were greyed out before, but now you can enable or disable them.
I recommend enabling the settings:
- "Start print job after uploading"
- "connect to printer before sending print job",
- "show webcam image" (if you've added a camera)
Then, simply click Connect.
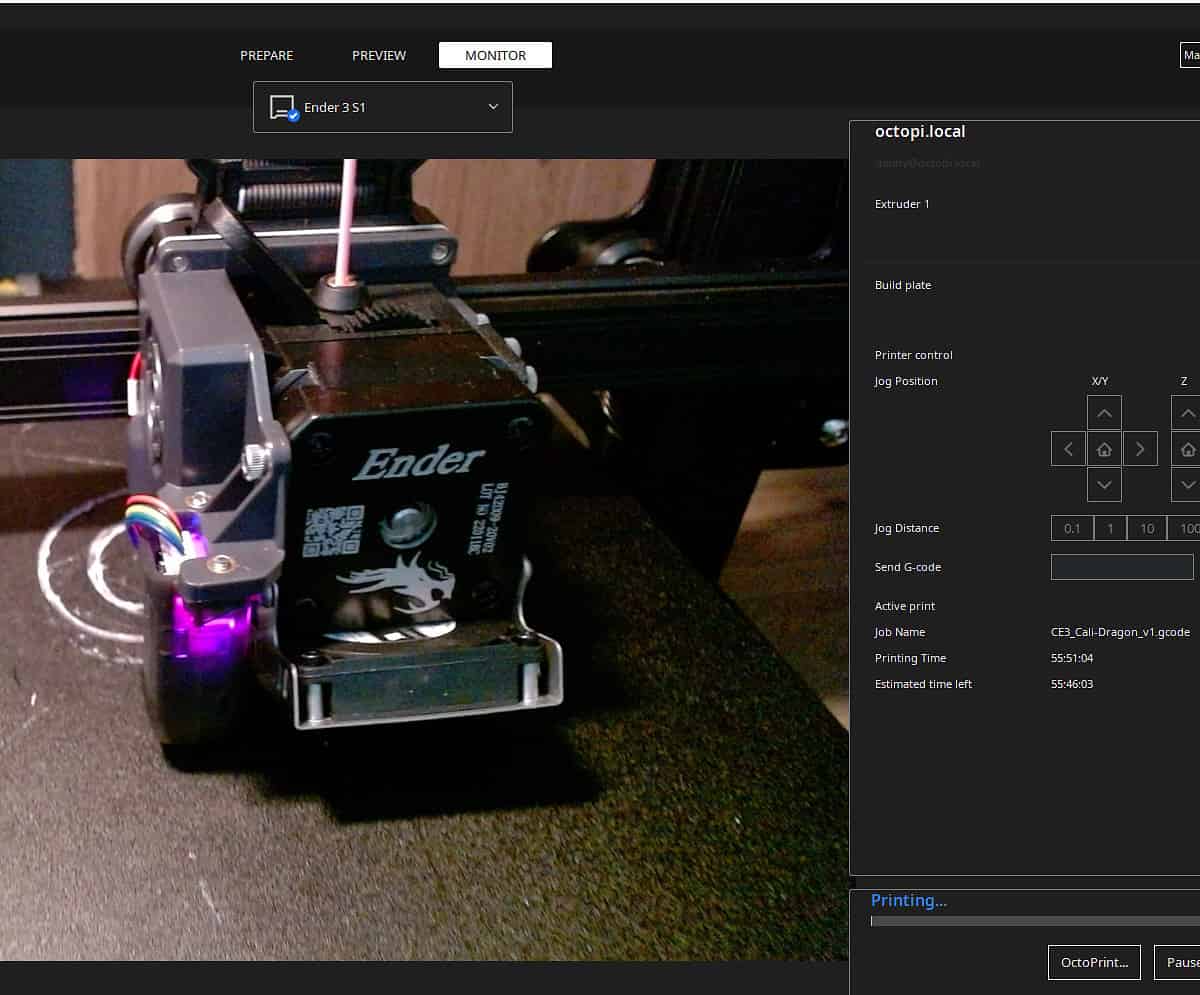
You'll know if it connects because a blue checkmark will show up next to your printer profile, like this.
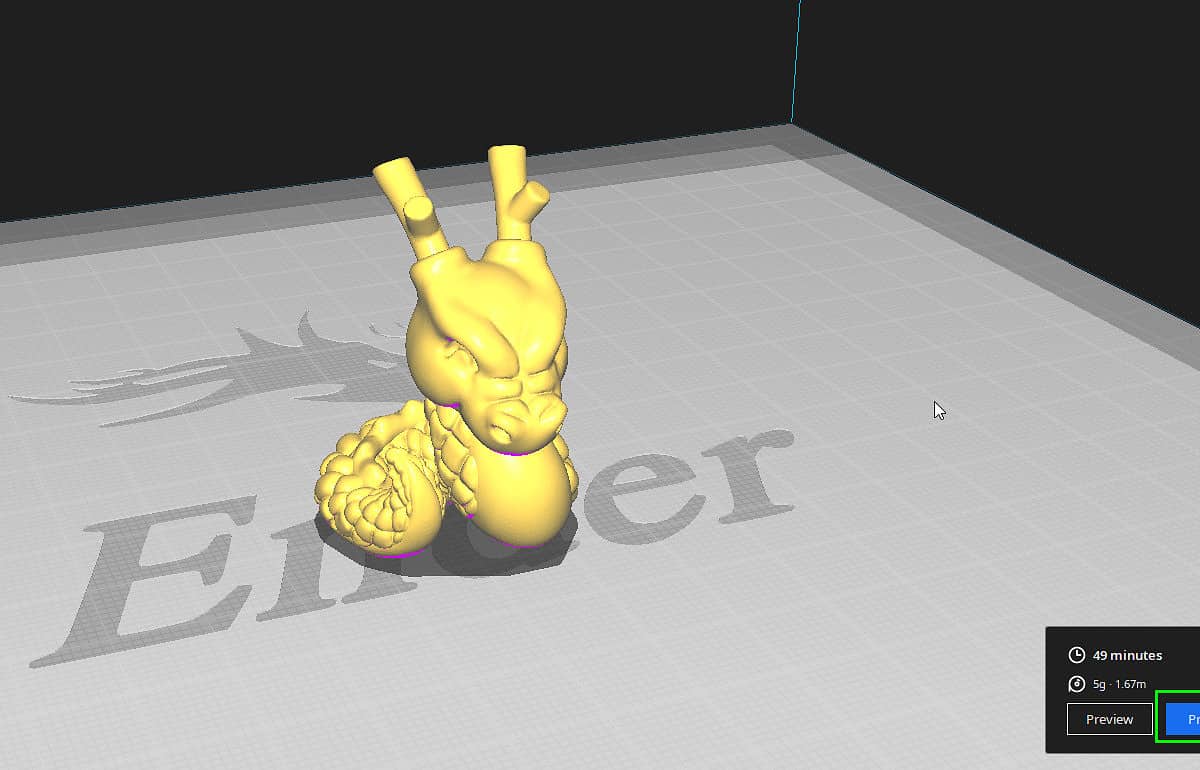
Send the print to it like normal, and just ensure that the optional settings you've configured also work (i.e. - if you enabled the Print after Uploading, it should start printing right away).
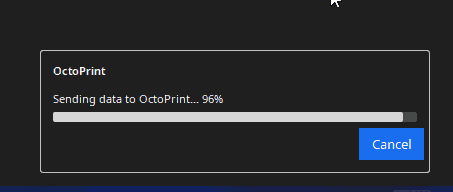
And if all goes well, you'll see a progress bar showing that the file is being uploaded.
Cura will also open a "Monitor" page, which allows you to view things like bed temperature, extruder temperature, your webcam stream, and much more.