How to Configure Keymaster Notifications
One of the very first HACS integrations I setup was Keymaster, which is an integration that allows me to set door pin codes for my Schlage Be469 zwave lock from within Home Assistant. At the time, I was very new to Home Assistant and couldn't figure out how to enable notifications. I recently revisited this and was able to get notifications working. It's actually very simple to do, although the instructions don't really tell how how to do it.
In this guide, I'm going to show you how to enable Keymaster notifications. This will let you know once a door has been locked, unlocked, or which user unlocked the door.
Let's get started.
0.56 BREAKING CHANGE: If you recently updated to Keymaster 0.56 and notifications no longer, see the fix at the end of this guide.
Prerequisites
This guide assumes you've already installed the Keymaster integration via HACS. If you haven't done that yet, then click the link above to set it up.
Add Code to Scripts.yaml
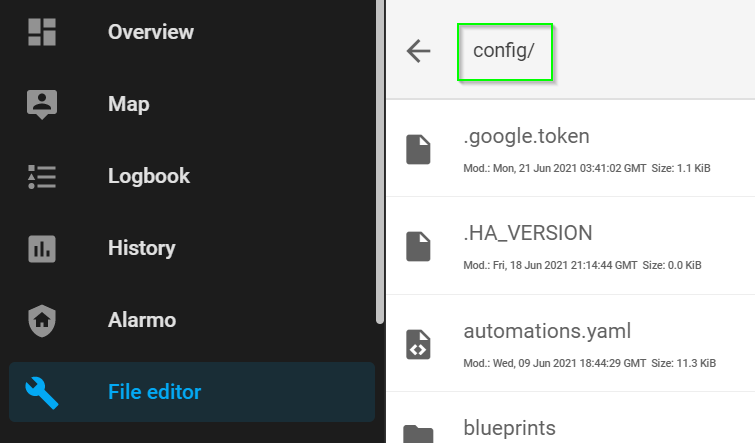
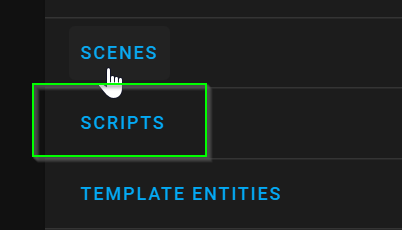
In the Keymaster wiki, it gives you an example of a "notification script". First, open File Editor and ensure you are in the /config directory.
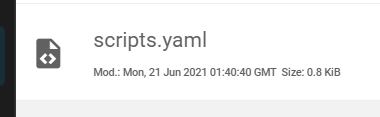
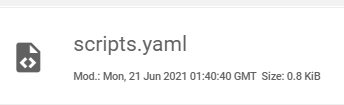
Then, scroll down until you see the scripts.yaml file. Click that file to open.
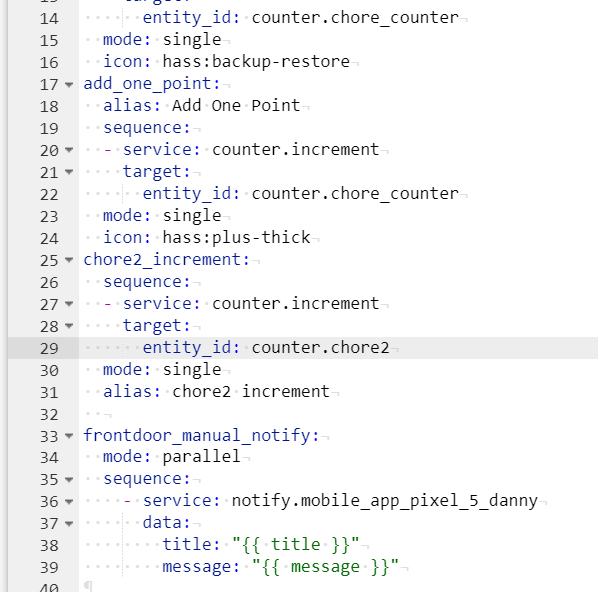
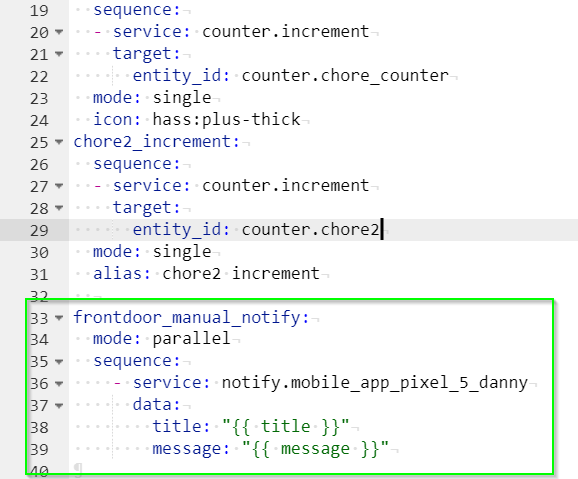
If you already have existing code here, scroll to the bottom and paste this block of code in, replacing frontdoor with the name of your Keymaster entity.
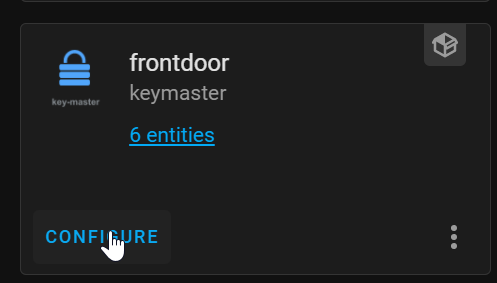
frontdoor_manual_notify: mode: parallel sequence: - service: notify.mobile_app_pixel_5_danny data: title: "{{ title }}" message: "{{ message }}"If you don't remember what Keymaster door is called, go to Configuration > Integrations > Keymaster. You'll see that mine is named frontdoor. If yours is called backdoor, then you'd use backdoor_manual_notify in the script.
Change Notification Target Device
Next, we need to tell Keymaster which device to send the alerts to.
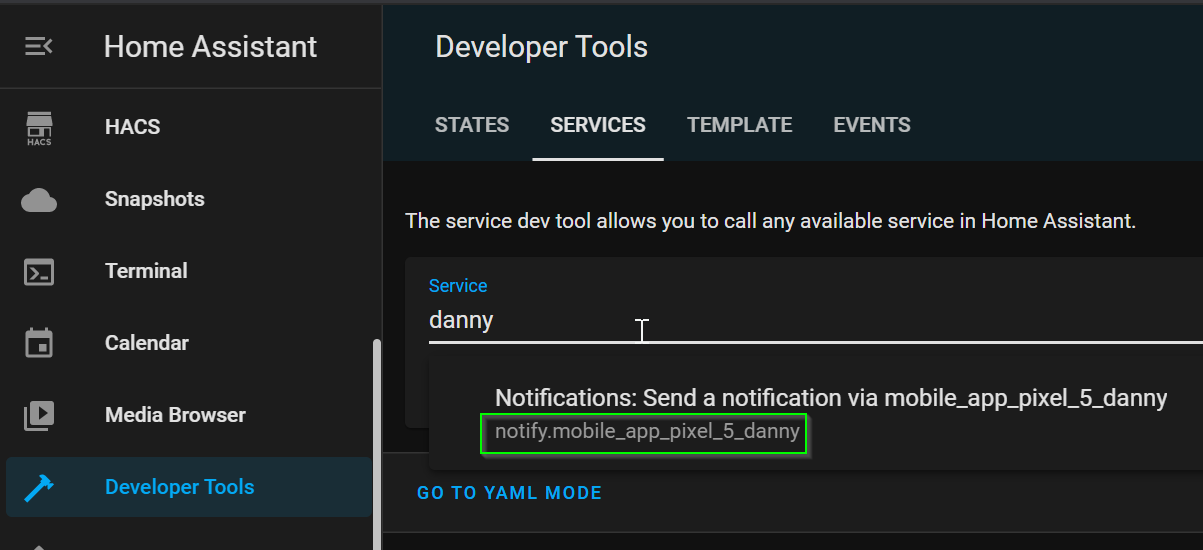
You can either use notify.notify to notify all Home Assistant users or if you want to configure it to go to a specific user, then you would go to Developer Tools > Services > search for a user or device. You would then add that to the - service: section instead.
Reload Scripts Yaml
Once your script has been updated with your doorname and device, save the configuration.
Then, go to Configuration > Server Controls. Check configuration to ensure it's valid, and then scroll down to the Scripts yaml. Click it to reload the configuration - no need to restart Home Assistant for this.
Enable Notifications in Keymaster View
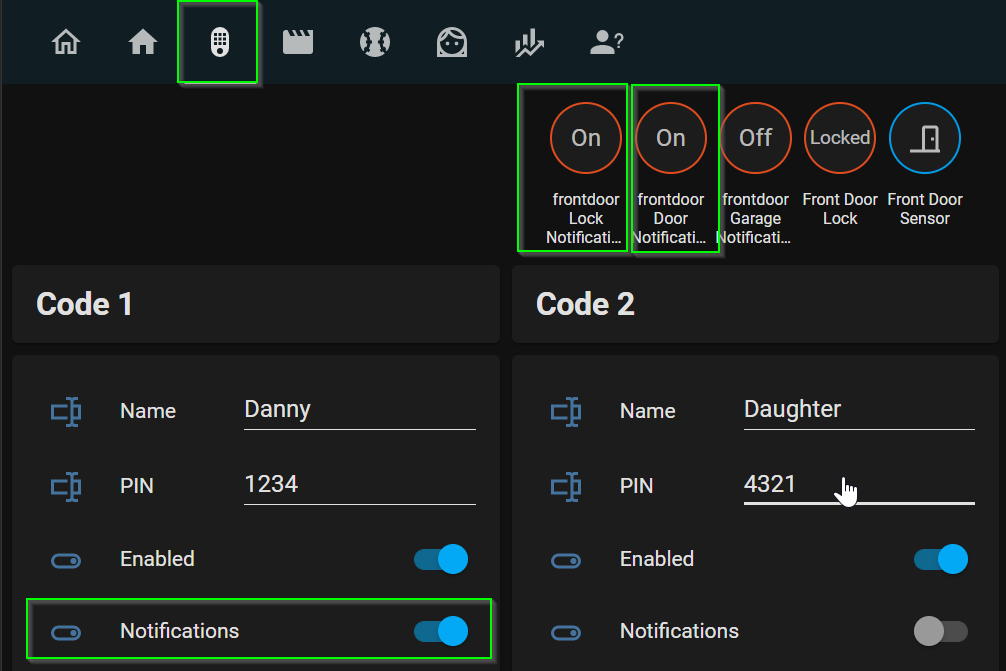
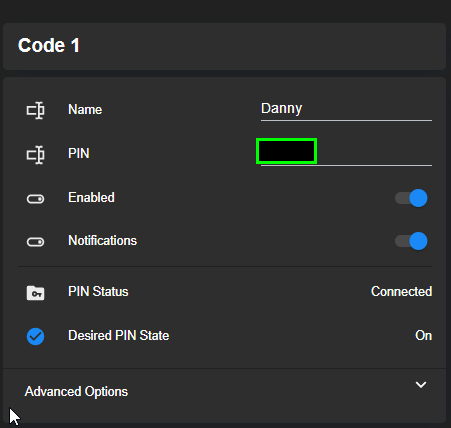
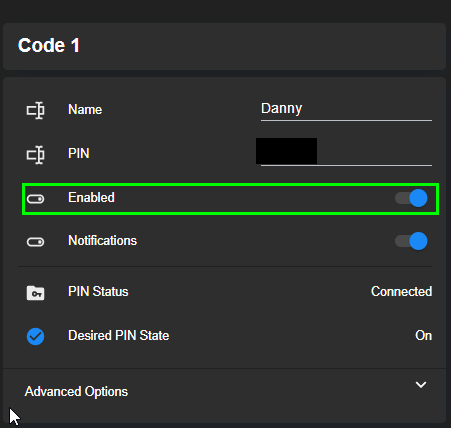
Next, navigate to the Keymaster Lovelace view where you can edit or add door pin codes.
Under each code that you want to be notified for, toggle Notifications.
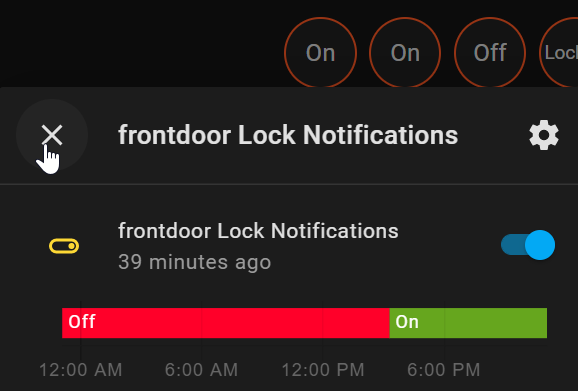
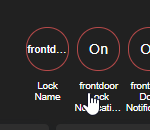
Then, click the two badges at the top. Click each to toggle on.
Testing It Out
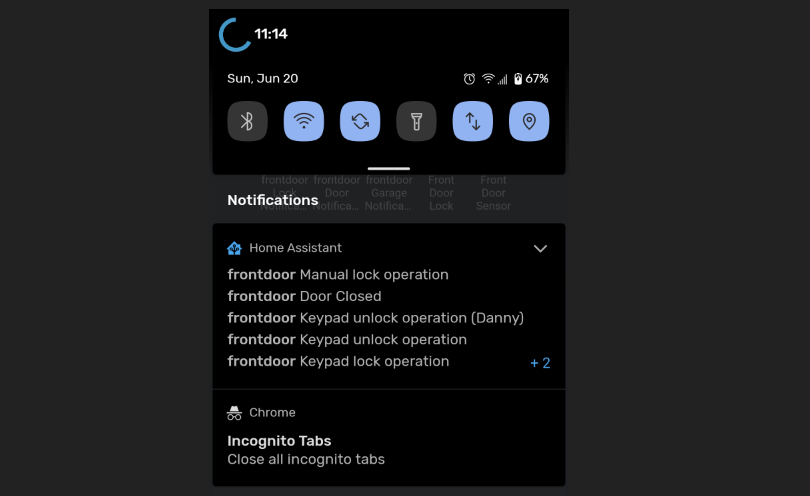
If everything is working so far, you can go ahead and open your door and enter your pin code. If everything is successful, you should see several notifications, including a notification which shows you which user unlocked the door!
If you only want to receive notifications with who unlocked the door, then you can toggle the two badges off. This means it won't notify you of other actions such as when the door gets locked manually, door closed, or any other button presses (keypad operations).
0.56 Keymaster Breaking Change: Fix Notifications
If you recently updated to Keymaster version 0.56, there is a breaking change as noted by the devs. You will need to do this for each door in order for notifications to work properly again!
File Editor > scripts.yaml.
Locate the line that says frontdoor_manual_notify (your door may be named something else), then you need to prepend keymaster_ in front of the script name.
Then, reboot Home Assistant. Afterwards, make sure that you notifications turned on from the badge and enabled in the individual code slots.
If you have a second door and don't have notifications setup, you can just copy and paste the keymaster_frontdoor_manual_notify block of code directly below it, and then edit the door name to match your 2nd door:
If for some reason notifications still aren't working, check the logs. Configuration > Logs. For some reason, one of my doors never needed to have the scripts file updated. (I'm assuming if I reload the integration, or in a future update I'll need to come back and fix this, but for now I just renamed the frontdoor script back to the original name and removed the keymaster_ I prepended.) Then, notifications worked for the door again.
Wrapping Up
Hopefully this guide helps you set up notifications correctly for the Keymaster integration! Let me know in the comments below if this guide helped you out.