Energy Dashboard with data from Smart Meter Texas
In this guide, I'm going to show you how to setup your Home Energy dashboard, using data pulled in from my Smart Meter Texas energy provider. Not all energy providers offer services like Smart Meter Texas, however if you are lucky enough to live in a area that provides your energy data via an API like SMT does, and Home Assistant has an integration for it, then this is pretty simple to setup.
No physical hardware is necessary if you can get your data from your provider. The full list of currently supported providers and Home Assistant integrations can be found here.
Note: This guide will work any provider or device that provides data using kWh, but this guide is mainly going to be tailored to the Smart Meter Texas integration.
Note 2: SMT Texas readers: You do not need to create a pysmtreader docker container for this setup. There are several guides floating that have gotten this working using the unofficial api provided by that container, but that was when the Smart Meter Texas integration was broken (prior to the 2021.9.0 core update).
Any other non-SMT users, you can follow the guide below with your own provider integration.
Prerequisites:
- Need to be on Home Assistant Core 2021.8.
- Need at least 1 sensor setup that tracks energy consumption in kWh
Initial Configuration
Before you can begin to populate your new energy dashboard, you'll need to update some values in your Home Assistant settings.
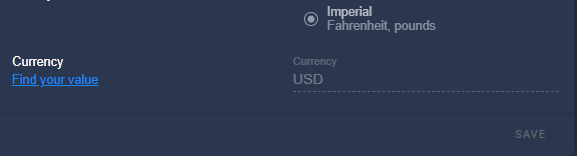
Go to Configuration > General.
First, you'll want to change your Currency so you can track prices of energy in your local currency.
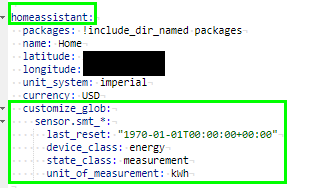
If your currency is grayed out and you can't configure from the UI, you can add currency: USD under the homeassistant: section in your configuration.yaml like this:
homeassistant: currency: USDStep 1: Register for an account on Smartmetertexas.com
You will first need to create an account at https://smartmetertexas.com/. The account creation process will require your electricity providers ESIID and meter number (which can be found by logging into your energy providers' website).
Once your account has been created, you can log in and view your usage data at 15 minute intervals.
Step 2: Install the Smart Meter Texas integration
Navigate to Configuration > Integrations. Click Add Integration and search for Smart Meter Texas.
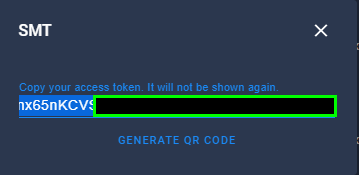
Once installed, click the new integration and enter in your username and password you created from smartmetertexas.com.
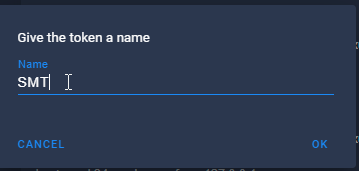
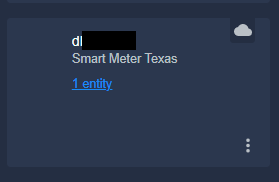
You will now see that a new entity has been created.
It will give you a very generic name, but I recommend renaming the entity to something a little bit easier to remember, such as sensor.smt_electricreading.
Step 3: Add Entity to Entities Card
Next, I recommend adding the entity to a basic 'entities' card in Lovelace. It may take a while for your data to initially show up in the sensor, so don't panic if you don't see data right away. It'll show up here before it does in the Energy dashboard.
This step is optional, but it'll be good for troubleshooting in the next step once we start tracking hourly, daily, and monthly energy usage. We will add those sensors to this same card just so you can confirm that everything is being calculated correctly.
Step 4: Add additional sensors to configuration.yaml
Now that you've confirmed you can see the lifetime kWh total for your meter (which isn't very useful), we need to track Hourly Usage, Daily Usage, and Monthly Usage. To do this, we are creating 3 new sensors.
Go to File Editor > configuration.yaml and add this in:
utility_meter: hourly_energy: source: sensor.smt_electricreading name: Hourly Energy cycle: hourly daily_energy: source: sensor.smt_electricreading name: Daily Energy cycle: daily monthly_energy: source: sensor.smt_electricreading name: Monthly Energy cycle: monthlyREQUIRED: You also need to add the code below to your homeassistant: section of your configuration.yaml file. If you don't have a homeassistant: section yet, just paste in the below code.
homeassistant: customize_glob: sensor.smt_*: last_reset: "1970-01-01T00:00:00+00:00" device_class: energy state_class: measurement unit_of_measurement: kWhAfter the sensors have been added, reboot Home Assistant from Configuration > Server Controls > check config > Reboot.
Step 5: Add Smart Meter Texas sensor to your Energy Dashboard
Next, click on your Energy sidebar tab. (To edit this in the future, you can also go to Configuration > Energy)
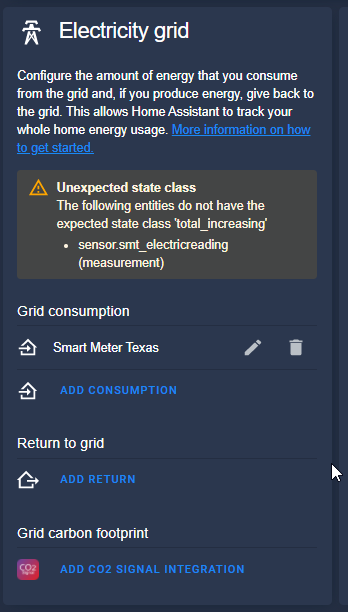
Under the Electricity grid section, click Add Consumption and add your sensor.smt_electricreading sensor.
You may see an error that says "the following entities do not have the expected state class "total_increasing", but the data still populates correctly in the dashboard. I assume this will be fixed in a future Smart Meter Texas integration update.
After setting up the new device, you will have to wait upwards of 2 hours for the data to start populating in your dashboard.
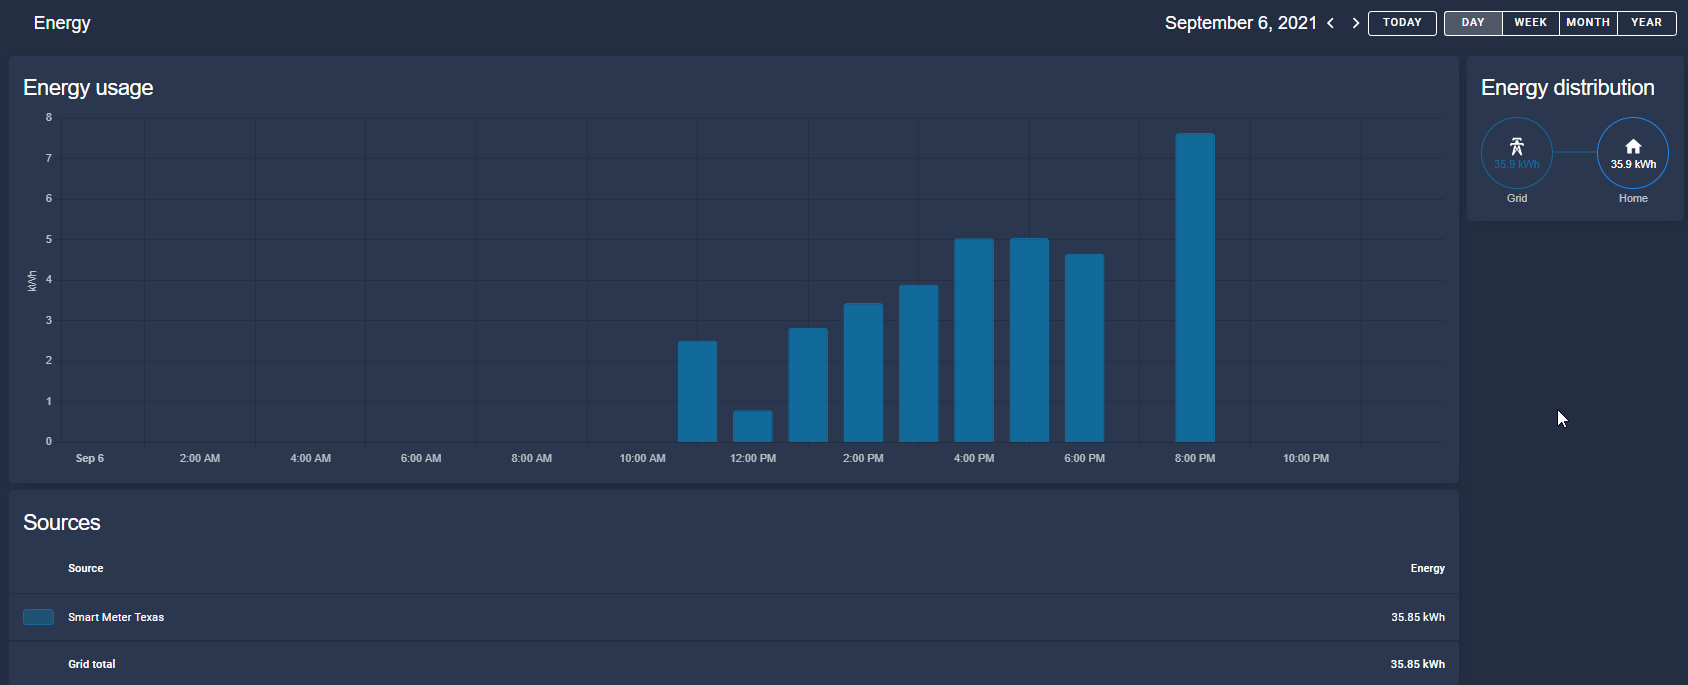
But once it does, it'll show up like this:
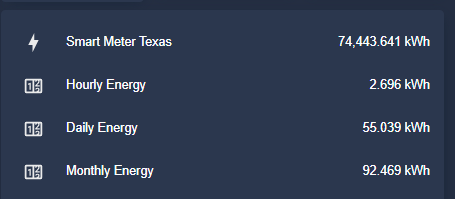
Step 6: Add Hourly, Weekly, and Monthly Sensors to Lovelace card
This step is also optional, but if you want to add the newly created sensors from step 4 to your 'entities' card, you can compare the numbers between both to make sure the data is showing up correctly in your Energy dashboard.
My numbers are a little off, but I think that has to SMT not being 100% accurate (as you can see from the screenshot above, there is missing data from the 7:00 PM hour.
Wrapping Up
All in all, the energy dashboard is a fantastic addition to Home Assistant. The graphs and animations are super cool, and it's made me want to monitor even more individual devices in the Energy dashboard as well.
For example, I just updated my Peanut plugs' firmware to support energy monitoring, and downloaded the Power Calculation HACS integration to monitor power usage for some of my Sengled zigbee RGB bulbs - and have begun adding those to my Energy dashboard as well.
While I am able to pull in the data from Smart Meter Texas successfully, and I'm happy that this is a 100% free service, I still may explore other options to connect to my meter using a pulse meter or CT clamp sensor. I also haven't explored adding my Grid carbon footprint, gas consumption, or started tracking costs associated with my consumed energy just yet, but those will be projects for a later date.
Hopefully this guide helps you get your smart meter set up and added to Home Assistant, even if you aren't a SMT user!